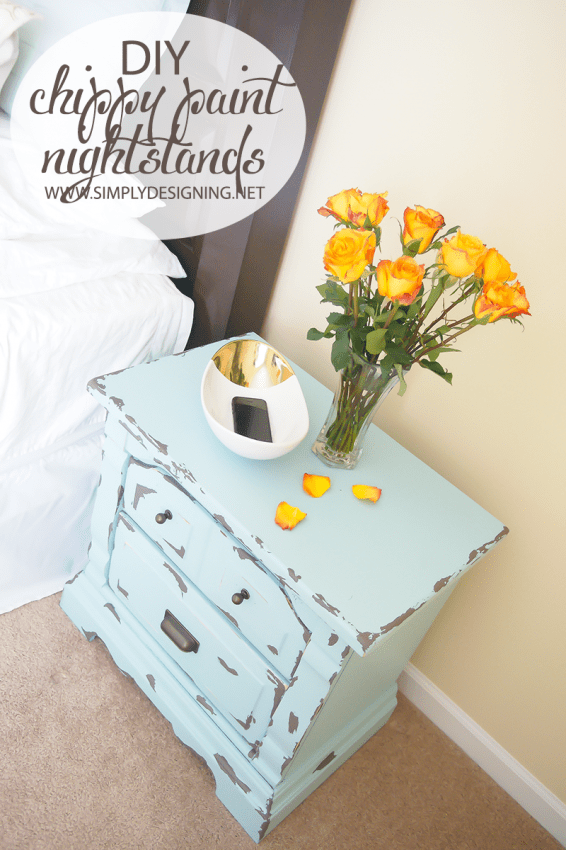
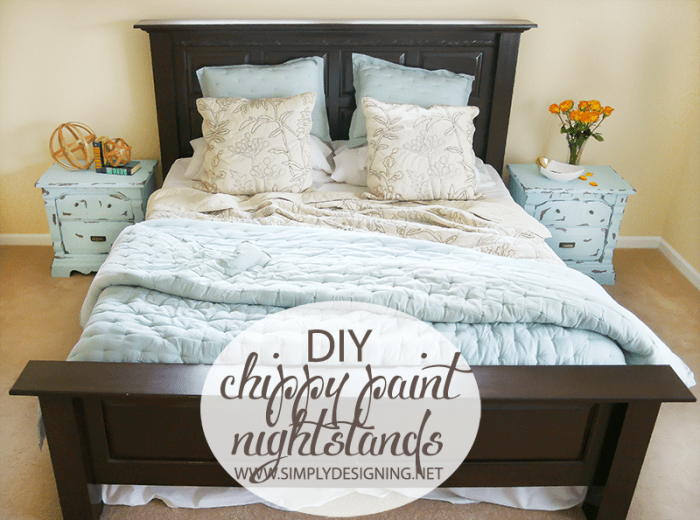
Our bedroom has long been in need of a little make-over. A couple years ago, we upgraded to a king bed and after a lot of looking we finally found the perfect headboard and footboard for it! We had to do a little building, sanding and staining, but we eventually ended up with a nice bed that we love! (Check out our bed build here.) But the only problem was that we never could find nightstands to go with it! Our bed is tall and large and we needed large nightstands to work with it and be proportional. I have literally spent two years searching for nightstands for our room with no luck! Until the other day I found the perfect ones! So today I am really thrilled and excited to share our Distressed Chippy Paint Nightstands with you!! Plus, I get to giveaway one of my all-time favorite tools, the HomeRight FinishMax Pro Paint Sprayer! Woot woot!
Chippy Paint Nightstands
I found these nightstands off of craigslist but they ended up being at a cute little antique store a few towns over! They are solid wood, heavy and large enough for the room! I knew they would be perfect for our master bedroom.
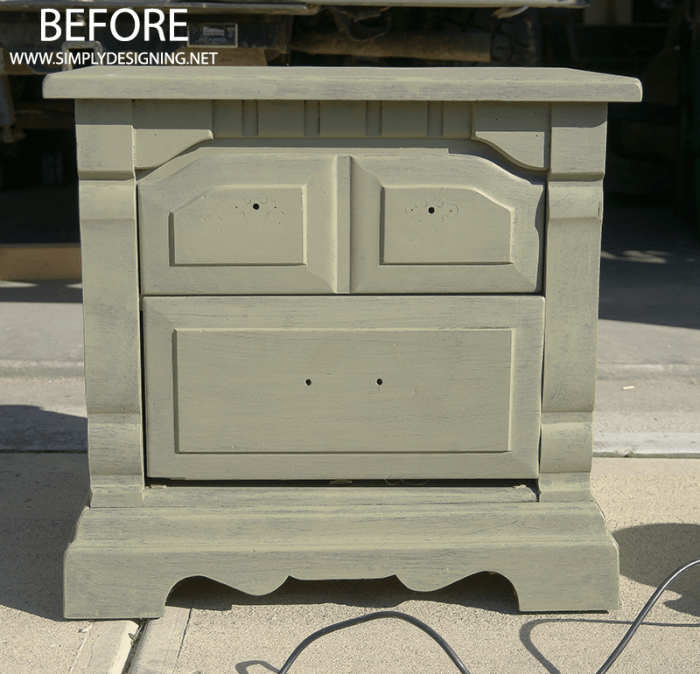
When I bought them, they had been painted in a greenish color chalky paint. They really weren't painted in a color or style that I liked, but I knew they had great lines and would be perfect for our room! I snatched them both up for $160 total and couldn't wait to get started!
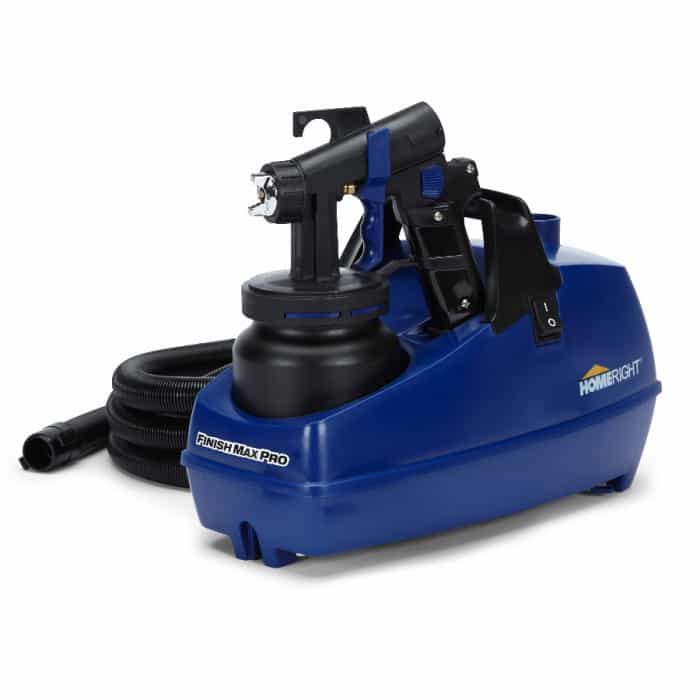
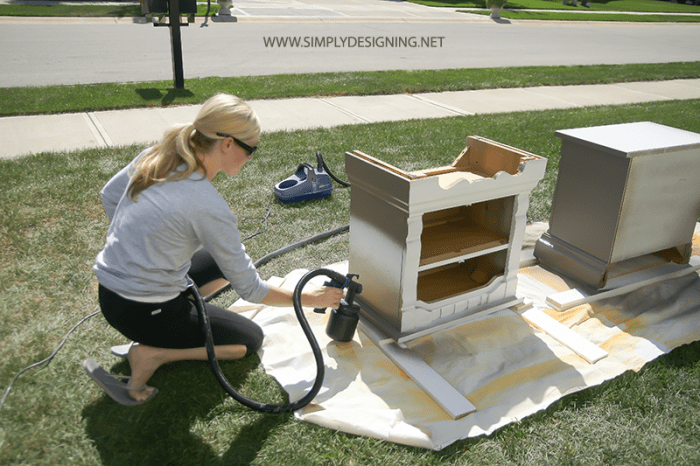
My tool of choice for this project was my HomeRight FinishMax Pro! This is the best paint sprayer I have ever used! I love how smooth the finish is and how quick it is to use too! This really makes refinishing furniture so much easier!
Here is what our nightstands looked like before the makeover. Sorry I took this photo after we removed the really ugly hardware. Just imagine brass hardware from the 80's though and you get the idea! Ok, so here are the nightstands before:
After removing the hardware, we sanded these down really well. There were also a few areas that needed to be puttied and re-sanded prior to refinishing these.
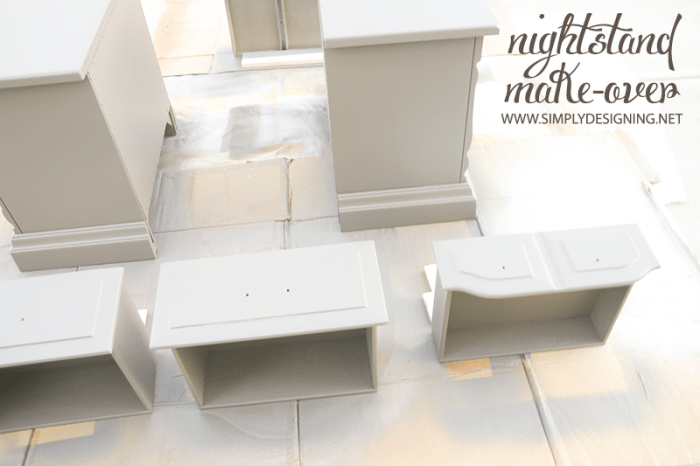
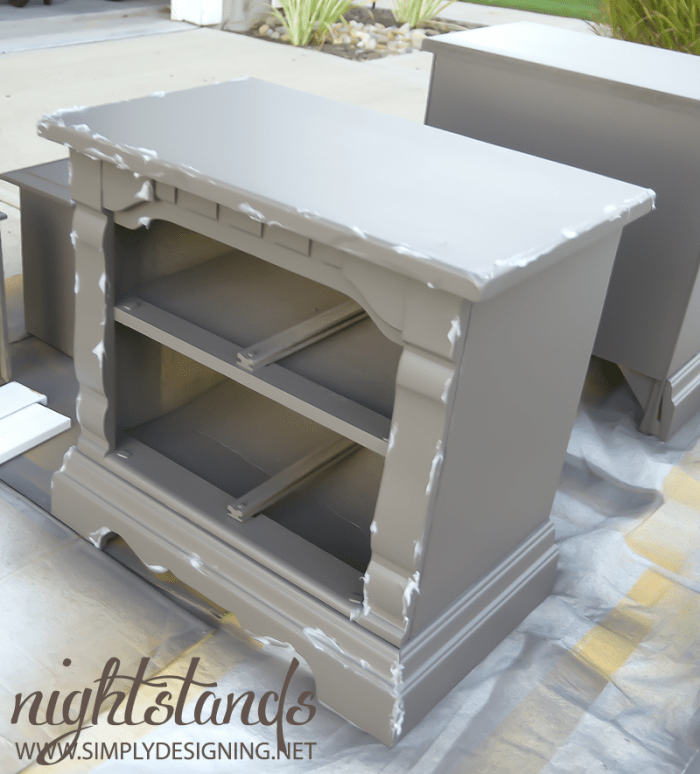
I filled my FinishMax with Zisser white primer and thinned it according the manufacturer directions. Then I sprayed the primer onto my nightstands and let them dry completely.
After the primer was dry, I thinned and sprayed a layer of brown spray paint on my nightstands. (I used Pittsburg Paint, 26D-5 Oswego Tea.)
Because these nightstands have so much detail to them, and the paint sprayer works best when it remains horizontal, I had to get creative and turn my nightstands in different directions in order to cover the nightstand well.
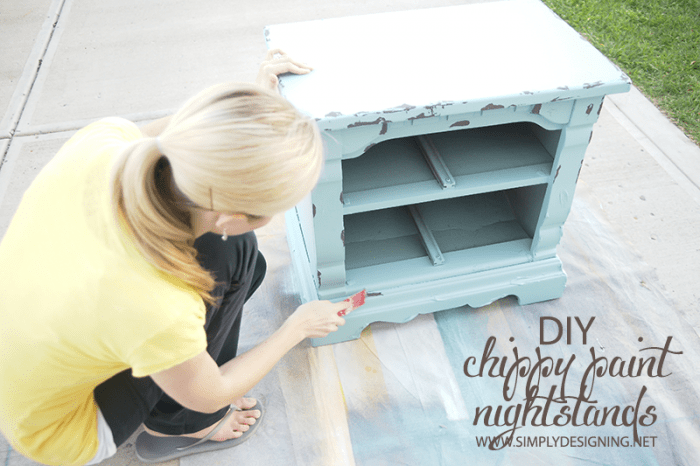
After the brown paint was dry, we randomly placed vaseline in areas that would naturally receive wear and tear. Then, we thinned and applied our light turquoise paint to the nightstands using my HomeRight FinishMax Pro. (I used Pittsburg Paint, 59C-3 Frosty Glade.)
We let it dry and then applied a second coat of paint to the nightstands.
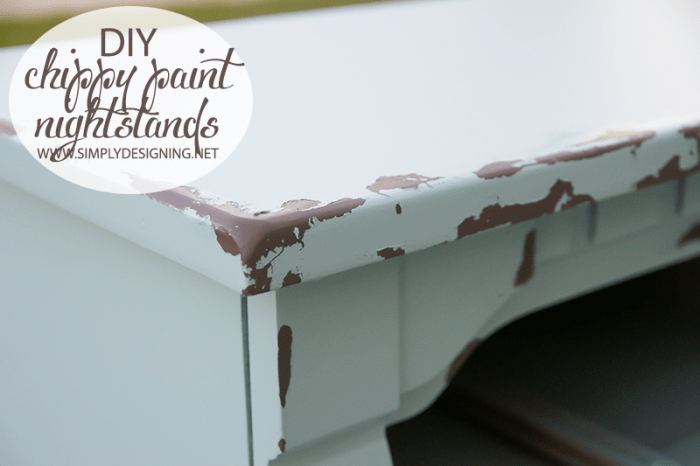
After the paint was dry, I used a paint scraper to remove the areas where we applied Vaseline. Then we wiped down the nightstands really well with wipes. Yes, I use baby wipes. The Vaseline leaves a yucky mess and the wipes remove it really nicely without being too harsh on the newly painted furniture. But I am sure a wet wash cloth would work well too.
Finally, I applied two coats of Minwax Polycrylic to the nightstands and let them dry completely! I prefer using a polycrylic over a polyurethane because polyurethane tends to yellow over time but polycrylic does not.
We added new, updated hardware, removed the old nightstands from our bedroom and put these beautiful chippy paint nightstands in our master bedroom!
And I am so sorry, but I couldn't resist...get ready for photo overload!!!
Here is what our bedroom with nightstands looked like before...
And here is what they look like after with our new chippy paint nightstands!! Woot woo! It makes a huge difference and I just LOVE how they look in the room!
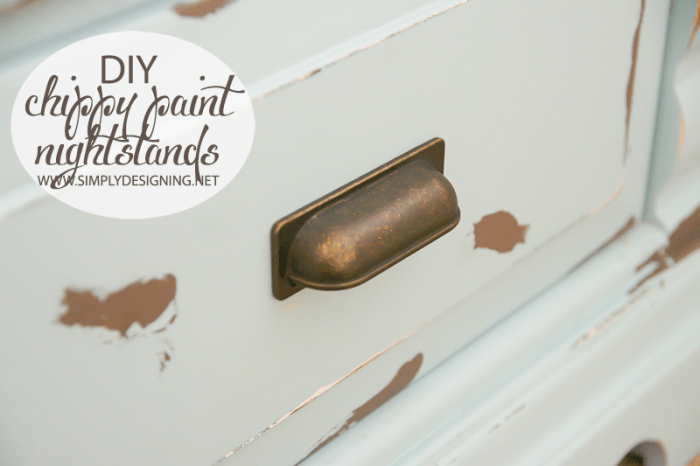
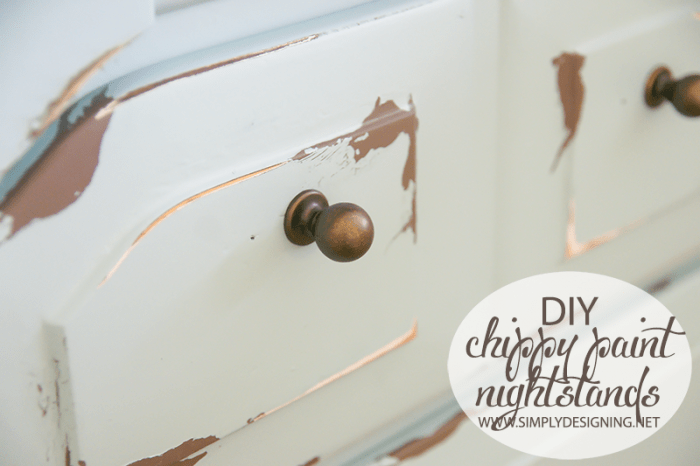
I always have such a hard time picking out hardware. I, no joke, brought home over $200 worth of hardware to look at! (Left it all in the package of course until we made our final decision of course!) And after looking at every store in the area, I happily found some cute little knobs and fun apothecary table style pulls for it!





Elizabeth G.
I want to paint an IKEA dresser.
Angela
I'll probably start off with a bookshelf then paint all the things!
Bel W.
I need to paint a couple of book shelves!
Laurie
Need to paint some bookshelves & a couple of dressers.
carol clark
i would paint the doors in the hallway that got scratched and some window frames im makeing in to something
Leigh Anne
I'd love to paint a couple of Ikea Rast nightstands I have!
LindaMartin
Need yo stain a fence and a gazebo?
LindaMartin
Need to stain a fence and a gazebo!
Ashleigh hall
I would love to paint our sons' dressers!
Lesley
i love those end tables. i have a coffee table i am dying to paint, this would be so helpful
Kristi
These are absolutely gorgeous!!! LOVE that chippy paint look!!!
Kathe
I scored a pair of nightstands from Craigslist and I am itching to give them a paint job. The Finish Max Pro would make quick work of the project!
Amy Anderson
Beautiful! I'm actually in desperate need of a paint sprayer.
Jessica
I would paint a "big girl" bed for my toddler. I have been on the lookout for a twin bed in a fun vintage shape to paint a pretty pink for my princess:)
Meena R
I would paint an old desk that we got a few years ago. It is in need of some tlc.
theresa J
I would paint my kitchen table
Alejandra
I want to paint some bunk beds
Cindy Trobaugh
Everything I could get My Hands ( sprayer ) on! I Love the Color You painted them and they came out so Perfect! Cindy
Melissa Olson
I would paint my boys cribs, since they are "grow with me" beds, I could update the decor as they grow older.
Cathy R.
I would paint all of the furniture I've been hoarding, of course! lol
Lauricebryant
i have a hideous bakers rack that I would love to paint and bring in from the garage. Or I would paint my bedroom furniture. I am over the black furniture phase and want it to be a lovely shade of Tiffany blue. I won't tackle this project without a paint sprayer.
Vanessa
Looks great. I love the sprayer too. Awesome way to get the job done quick
Amanda S.
I would paint some kitchen cabinet doors first.
Ashley @ 3 Little Greenwoods
Awesome transformation! I love the vaseline tip!
I would lurve to have a paint sprayer! Then I could paint all of my little one's bedroom furniture the same color and maybe it would match. 😉
I would love for you to share this post at my Show Me Saturday party! We go live each Saturday at 7:00 am EST. My readers would love this!
~ Ashley
Cheryl
This is a project I could grow to love!! What I could do!
Ashley Phipps
Thank you!
Athena
Everything I could get My Hands ( sprayer ) on! I Love the Color You painted them and they came out so Perfect! Cindy
ricky
Looks amazing! I love the sprayer too. Love that chippy paint look!
Brittany
I have such a difficult time with hardware also. I love yours though, where did you even up finding them PLEASE! Thanks
Ashley Phipps
Hi! I believe I found this hardware at Menards!
Best of luck!