• Skip to primary navigation
  • Skip to main content
  • Skip to primary sidebar

Simply Designing with Ashley

  • DIY
  • Oils
  • Recipes
  • Craft
  • Travel
  • Decor
  • Holiday
menu icon
go to homepage
  • DIY
  • Oils
  • Recipes
  • Craft
  • Travel
  • Decor
  • Holiday
search icon
Homepage link
  • DIY
  • Oils
  • Recipes
  • Craft
  • Travel
  • Decor
  • Holiday
×

Burlap and Paper Flower Summer Wreath

Published: Apr 20, 2018 · Modified: Sep 21, 2023 by Ashley Phipps · 401 words. · About 3 minutes to read this article. · 3 Comments · This post may contain affiliate links · This blog generates income via ads and sponsored posts · This blog uses cookies · See our privacy policy for more info Filed Under: Craft, Home Decor

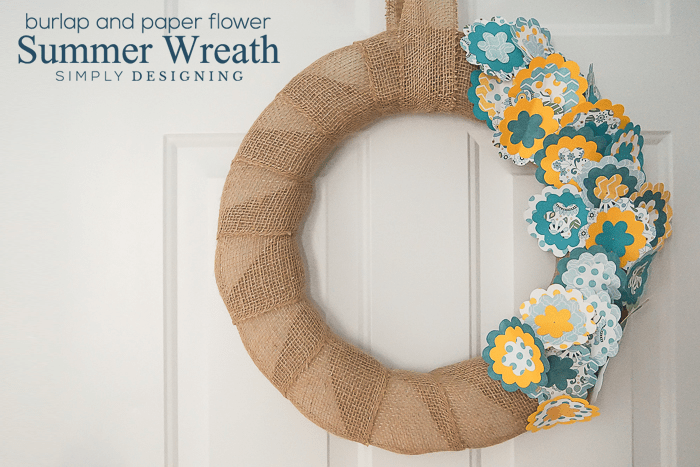
Summer is one of my favorite times of year! I love the green grass and the bright colors I see people wearing around town or at the pool. And, with the pastel tones of spring making way for brighter colors, I thought this Burlap and Paper Flower Summer Wreath would be the perfect wreath for my door through these sunny summer months! The cute paper flowers are so whimsical and bright. And with only a few supplies and a few minutes, you can make your own cute wreath to hang on your door this summer!
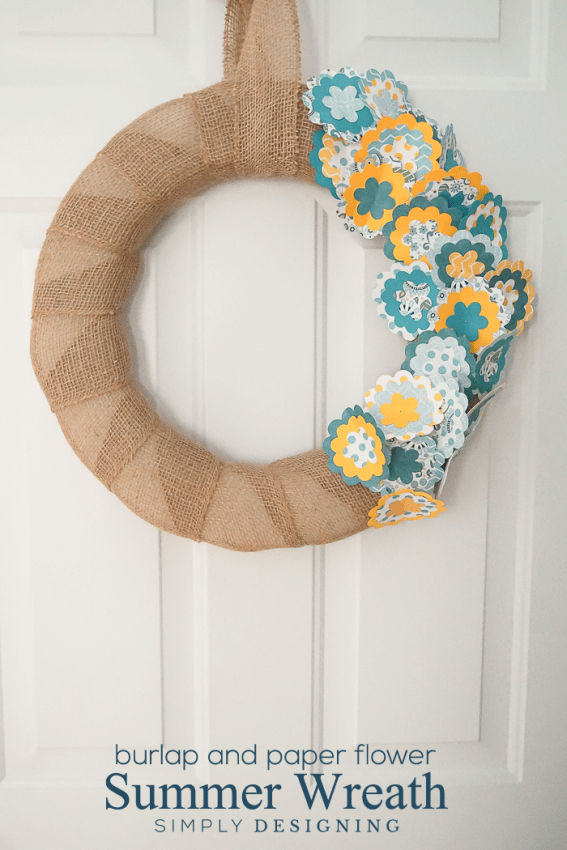
Flower Summer Wreath


Supplies needed to make a Burlap and Paper Flower Summer Wreath:

This post contains affiliate links for your convenience.  By purchasing any items, I receive a small commission but you never pay a penny more.  Thank you for supporting my blog.

  • Wreath Ring  
  • Burlap Ribbon  
  • Paper in various colors (I chose to use turquoise and yellow)
  • Sizzix and Flower Dies OR Scissors 
  • Straight pins 
  • Rubber Cement 
  • Low-temp hot glue gun
  • Low-temp hot glue gun
  • Scissors

Flower Summer Wreath

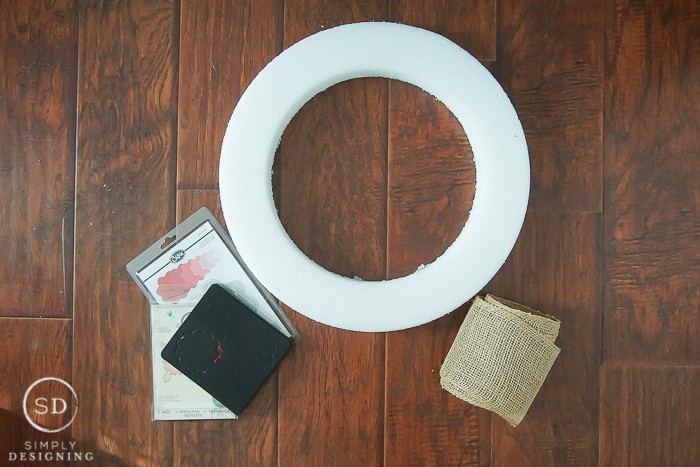
First, gather all your supplies.

Flower Summer Wreath

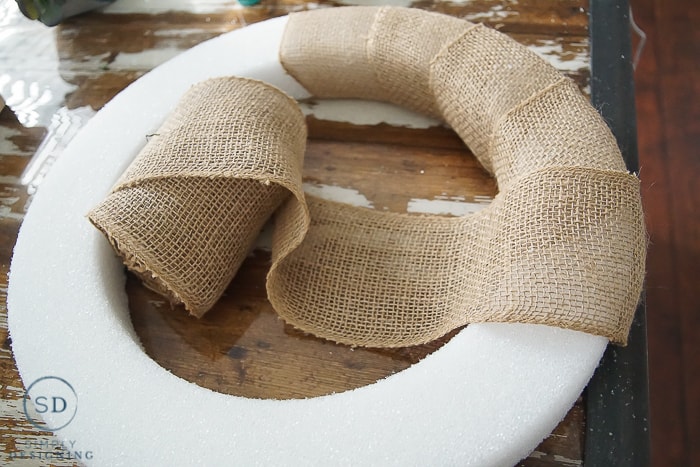
You will want to begin by wrapping the burlap ribbon around the wreath ring. Secure the beginning edge of the ribbon with your low-temp hot glue gun. Remember a low-temp hot glue gun will work better with this project so it doesn't melt the foam! Then wrap the ribbon around the wreath ring until the entire ring is covered. Next, snip the edge with scissors, and glue it onto the wreath. Sometimes I press down on the burlap ribbon with a pencil or the end of a foam brush to secure it.

Flower Summer Wreath

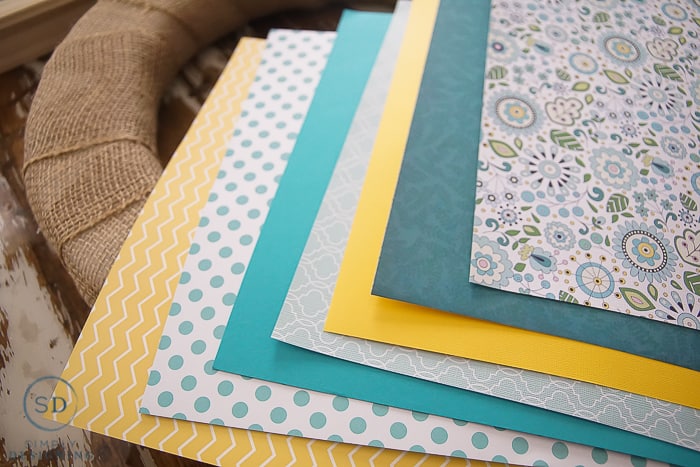
Now, take your Sizzix and cut several flower forms in various colors and paper patterns.

Flower Summer Wreath

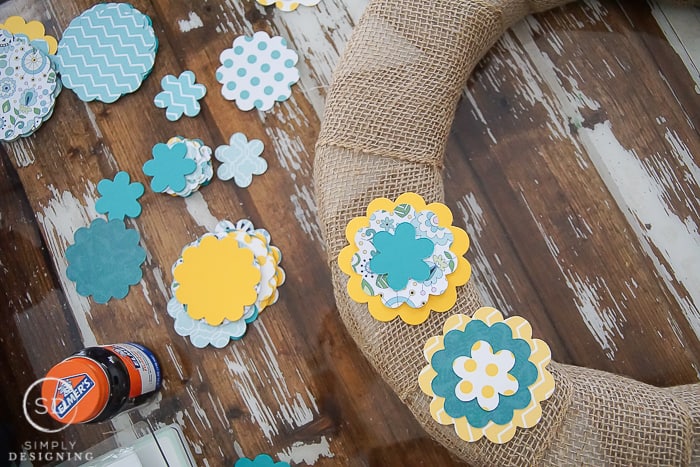
Once your flowers are cut, stack the flower shapes in various patterns and secure each layer with rubber cement.

Flower Summer Wreath

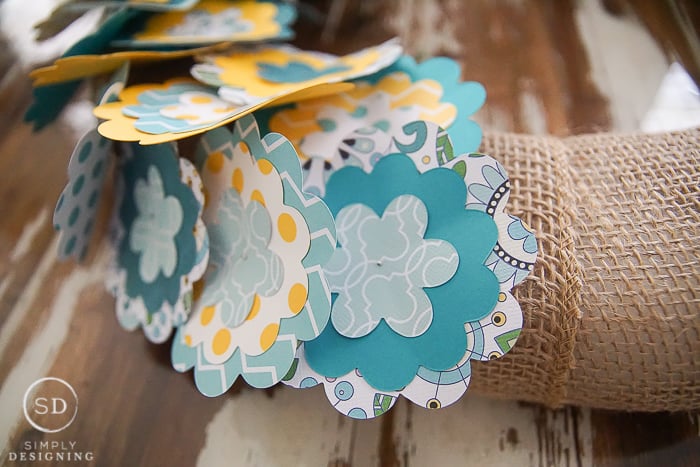
Then, stick a straight pin into the center of each flower. I bent around the petals so the flowers would have a little more texture to them. Now, attach the flowers to the wreath.

Flower Summer Wreath

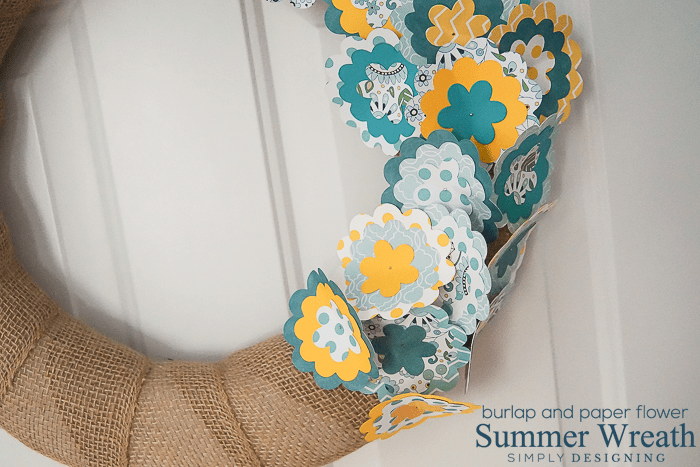
I chose to place mine in a bunch which cover about one-third of the wreath, but you could put them around the wreath any way you want! Now the wreath is ready to hang on your door all summer!

Flower Summer Wreath

This idea was first shared on the Make It Fun blog.

You might also enjoy:

Tied Burlap Wreath Horizontal | Burlap and Paper Flower Summer Wreath | 1 | Flower Summer Wreath


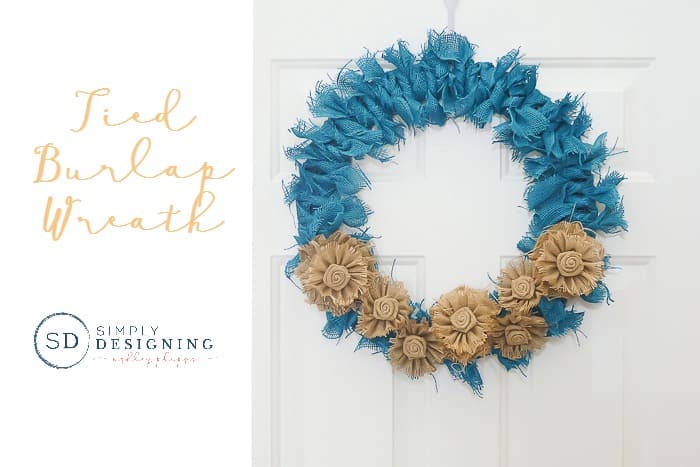
Tied Burlap Wreath

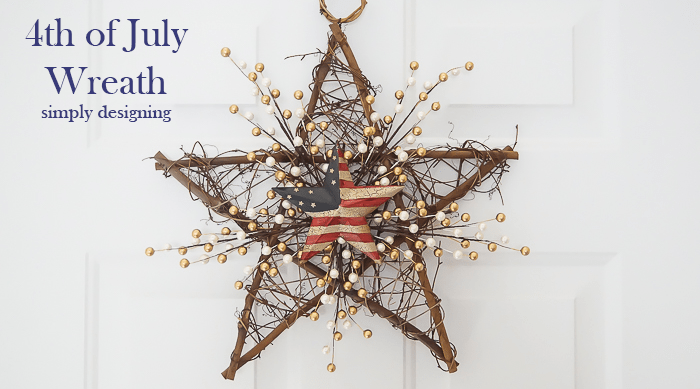
4th of July Wreath

4th of July Wreath

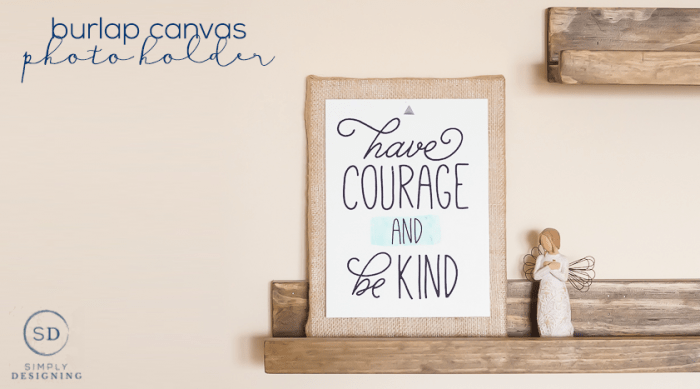
Burlap Canvas Photo Holder

Burlap Canvas Photo Holder

More Crafts

  • looking from the top down on a body scrub made with salt with greenery on the top of the photo and a wood lid to the right
    How to make a Salt Scrub
  • greenery hoop wreath with lavender and burlap bow
    Summer Hoop Wreath
  • DIY farmhouse christmas ornaments
    How to make Farmhouse Christmas Ornaments
  • Peppermint Sugar Scrub in a glass jar with red and white twine around the jar
    Peppermint Sugar Scrub

Reader Interactions

Comments

  1. Ivory

    April 21, 2018 at 12:40 pm

    This wreath is so beautiful. I love the cutouts you placed on it. Wow!

    Reply
  2. Kristi Dominguez

    April 22, 2019 at 3:02 pm

    This is BEAUTIFUL! I love the colors you used! What a perfect spring wreath! Thank you bunches for linking up and sharing with us!

    Reply
  3. Pamela Ray

    April 26, 2019 at 10:27 am

    Very cute. I love the colors you used with the burlap.

    Reply

Leave a Reply Cancel reply

Your email address will not be published. Required fields are marked *

Primary Sidebar

Hello Friends!

Ashley Phipps Simply Designing I'm Ashley Phipps and I love sharing SIMPLE DIY, home, travel, food, craft and essential oil ideas with you! Learn more about me here. Contact me here. Find Media/PR info here. Privacy is important to us. Please read my Privacy Policy.
  • Email
  • Facebook
  • Instagram
  • Pinterest
  • Twitter
  • YouTube

Join our mailing list

Get our latest updates & exclusive content!

Privacy Policy, Disclaimer & Terms of Use

Favorite Posts

image of guy in jeans installing lvp or laminate flooring - LVP vs LAMINATE FLOORING

LVP vs Laminate Flooring: Differences, Pros and Cons

woman installing lpv flooring

How to Install LVP Flooring and Why it is my FAVORITE Flooring for Families


COPYRIGHT: You’re welcome to link to Simply Designing or use a single image with a brief description to link back to any post. Republishing posts in their entirety is strictly prohibited.  Any use for commercial purposes is strictly prohibited. Feel free to pin on Pinterest. Find out more in my Privacy Policy.  Simply Designing with Ashley Phipps LLC is a participant in the Amazon Services LLC Associates Program, an affiliate advertising program designed to provide a means for sites to earn advertising fees by advertising and linking to Amazon.com . Simply Designing with Ashley Phipps LLC and it’s owner, employees and affiliates are not liable in any way for injury or loss (whether physical, emotional, monetary or any other kind of loss) resulting from any inspiration, ideas, directions or information gained from this website. We advise you to always follow manufacturer instructions, take appropriate safety precautions and hire a professional when in doubt. We love it when you use our site for inspiration, but by using it, you agree that you do so at your own risk.

Privacy Policy 

Copyright © 2025