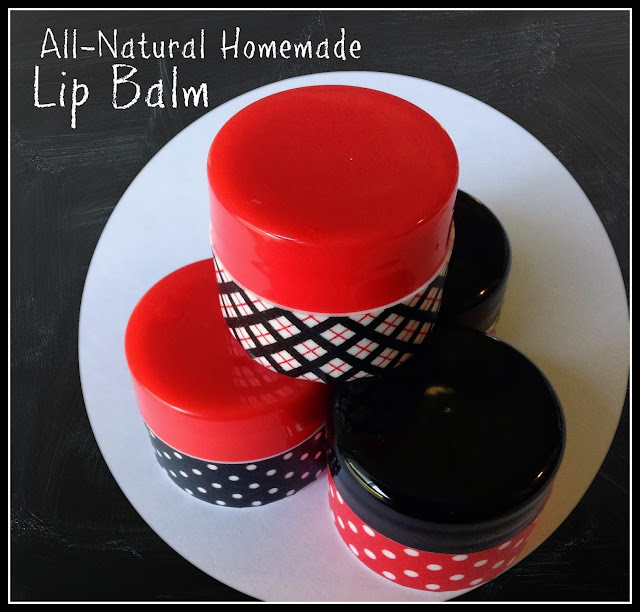
You can make these all-natural homemade lip balms in a jiffy so you or your kids have lip balm to stick in a backpack or purse when chapped-lip-weather arrives.
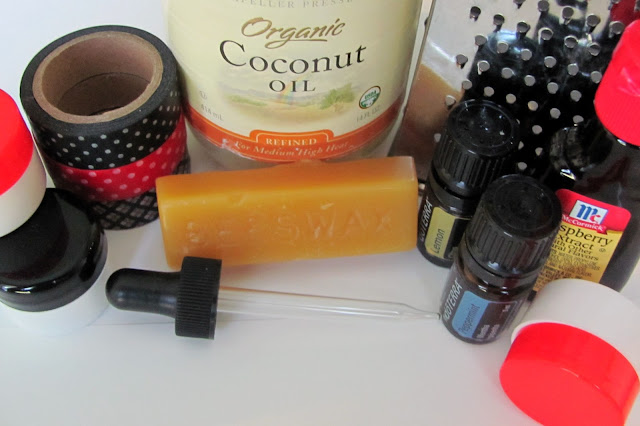
First you'll want to gather your supplies. The lip balm begins to set up fairly quickly once it's mixed, so although you don't need to rush, you will want to have everything you need on hand before you start.
- 1 tablespoon grated beeswax (or beeswax pellets)
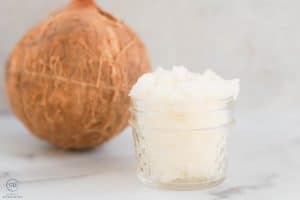
- 2 tablespoons coconut oil
- essential oil or natural extract of your choice, optional (we tried raspberry; peppermint, orange and lemon are all on the list next)
- a little bit of a leftover lipstick for color, optional
- containers for the prepared lip balm (if you don't have any on hand you can buy them online. A Google search for "lip balm pots" or "lip balm containers" will give you tons of options.)
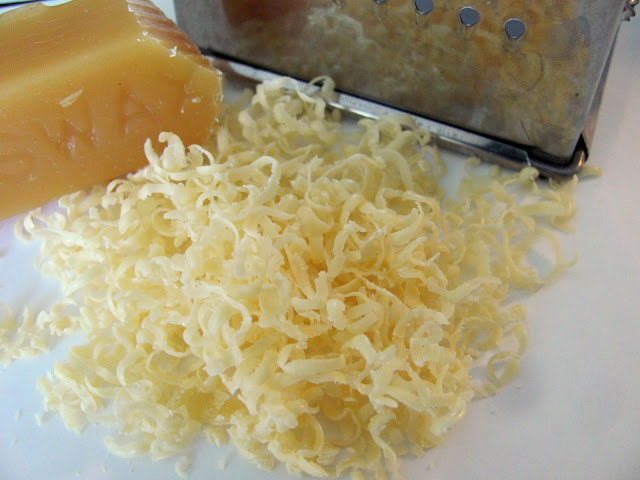
If you can find beeswax pellets, great. If not, grate! I found this bar of locally produced beeswax at a nearby organic grocery store. It only took a few seconds to grate the tablespoon of wax needed for the recipe. However, you might be able to save yourself those few seconds if you can find the pellets. Your nearest craft store should have them in the soap and candle making section.
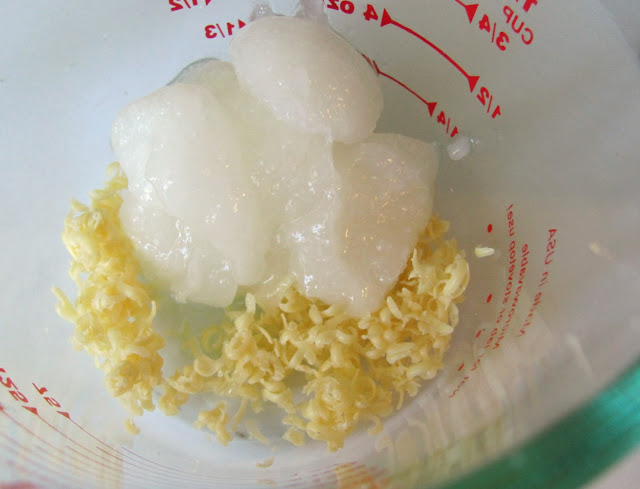
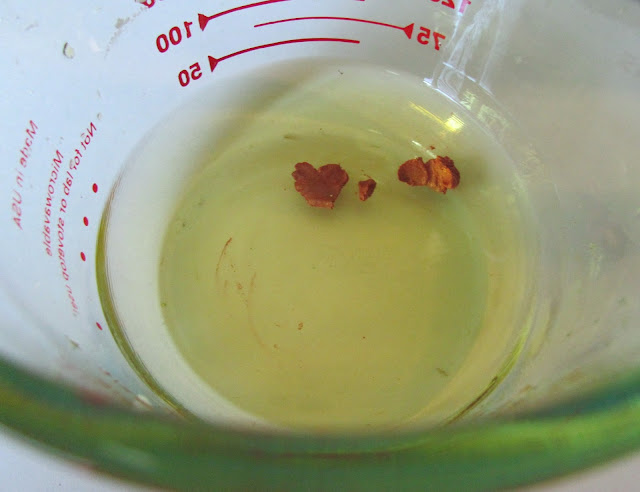
Put your beeswax and coconut oil into a microwaveable glass measuring cup or small glass jar. Microwave for about one minute, stirring with a metal spoon after every 15 seconds until melted (remember microwave times vary). You can also do this step in a double boiler or pan on the stove if you prefer. The microwave method is fast and easy, so I did it that way.
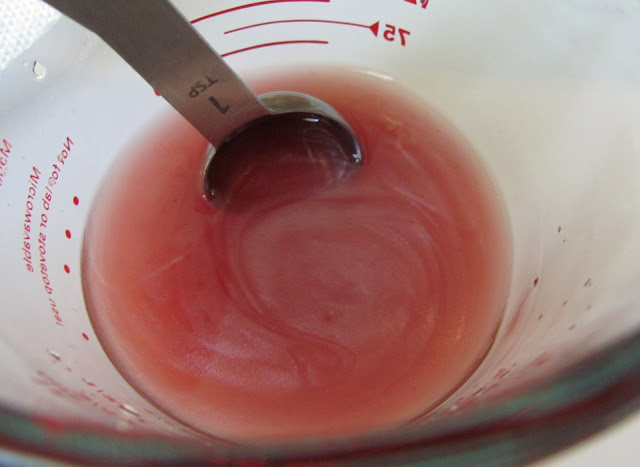
If desired shave off a little bit of lipstick with a butter knife or craft stick and stir into the beeswax mixture until well combined. Add more or less lipstick according to your desired intensity, or leave it out altogether (that's how my boys prefer it). I think it's pretty with a little color.
Stir in the flavoring of your choosing. You may want to be careful when using essential oils as they can be very strong and lips can be sensitive. A drop or two will probably be sufficient. If using an extract for scent or flavoring you may have to use a little more--about a quarter teaspoon or so. Whichever flavoring you choose, just add a drop at a time until the scent and flavor are how you would like them. I found that since I used natural local beeswax that the wax actually added a slight honey smell and taste to the balm that is nice so depending on what kind of wax you use, you may not want to add anything extra at all.
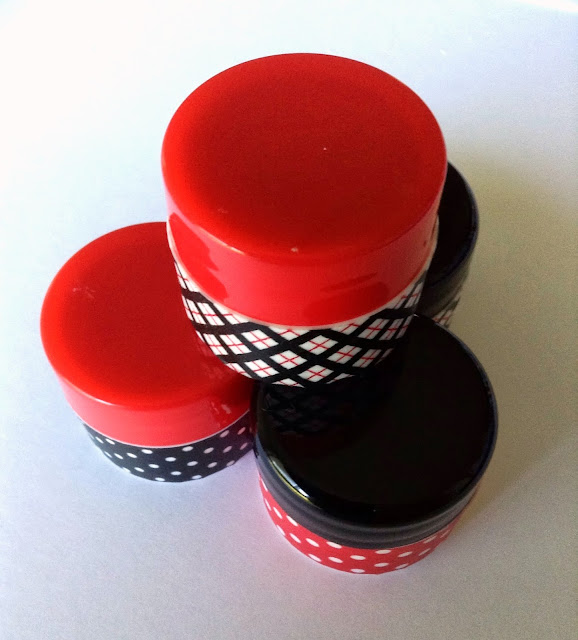
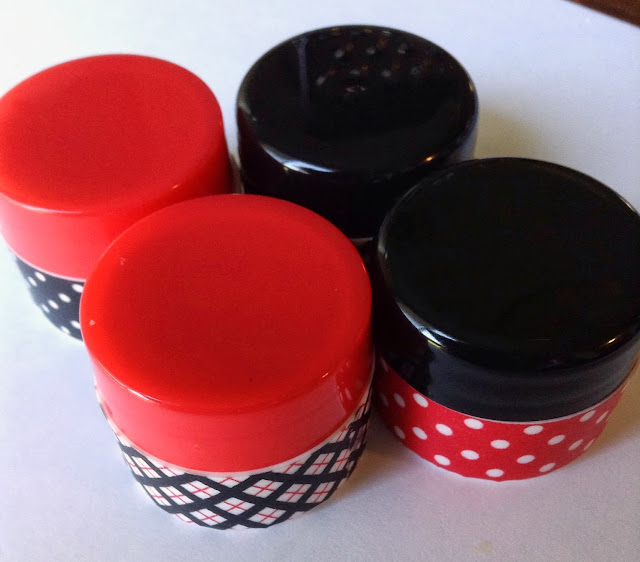
If you used a measuring cup it will be easy to pour your liquid lip balm right into the containers. If you used a jar for the melting, you might want to use an eyedropper or clean medicine dropper to fill your container. Fill the containers right to the top. This recipe makes enough for four .25 ounce jars of lip balm. You can recycle leftover empty makeup containers, a small tin (the Altoids Smalls tins are great) or you can order new pots or tubes online.
Set the lip balms in the fridge or freezer for about 20 minutes and clean up your mess. When the balms are nice and solid, remove them from the fridge, wipe any oil or wax off the outside of the containers with a dry paper towel and dress them up with a strip of washi tape around the bottom part of the container.
This is a fun and easy craft to do with kids. These are great for stocking-stuffers, teacher appreciation gifts, party favors or just because. Wouldn't it be fun to make these at a spa themed birthday party or with your girlfriends?
One of my favorite things about these lip balms is that they are all natural so while I wouldn't recommend eating them, there isn't anything in them I would worry about with young children.
So, quick recap:
- Melt beeswax and coconut oil together in the microwave stirring with a metal spoon every 15 seconds until melted (about one minute total, microwave times vary).
- Stir in lipstick shavings for color, if desired.
- Add essential oil or natural extract to taste. Stir to combine.
- Pour into clean containers. Let sit in the fridge for twenty minutes before decorating containers and enjoying lip balm.
Go make some today!
I would love for you to follow me on Facebook, Twitter, Google+, Pintrest and via email.
I participate in the link parties found here.






graham and heather
I am so going to try this! I am glad you mentioned where to get little containers that was a big question of mine. 🙂
Jen {Bakerette.com}
Hi Jill! I happened on your blog from What's Cooking with Ruthie and I just love this balm you are showcasing. I'd love for you to link this up at our Link party at Bakerette.com. Pinning this now!
Life With The Crust Cut Off
This looks amazing!! I love it!! I would love to invite you to link it up at our new party Lovely Ladies Linky where you link up once and get seen on 6 blogs!! Link up starts Wednesdays! http://www.lifewiththecrustcutoff.com/lovely-ladies-link-up-link-up-1/<br />Hope to see you there :)<br />Parrish @ Life With The Crust Cut Off<br />
Leslie Lambert
I am all about an all-natural solution lately...this is such a great idea. Thanks for sharing! This would be great to link up to <a href="http://www.lambertslately.com/2013/09/create-it-thursday-19-plus-features.html" rel="nofollow">Create It Thursday #19</a>…hope you'll join us!
Lyuba @ Will Cook For Smiles
This is a great idea, girl!
lzver
Just tried making this afternoon ... LOVE IT! Super easy make. I needed to microwave the beeswax and coconut oil for a little longer than recommended (closer to 2 1/2 mins). I added some lipstick shavings and some irish cream flavouring. I was afraid it was going to be waxy, but it isn't at all. Feels better on my lips than most lip balm's I've bought.