I love finding simple and beautiful ways to organize my home! And office and craft supplies in our home always seem to be overflowing out of cabinets and closets and drawers! So I came up with a simple and beautiful way to organize a few art and craft supplies without breaking the bank and while still looking stylish and modern! I came up with these beautiful Metallic Painted Pails that I just love! Come and see how I created them.
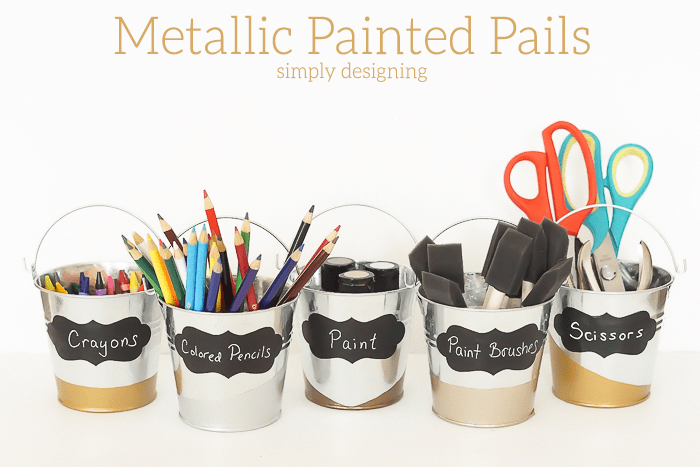
Aren't these just adorable!?!?
Metallic Painted Pails
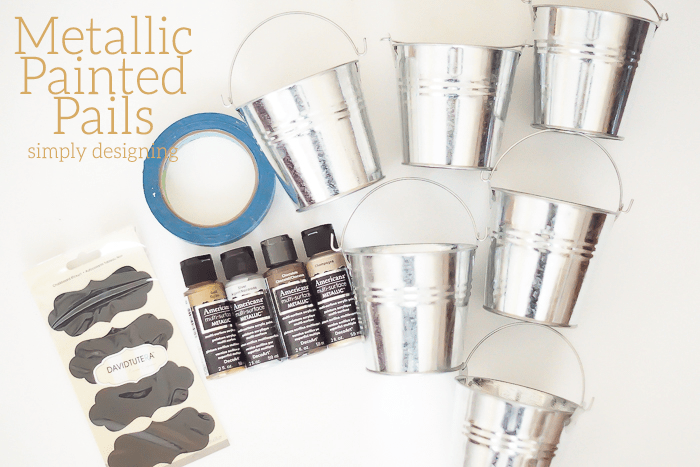
To create these metallic painted pails you will need metal pails, painters tape, and Americana Multi Surface Paint in metallic colors. I used Gold, Silver, Chocolate and Champagne. I also used a few chalkboard tags I had on hand and a chalk marker to complete the pails.
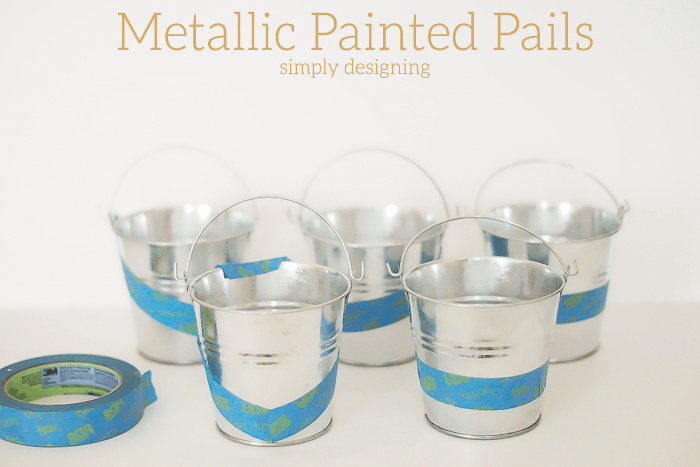
First I used painters tape to create a design on my pails. On some I put the painters tape straight around the pail, others I did at an angle. You can be as creative as you want with this! Just ensure that you create a tight seal between the tape and the pail so that the paint does not seep through.
Then I painted my pails with my metallic paint. Because you are painting on metal, you will need to do 2-3 coats of paint in order to create a well painted design. After the paint had set for a few minutes I removed the painters tape and allowed the pails to dry completely.
Once the pails were dry, I added chalkboard tags to my pails and then used my chalk marker to write on them!
Hands on, I only spent a few minutes creating a whole stash of these to use around my home and in my office. But they do take a little but to dry completely.
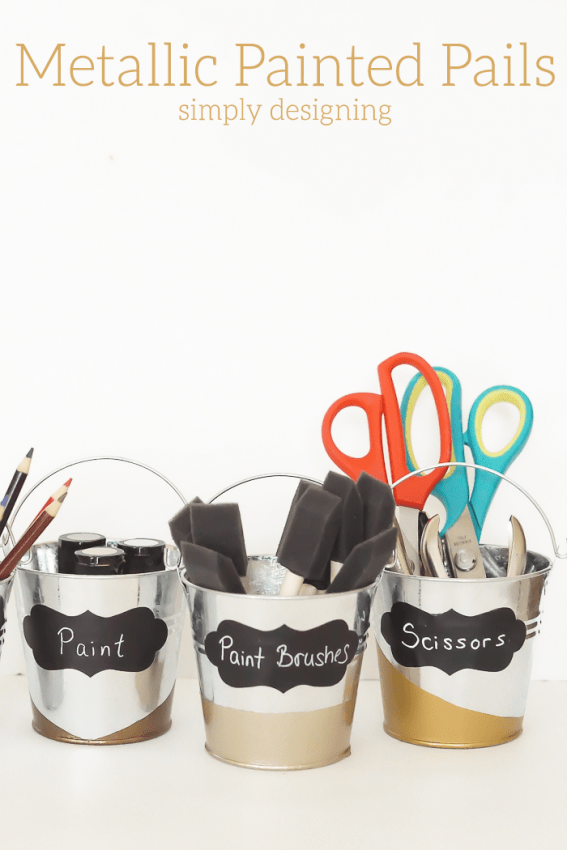
I love how fun and modern these are! The angles and straight clean lines give these pails a beautifully modern feel and I love the metallic paint so much! The metallic paint add the right amount of sparkle and glam without being over the top. They are really so fun!
These pails are perfect for organizing markers, colored pencils, scissors and even paint brushes! The possibilities are truly endless!
You might also enjoy:
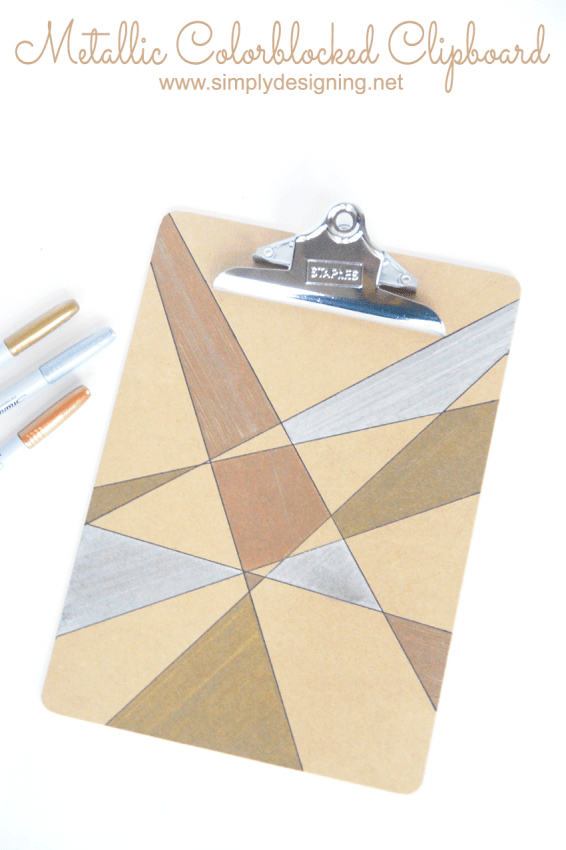
Metallic Color Blocked Clipboard
This post was first published on the DecoArt blog.




Leave a Reply