A big huge thanks to The Tile Shop for sending us product to help make this post possible.
I am so excited to share another part of my bathroom with you today! My master bathroom floors are finally finished! Woot woot! Now you may be thinking, after the shower we built and tiled (see HERE) the floors would be super easy! And they were, but not only did we install new tile floors, but we also installed a heated flooring system. So I don't just have a tiled floor. I have a WARM TILE FLOOR! Woot woot! Which means that my toesies will be loving life this winter! Installing a radiant heated flooring system is not hard to do, but it takes a few extra steps before you can even begin tiling. But let me tell you, it was 100% worth it! So here is how we installed our new heated tile floors.
How to Install Radiant Heated Tile Floors
I have to admit, I am posting a little bit out of order of how we completed our bathroom, but it made sense to put our heated flooring system and our tile floors in one blog post. But, in all honesty, because we needed to run a new circut, and our circut board is in our garage directly below our master bathroom shower we actually began our heated flooring system right after we demo'd our bathroom. We created a new circut in our circut board and ran new wire up in between the walls from the circut board into our attic space and over to a dry wall where we would later install our flooring thermostat.
After the electrical was in place we prep'd our floor!
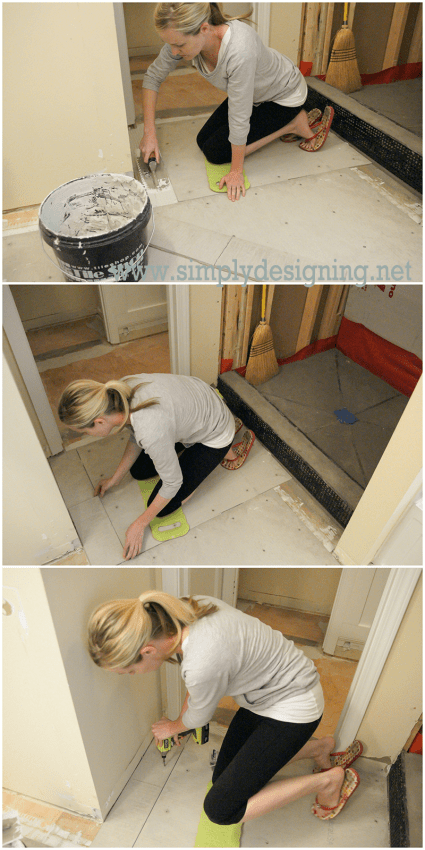
First we installed concrete backerboard over our entire subfloor. You can read all about how to install concrete backerboard HERE. We installed ¼" concrete backerboard on our floors initially. Then around the edges of our walls and any place where we would NOT be installing radiant flooring, we installed a second layer of ¼" concrete backerboard. (Follow all manufacturer instructions to be sure you leave enough space between the walls and your heated floor mat.)
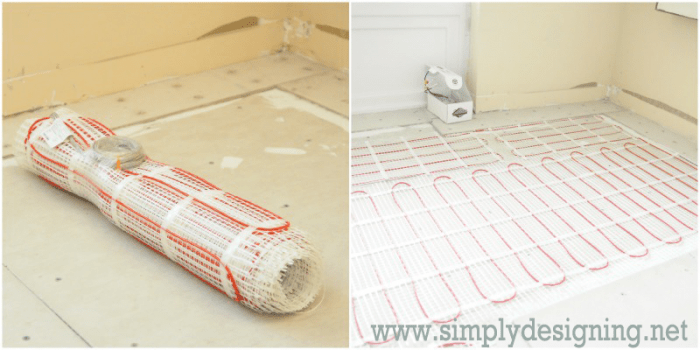
Radiant heated flooring is so awesome! It comes in a mat that you literally just roll out and put in place! The only thing you need to be careful about is to not nick or cut the wires for any reason. If you do, the heated flooring won't work.
After we laid our mat in place, we carefully tacked it down well. The mat had double sided tape on the back of it, but in areas where we needed a little extra tack, we used a low-temp hot glue gun!
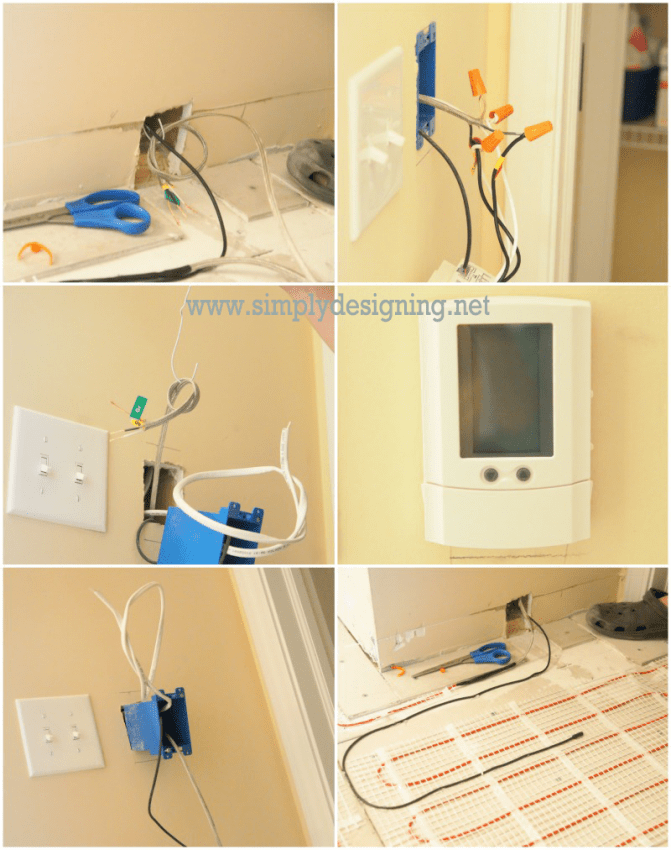
Once the heating mat was in place, we used a coat hanger to fish the mat's power and thermostat wiring up through the dry wall to the control panel. Then we connected the mat's power, thermostat sensor, and the electrical from our breaker box to the control panel according to the manufacturer's directions.
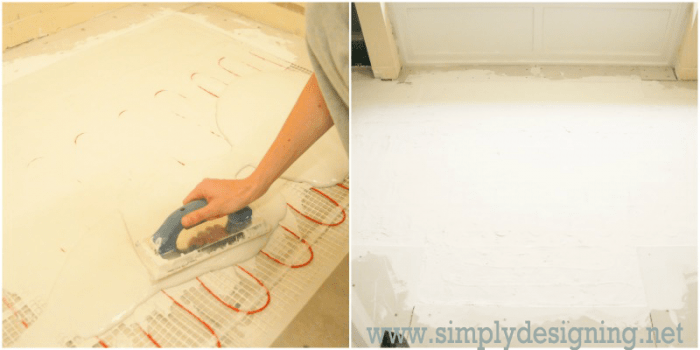
Then we made a batch of runny thinset (aka mortar) and covered our heating mat entirely with it. We were careful to be sure that our heating mat was completely covered with thinset and that the thinset was level with the backerboard border. This is especially important. You want a flat, even, surface for laying your tile on. Keeping the thinset extra runny makes this easy to do!
Then we let our thinset dry completely.
After the thinset was dry, we were ready to tile our floors!
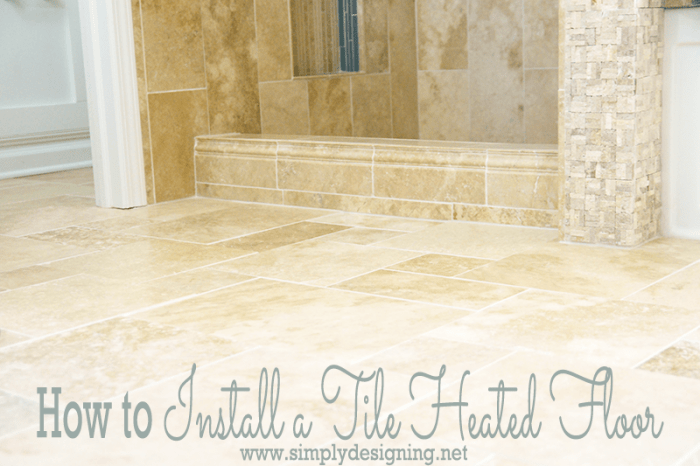
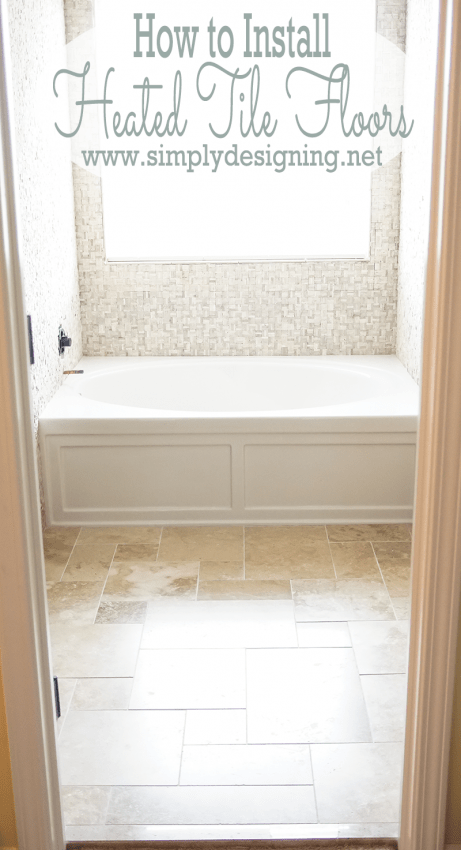
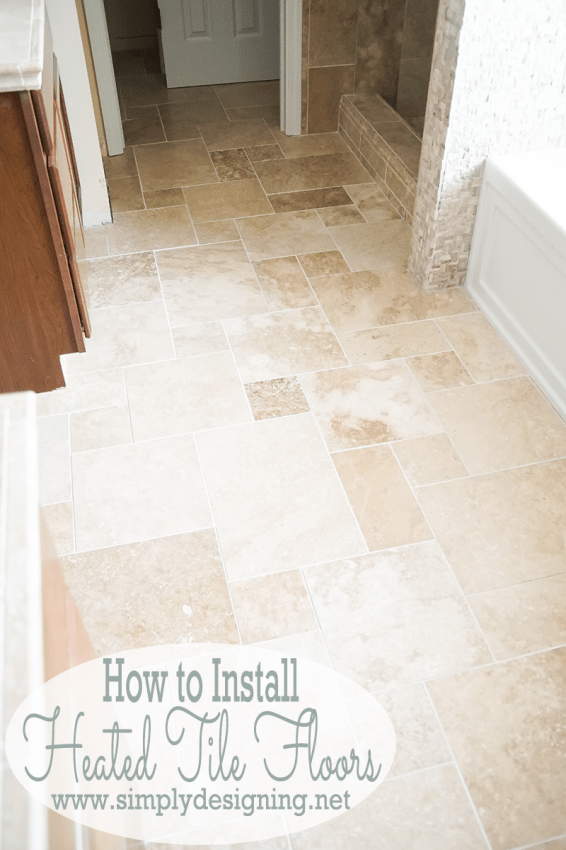
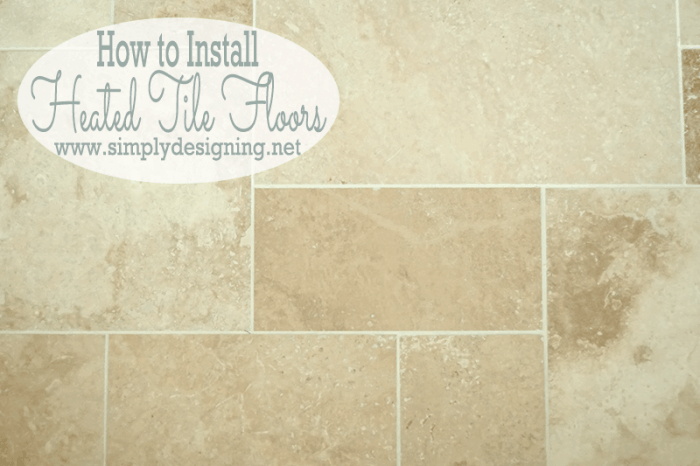
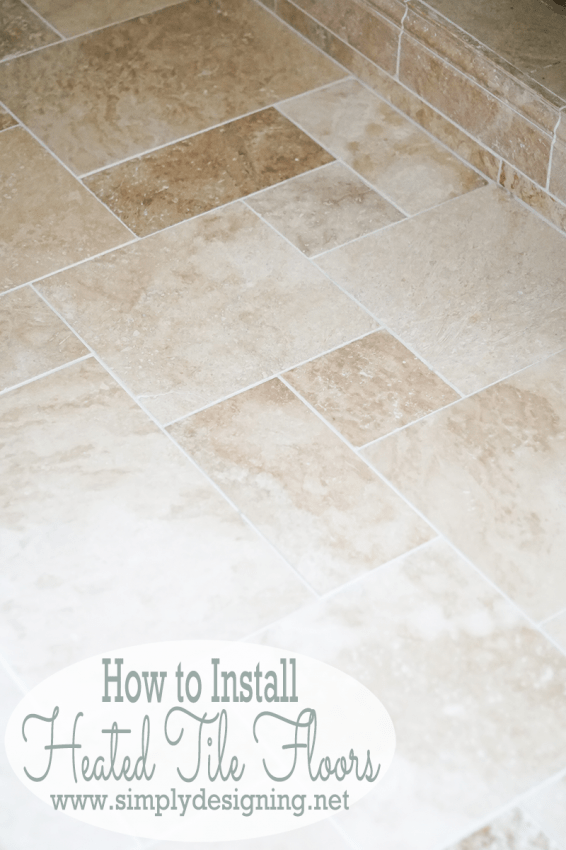
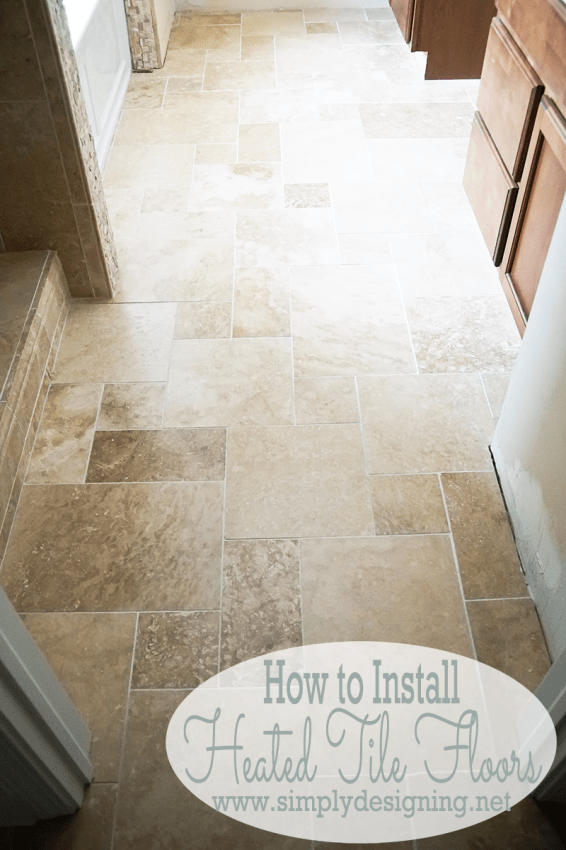
We choose the most beautiful travertine flooring! It came in a beautiful Versailles pattern that I just love! It is an amazing combination of different sized squares and rectangles in a complex repeating pattern. And even though it took a little longer to lay because of the pattern, it was definitely worth it because the floors turned out amazing!
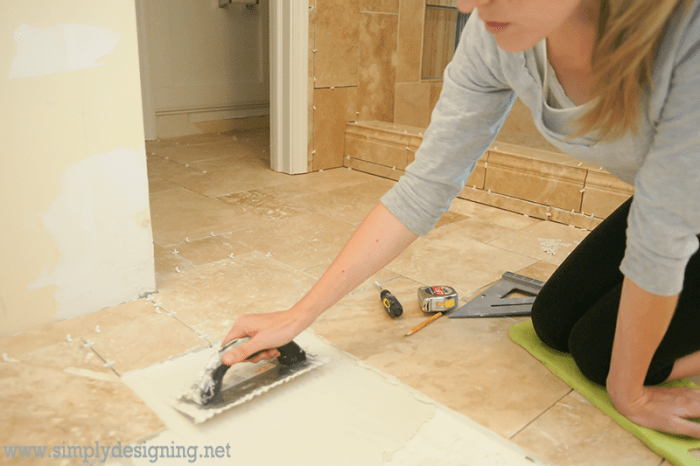
I have spoken at length about tiling floors. You can read about our past floor tiling projects here: herringbone tile floors, hexagon tile floors and our kids bathroom tile floors. So I won't go into a lot of detail here. I highly recommend reading this blog post HERE and HERE if you want to learn more about the nitty gritty of laying a tile floor but I will give a brief overview here too.
With any pattern, just be sure you take the time to fully understand it before you begin laying your tiles!
Lay Tile
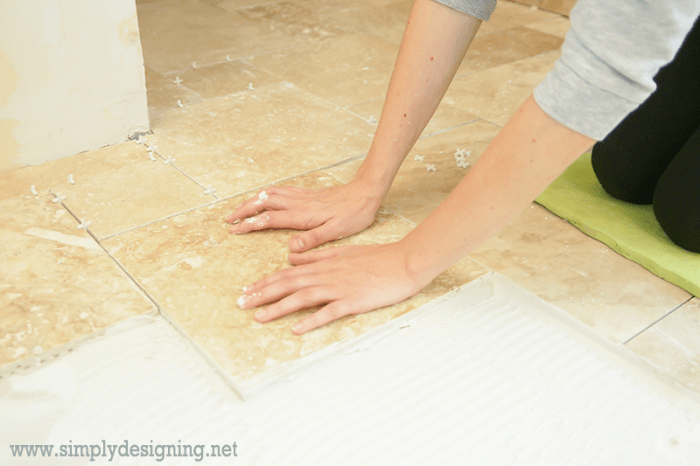
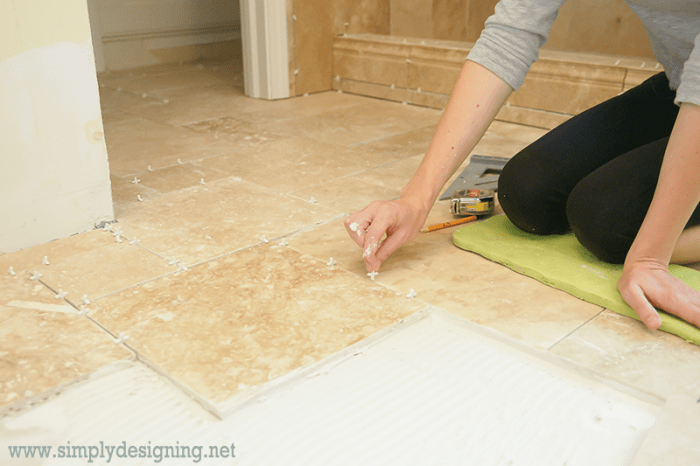
Also, when placing the tile, ensure that the tiles are level and that the edges line up with adjacent edges height-wise.
Cutting Tile Tips
Then insert spacers on all sides of the tile.
You can also use spacers to scrape out any extra thinset that may ooze out in between your tiles as you are laying them. (This is not an “official” use, but it works really well!)
Grout
We let our thinset dry completely prior to grouting. (Always read the thinset and grout instructions for recommended time frames.) We mixed our grout with our grout admixture until it was a toothpaste-like consistency.
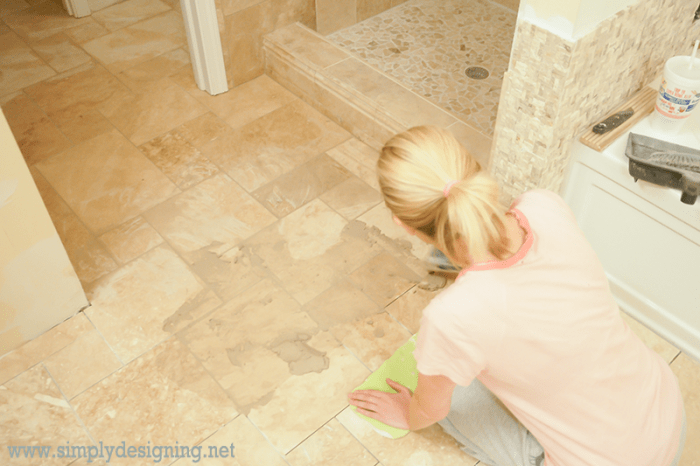
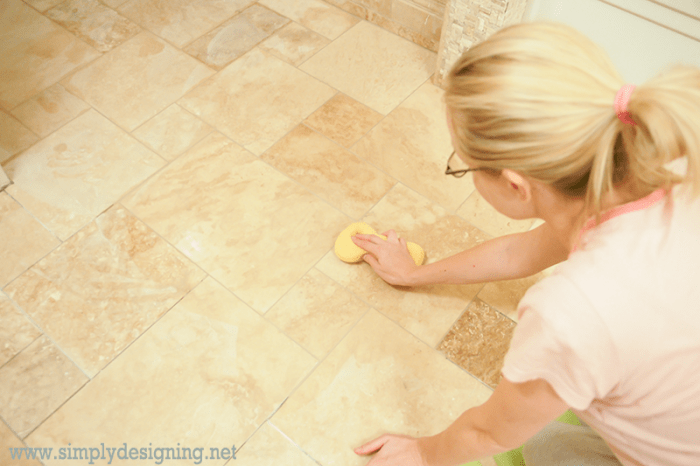
We used a grout float at a 45 degree angle to spread the grout and to work the grout into your grout lines. We made sure that every grout line was filled well with grout. We worked one small area at a time. And about every 15 minutes, we took a break to wipe our surface clean with a large wet sponge. Then we continued until the entire floor was grouted.
De-Haze and Seal
After our grout had dried, we used a film remover (aka de-hazer) and a bristle brush to clean our tile. We then wiped it clean with paper towels.
We had to wait about 48 to 72 hours before we could seal our floor. We used a sealer sponge and a sealer meant specifically for natural stone and/or travertine. We followed the instructions on the back of the bottle which were to wipe on a coat of sealer with our sealer sponge, let it soak into the stone for about 10 minutes and then we wiped off any excess with a clean, dry cloth. You can wait about 30 minutes and repeat for a second coat if needed.
You will know if you have enough sealer on your floor by doing a drip test. Drip a few drops of water onto your stone and if the water beads up, you do not need another coat of sealer. If the water absorbs into the stone, you will want to apply another coat of sealer to your stone.
Be sure to follow all manufacture instructions and let your sealer dry completely prior to use.
Here are a few fun "after" photos of our finished floor! Please realize that our project is not yet complete so there are doors not yet re-insalled and our baseboards are still off. But it is coming along nicely! Also...if you look closely, you can get a few "sneak peeks" of our next phases of our bathroom remodeling project! Woot woot!
A few additional tips to remember when you are tiling:
- Be sure to have all the right tools prior to beginning a project like this.
- Be careful to lay your tile evenly so that tiles aren’t higher then the next one. Some like to use a level to help with this, others run a plastic cup (upside down) around the tile to be sure nothing catches, and some like to just use “feel” to get the tile level and smooth. Either way, you don’t want any stubbed toes, so just be sure your tile edges are level with the tile next to it.
- Measure twice and cut once.
- When in doubt, ask a professional! The Tile Shop has many professionals that love to help answer your DIY questions.
Here is a quick supply list in case you want to do a similar project:
SUPPLIES
- Pro Heat Mat
- Programmable Thermostat
- Floor Tile: Bucak Medley, H/F, Sm Versailles, #657955
- Carpet Transition Strip: Bucak Lt Walnut Hon Threshold, 91.5 x 5 x 2cm, #800005
- Grout: Desert Sand, Sanded
- Flexible Grout Admixture
- Poultice Stain Remover
- Proflex Thinset (aka mortar)
- Travertine and Sandstone Sealer
- Trowel
- Notched Trowel
- Grout Float Tool
- Mortar Mixing Paddle (for use with a power drill)
- Large Sponge
- Sealer Sponge
- Bristle Brush
- ⅛″ Spacers
- Tile Saw
- Eye Protection
- Ear Protection
- 3+ Buckets (one for mortar, grout and water)
- PermaBase Cement Board, ¼"
- Backerboard Screws
- Supplies needed to reinstall things like base board, toilets, cabinets etc.
Check Out Our Master Bathroom Remodel Series:
Part 1: Master Bathroom Inspiration
Part 6: Installing Moen Posi-Temp® Shower Fixtures
Part 7: How to Install Radiant Heated Tile Floors
Part 8: Install New Tile Counter Tops
Part 9: Install a Tile Accent Wall
How to Install a new Shower Door
How to Install new Bathroom Mirror Frames (in about 10 minutes!)
DIY Framed Mirror with Hidden Jewelry Organization
Please note that I am not a professional. I am just sharing what worked for us. As always please use all proper safety precautions and read and follow all manufacturer instructions. Please note that I am not responsible in any way for any outcome if you try this yourself. I am not liable for any injury or additional cost or expense incurred. I always recommend consulting and hiring a professional if needed. And always be sure to check with local building codes to obtain all permits needed for any DIY project.




Maryann @ Domestically Speaking
Looks gorgeous and I bet it's going to be so nice to have your little piggies warm this winter!
Ashley Phipps
Thank you Maryann!
Laura @ Inspiration for Moms
Wow! That looks so awesome and having heated floors in the winter....what a luxury! 🙂
Ashley Phipps
Oh thank you so much Laura!
Nikki @ Tikkido
Stunning! (And I love the added function, too!) If I ever move away from Phoenix to a place where it actually gets cold, I'm totally installing heated tiles in the bathroom.
James Mason
Excellent post Ashley, I have heated flooring at our place and you have done a great job in explaining exactly how it should be done.
All the best, James.
Carissa Rasmussen
Totally doing this in my basement. Can't wait to actually use some of your awesome tips and tutorials! Love this Ashley! I'd love you to share it at my link party http://www.carissamiss.com/2014/10/outside-box-no-7.html
Ronda Chesser Porter
WOW - What a woman! You did a fab job. Sharing your hard work on my social media!
Ashley Phipps
Thank you so much!
Sharon - Her Organized Chaos
This is a GREAT tutorial. We are about to do our downstairs and want to put heated floors in and had NO idea where to even begin. Thanks for sharing.
Kristina @ My Own Home Blog
I so need to do this! I'm buying a house soon and was looking into heated flooring! Thanks for positing this and making it look so easy!
Victoria Runda
I like to think that I'm proficient at doing home projects so I will give this a shot. For a long time I have wanted to get heated tiles installed in both of my bathrooms. How much does installation usually cost? I just want to make sure that I can afford professional help just in case I do anything wrong with the installation.
Ashley Phipps
I am not sure as installation will vary from installer to installer. I would recommend getting a quote from someone local so you know ahead of time though! Best of luck!
Steve @ HVAC repair company
Your floor looks exquisite! I wish to do the same thing to my house so that the floor feels warm during winters. Thanks for sharing this amazing post.
Chris Winters
Ashley, I had no idea that radiant floor heating systems came in rolled up mats. My wife and I have been trying to find a more convenient way to keep our home warm throughout the winter. I think that we should seriously consider radiant floor heating to see if it happens to be more energy efficient and affordable.
Sandra
I love the pattern you chose for the floor tiles, do you know what its called please?