• Skip to primary navigation
  • Skip to main content
  • Skip to primary sidebar

Simply Designing with Ashley

  • DIY
  • Oils
  • Recipes
  • Craft
  • Travel
  • Decor
  • Holiday
menu icon
go to homepage
  • DIY
  • Oils
  • Recipes
  • Craft
  • Travel
  • Decor
  • Holiday
search icon
Homepage link
  • DIY
  • Oils
  • Recipes
  • Craft
  • Travel
  • Decor
  • Holiday
×

Car Cupcakes with Homemade Marshmallow Fondant

Published: Mar 8, 2011 by Ashley Phipps · 440 words. · About 3 minutes to read this article. · 3 Comments · This post may contain affiliate links · This blog generates income via ads and sponsored posts · This blog uses cookies · See our privacy policy for more info Filed Under: Recipes

I forgot to show you how I made my Car Cupcakes from my son's first birthday!  They really were pretty easy to make!  But a bit time consuming, so plan ahead!

    Cupcake | Car Cupcakes with Homemade Marshmallow Fondant | 7 |

Make cupcakes.  I just used a box mix.  It's easy and they taste yummy!  I made 2 batches, one chocolate and one white.  I tinted the white ones turquoise. 

Make Marshmallow Fondant.  You can buy fondant from most craft stores, but I don't really like the taste of it.  So I made my own for the very first time!  (Note: 1 batch of fondant is enough to make and decorate 2 batches of cupcakes!)

I used this recipe here and it really is foolproof (thanks Amy!). 

I have made two batches using this recipe and the second batch I made with vanilla extract instead and I liked the taste of it a little better.  But that is a personal thing and they both were really quite yummy, the point is, you can flavor this however you like!  Just remember that if you want perfectly white fondant, only use clear extracts (Wilton sells clear extracts in the cake decorating department of most craft stores.)
After the fondant has set for at least 8 hours, being sure to use plenty of shortening on your hands, your counter and your rolling pin, roll small portions of the fondant out.  Using a cookie cutter, cut large circles and cover the top of the cupcake with white fondant.

Take another small portion of the fondant and using gel food coloring (not liquid!), tint your fondant any color you like for the cars.  (I opted for turquoise...and it is oh-so-pretty!)

Roll out the colored fondant for the cars and using a smaller round cookie cutter, cut out circles for the cars.  Then cut the circle in half.  This will be the body of your car.

Depending on how quickly you work, you might be able to just attach the car body to the cupcake.  If the fondant has dried a bit, use a little water as glue to attach the two pieces together.

Tint another small portion of fondant black or grey for the wheels.  Using a small round cookie cutter cut out wheels and attach to the car.

Using the final white portion of your fondant and the same small round cookie cutter that you used for your wheels, cut out small white circles for the front and back windows.  Cut each circle into quarters and use one quarter for the front window and one for the back window.  Cut small squares for the middle windows.

Use a toothpick and food coloring to draw on the steering wheel.

Collage | Car Cupcakes with Homemade Marshmallow Fondant | 8 |

Enjoy!!! 

Party1 | Car Cupcakes with Homemade Marshmallow Fondant | 9 |

I participate in the link parties found here.
Subscribe to Simply Designing by Email

More Recipes

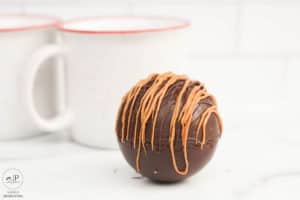
  • caramel hot cocoa bomb recipe with white mugs in the background
    Caramel Hot Cocoa Bombs
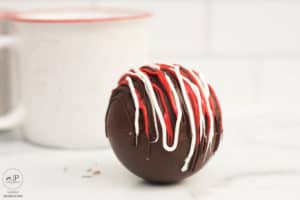
  • Peppermint Hot Chocolate Bombs
    Peppermint Hot Chocolate Bombs
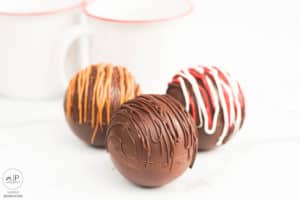
  • hot chocolate bomb
    Hot Chocolate Bomb Recipe
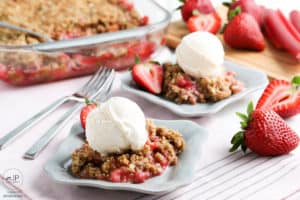
  • crisp made with rhubarb and strawberries served on a plate with ice cream
    Rhubarb Strawberry Crisp

Reader Interactions

Comments

  1. Ashly@Moon Walk

    March 08, 2011 at 11:16 am

    Yummy!

    Reply
  2. Allison {A Glimpse Inside}

    March 08, 2011 at 3:52 pm

    Those are so cute!

    Reply
  3. Ashley Marie

    March 09, 2011 at 7:05 pm

    So cute! My mom used that marshmallow fondant (or one like it) for my brothers wedding cake and it turned out great 🙂

    Reply

Leave a Reply Cancel reply

Your email address will not be published. Required fields are marked *

Primary Sidebar

Hello Friends!

Ashley Phipps Simply Designing I'm Ashley Phipps and I love sharing SIMPLE DIY, home, travel, food, craft and essential oil ideas with you! Learn more about me here. Contact me here. Find Media/PR info here. Privacy is important to us. Please read my Privacy Policy.
  • Email
  • Facebook
  • Instagram
  • Pinterest
  • Twitter
  • YouTube

Join our mailing list

Get our latest updates & exclusive content!

Privacy Policy, Disclaimer & Terms of Use

Favorite Posts

Himmeli Wreath with Shamrocks

St. Patrick's Day Himmeli Wreath

minimalist living room with white and grey background

Easy Minimalist Living for a clutter-free home and mind


COPYRIGHT: You’re welcome to link to Simply Designing or use a single image with a brief description to link back to any post. Republishing posts in their entirety is strictly prohibited.  Any use for commercial purposes is strictly prohibited. Feel free to pin on Pinterest. Find out more in my Privacy Policy.  Simply Designing with Ashley Phipps LLC is a participant in the Amazon Services LLC Associates Program, an affiliate advertising program designed to provide a means for sites to earn advertising fees by advertising and linking to Amazon.com . Simply Designing with Ashley Phipps LLC and it’s owner, employees and affiliates are not liable in any way for injury or loss (whether physical, emotional, monetary or any other kind of loss) resulting from any inspiration, ideas, directions or information gained from this website. We advise you to always follow manufacturer instructions, take appropriate safety precautions and hire a professional when in doubt. We love it when you use our site for inspiration, but by using it, you agree that you do so at your own risk.

Privacy Policy 

Copyright © 2025