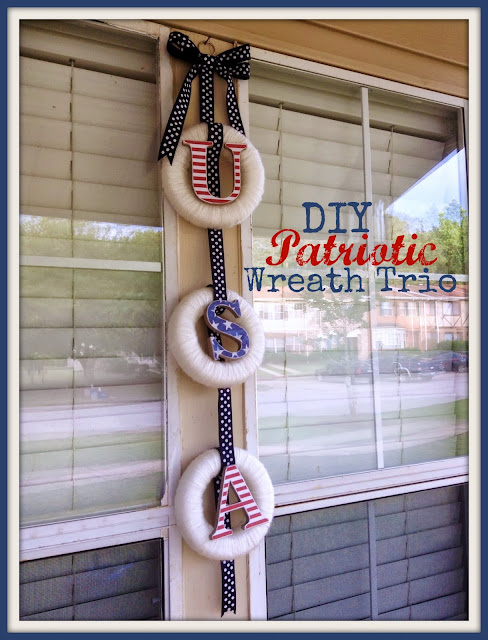
Of course I want to make this holiday as special for my own children as it is to me. Seasonal decorating always seems to bring the excitement and anticipation up a notch so I thought it would be fun to share a little patriotic DIY with you for the upcoming holiday.
Start by gathering your materials. You will need:
--Three 5 ⅞" Styrofoam wreath forms
--Yarn in the color of your choice
--Ribbon of your choice (you'll need around 2 yards or so)
--Patterned paper (my picks were from The Paper Studio, available at Hobby Lobby)
--A pencil
--Chipboard letters (also from The Paper Studio)
--Hot glue gun and glue
--Adhesive for adhering paper to letters
--An emery board or other fine grit sandpaper
--Scissors
--A small metal or plastic ring for hanging the wreaths (I used an extra key ring we had laying around)
I started by wrapping my wreath forms with yarn. This is pretty self-explanatory. Just start and wrap the yarn around the wreath form passing the yarn through the hole in the center of the wreath for each loop of yarn and pulling it tight to the wreath until it's completely covered. Tuck the loose end of the yarn under a couple of the other yarn loops on the back side of the wreath. Wrapping the wreaths is super easy, but a little tedious. It's a little like folding laundry--a great opportunity to catch up on your British television. 😉
Set the wreaths aside.
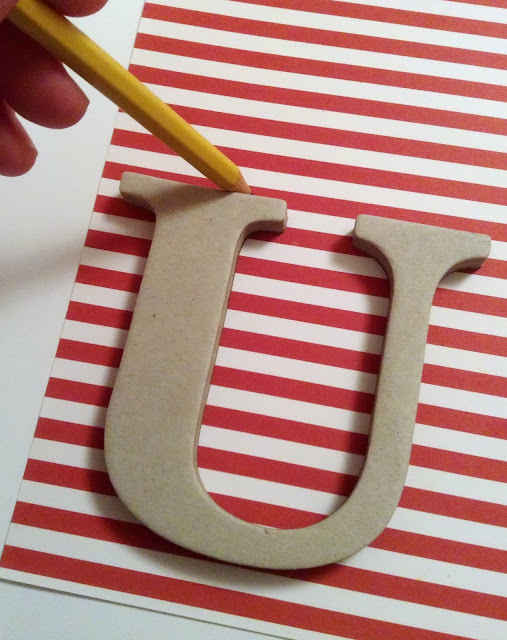
On to the letters! Trace each letter onto the patterned paper with your pencil. Cut out the patterned paper letter just inside your pencil line and adhere it to the chipboard letter. I used a tape runner for this part but plain old Elmer's or Mod Podge would work great too.
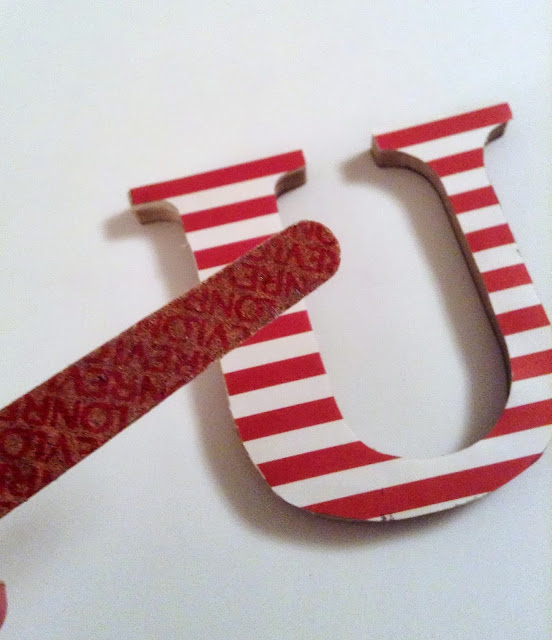
The paper may still be slightly larger than the letter. That's okay. Trim it with scissors or an X-ACTO knife if you want. Now take your emery board or sand paper and just lightly sand around all the edges of the letter. This will take care of any overhanging edges and give the letter a nice distressed look.
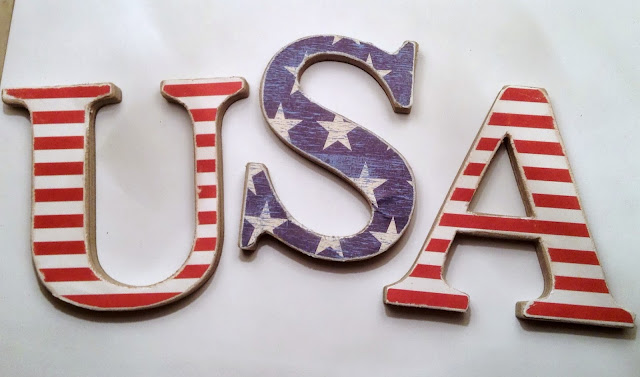
When you're all done your letters should look something like these:
Next up: the ribbon and bow.
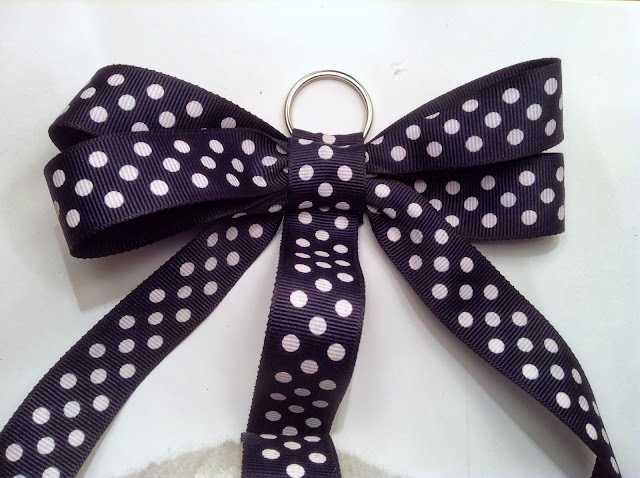
I used this method for my double bow. Fuss with it until you are satisfied with how it looks. I ended up hot gluing another small piece of ribbon around the knot on mine to make it look a little tidier.
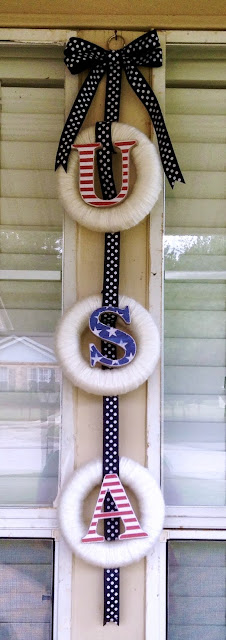
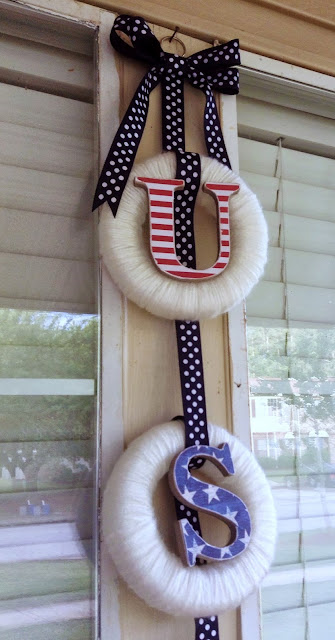
Attach your three wreaths together with ribbon, leaving a tail at each end of the trio. I looped the ribbon around each individual wreath and hot glued things in place as I went. You could measure if you want to be sure your wreaths are spaced evenly but I just eye-balled it. Using hot glue, attach one of your chipboard letters to the front of each wreath.
Cut a swallow tail ("V") notch on the bottom end of the ribbon. Loop the top end through a ring for hanging and secure it by sewing or with hot glue. Trim ribbon ends as necessary. Hot glue your bow just beneath the ring.
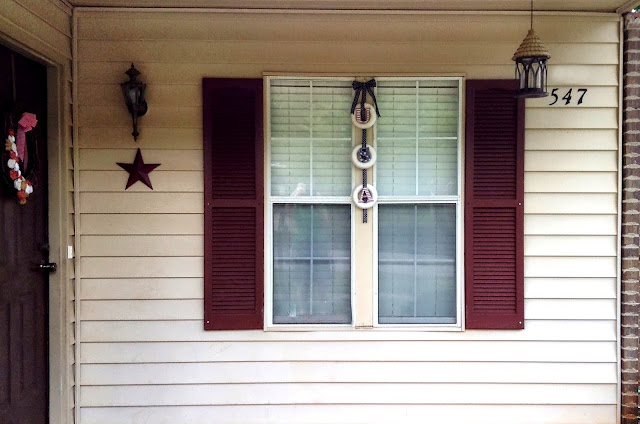
That's it. Hang your wreath trio where everyone can admire it and where you can enjoy it throughout the summer.
I would love for you to follow me on Facebook, Twitter, Google+, Pintrest and via email.
I participate in the link parties found here.





Sharon Currier
Very cute! Pinned & tweeted!