Hi everyone! I'm so excited to be here for my monthly contributor post from Restoration Redoux!
October went by in a blur. Since I have a furniture business from home, in the past I have completed pieces for my own home, but then clients have convinced me that they "had to have it", so therefore, my house is often bare. What is it they say about the cobbler's children having no shoes?
In October, I was asked to take part in a Blogger's Halloween Home Tour which happened to coincide with a time where I had no furniture. Knowing I had 2 weeks to get my house in full-out Halloween regalia was enough to make me a stressed-out mess, but add to that I had to actually complete the furniture the decorations needed to rest on sent me into a frenzy. Who needed to sleep for days at a time anyway?
I lived through it, and the Tour was a success! And I am determined to keep my new buffet and cabinet (at least for a while).
My daughter also got her restricted license and celebrates her 16th birthday at the beginning of November. Setting her loose on the roads alone makes me a nervous wreck.
Are any of you other mom's going through this right now?
Her driving isn't so bad ... it's her parking that has me worried. She will start driving to school alone next week and has already decided to get there really early in the morning and then leave quite a bit after school ends so she won't have to maneuver the crazy high school parking lot.
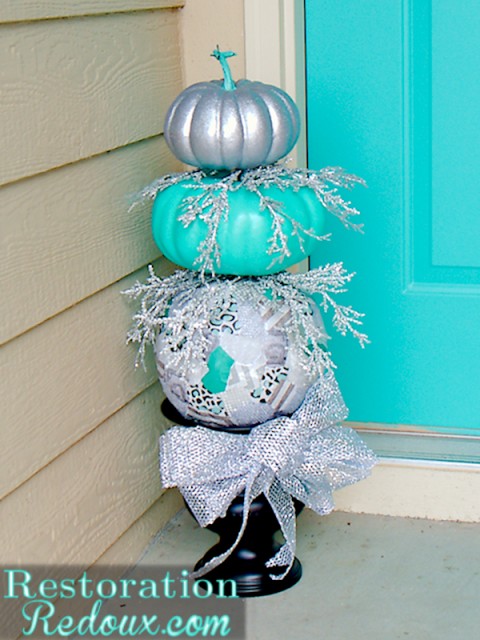
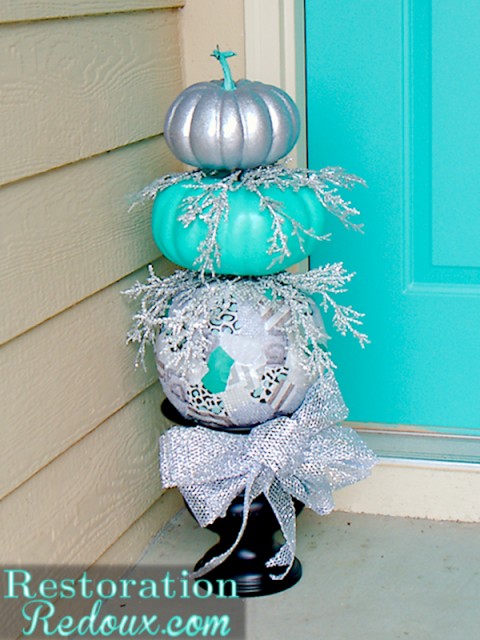
Since all of the Halloween decorations have come down this weekend, I needed something new for the front porch, so I decided to make a pumpkin topiary.
I took an old, brassy pot that I found at Goodwill and spray painted it black.
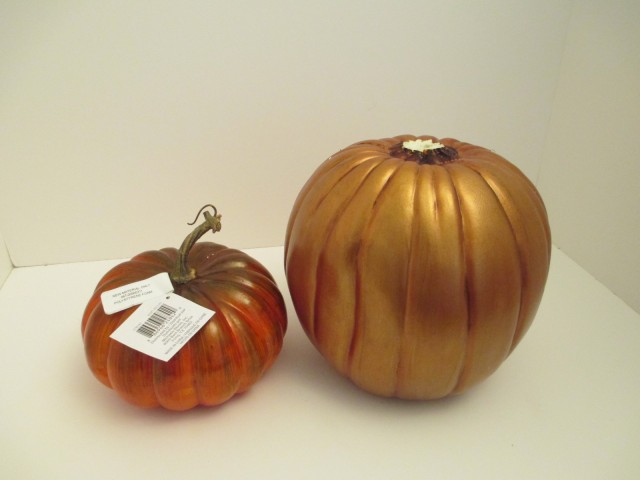
I then found three different sized pumpkins from Michael's and drilled a hole all the way through the two biggest pumpkins and up through the bottom of the smallest pumpkin, but not quite to the stem.
For the large pumpkin, first I removed the stem.
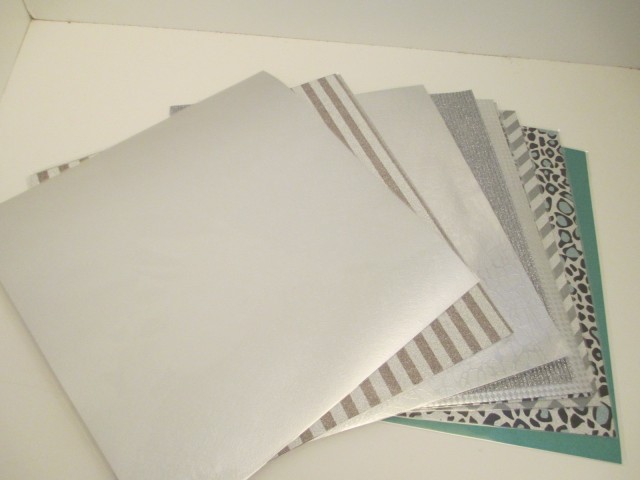
Next I started with several different sheets of metallic paper, also from Michael's.
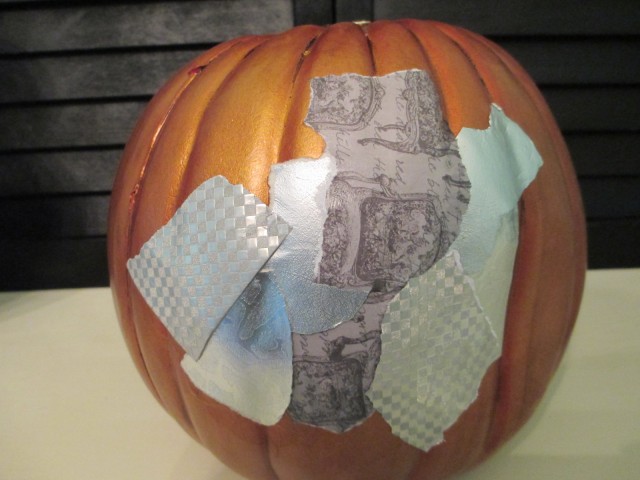
I tore the paper into small pieces and let them soak for a few seconds at a time to soften in Mod Podge, and then I laid them on the pumpkin and held them put for a few bit.
I repeated this process until the entire pumpkin was covered.
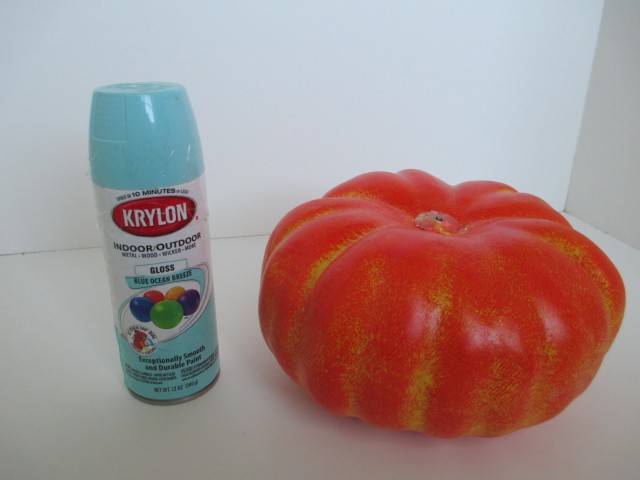
With the second pumpkin, I also removed the stem and gave it two coats of Krylon spray paint in Sea Glass, but you could, of course, use any color you want.
With the third pumpkin, I left the stem on since it was going to be on top.
I then spray painted the stem the same green as in pumpkin number two.
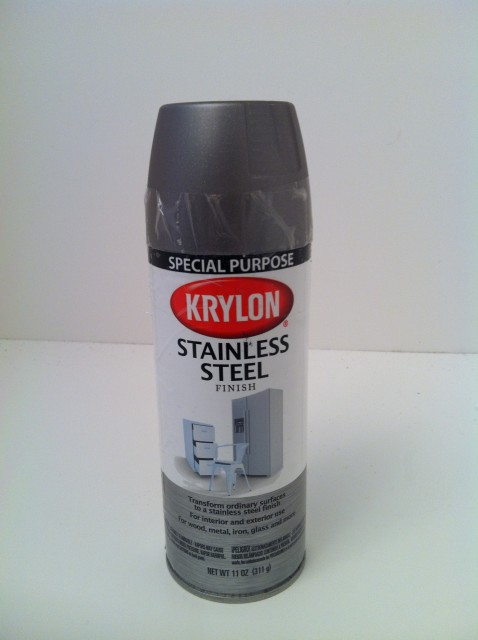
Once that was dry, I taped the stem off using painter's tape, and I gave it two coats of Krylon Stainless Steel spray paint.
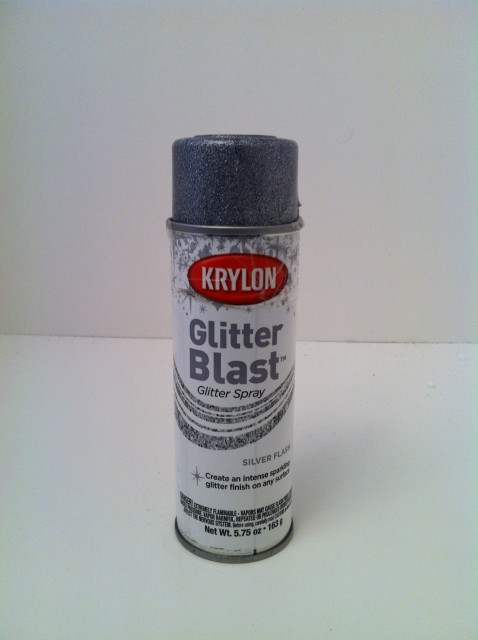
After that was dry, I gave it a coat of Krylon Glitter Blast spray paint in Silver Flash.
Last, I filled the pot with sand to give it some weight, and to keep it from being top heavy.
I then took a dowel rod and slid on all three pumpkins, with the biggest on the bottom, then the middle size, and the smallest on the top.
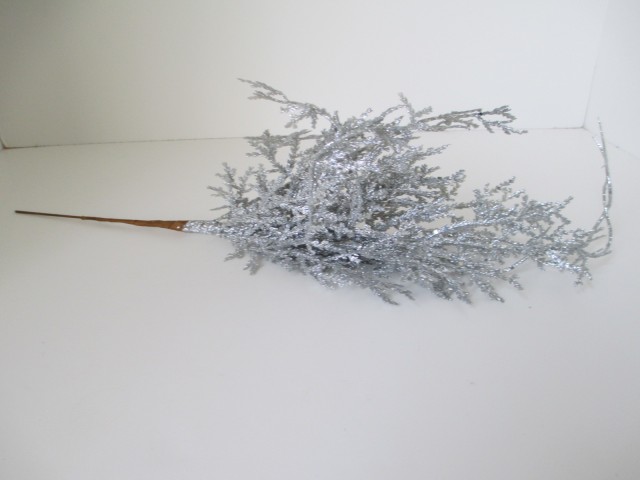
Once I had them in place, you could just barely still see the rod between each pumpkin, so I took two Christmas sprigs and glued them in between each pumpkin which filled the gap.
Thanks for letting me share with you all today! If you would like to see more or my craft or furniture projects please come see me!




Amy Ellis
Love the idea of a turquoise twist to this winter season!