My children's bathroom is getting quite the update! We recently installed new tile floors (here) and we decided to tackle a project I have wanted to do for a long time: install wood paneling on the walls! Let's face it, kids are hard on walls in the bathroom. I am constantly cleaning the walls and touching up the paint, and I wanted a solution that would make the walls easier to wipe and would also look pretty! And I knew that paneling was my answer!
We had a lot of decisions to make but after a few trips to the hardware store we settled on a design, a layout, a height and of course, a molding! I am so excited to show you how to DIY Wood Paneling!
Plus I have 2 AMAZING GIVEAWAYS today to tell you about!! (More on that at the end of the blog post.)
To DIY Wood Paneling, you will need:
- ¼" thick, 4' x 8' Purebond Plywood, ripped into 6" wide x 8' long strips
- Molding for the top (aka chair railing)
- Possible molding or baseboard for the bottom
- Paintable Wood Putty
- Paintable Caulk
- Silicone Caulk if doing this in a wet space like a bathroom
- White Paint, Semi-Gloss
- HomeRight MiniPaint Stick
- Level
- Electric Sander with 120 or 220 grit sandpaper
- Ryobi AirStrike and 1" or longer brad nails
- Table Saw
- Compound Miter Saw
- Spacers to help raise electrical outlets and light switches if necessary
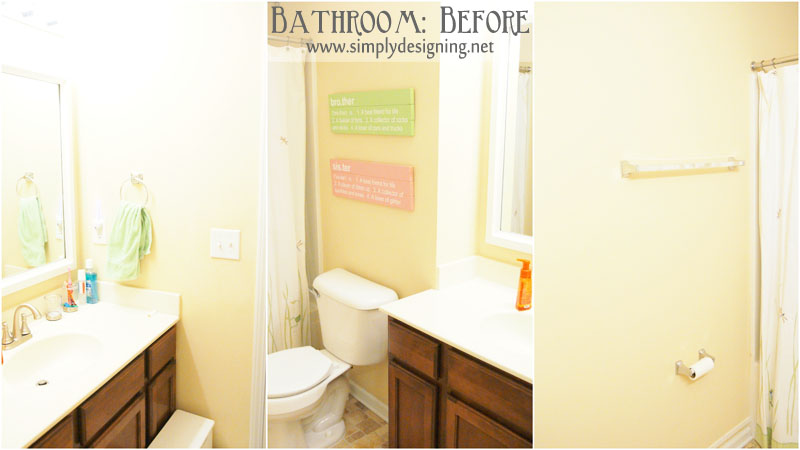
We loved how our bathroom looked with the new tile in it and we were excited to add some wood paneling to the room! Here is what the room looked like after our tiling but before our paneling!
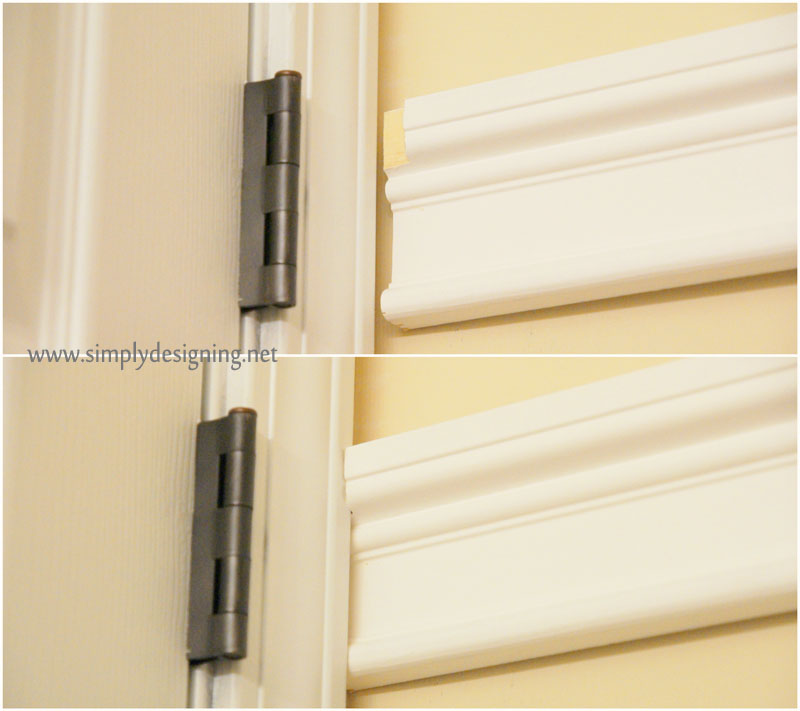
After thinking it through, we decided that we wanted vertical paneling in this room (as opposed to the more traditional horizontal paneling) and we wanted it to be tall! We decided to make the top of the molding the same height as the top of the shower. We had fun picking out molding for the top of the paneling.
And since our baseboards were very standard, and we were worried that the paneling would be thicker then the top of the baseboard (which I thought would look weird) we added a little strip of molding along the bottom as well to create a faux taller baseboard that the wood paneling would sit well on.
There are many different options of plywood that you can choose from. However we noticed a huge quality difference between most other brands and PureBond. PureBond is a lot nicer and I love that it has no added formaldehyde.
And while we were at The Home Depot picking up molding and plywood, we asked the kind gentleman there to kindly cut our Purbond plywood for us! It only took a few moments and they were able to rip all of our plywood into 6" wide x 8' long strips! This saved us a lot of time!
First we installed our base molding. We simply cut this to size and nailed it in place with my AirStrike.
Then we installed the top molding. Be sure to use a level to hang this straight. Again, we secured this in place with our AirStrike. We had to get a little creative with a few of our cuts to make our thick molding fit properly in the space!
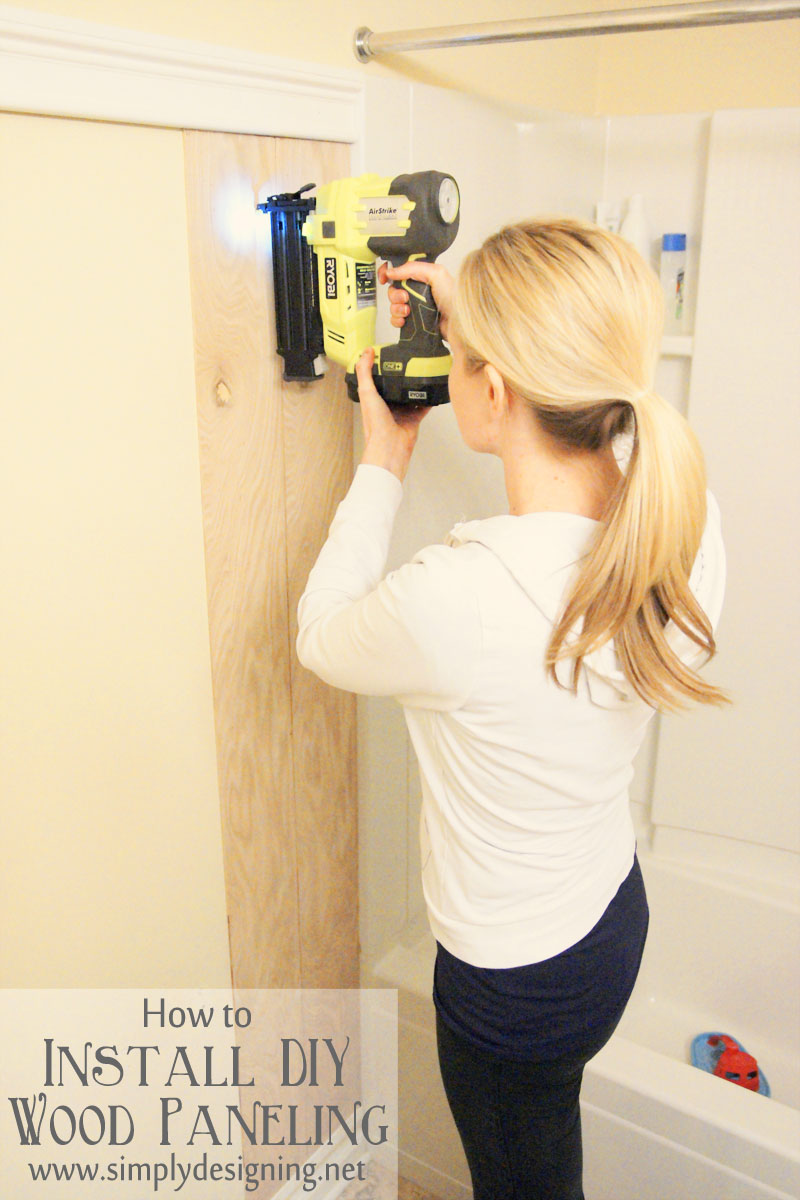
After that we cut the panels down to the correct height and nailed them in place with the AirStrike! You want these to be very secure, so don't skimp on the nails!
You can use spacers if you want, but we just eyeballed the distance between panels and we love how it turned out!
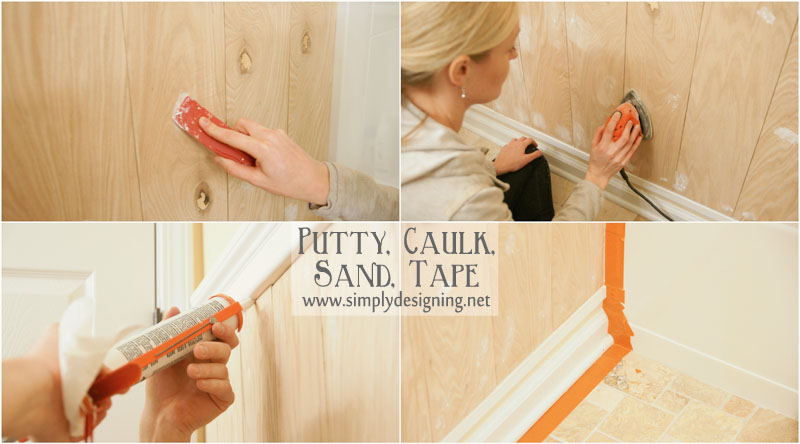
Then you will putty the nail holes and you can also caulk any areas that need to be caulked with paintable caulk. You will want to add a bit of paintable caulk in between each panel. Not too much to completely fill in the gap, but enough to give it a cohesive finished look.
If you are doing this in a wet space like a bathroom, you will want to use silicone caulk around the bathtub and sink. However silicone caulk does not paint easily, so wait until you are completely done with your project to use the silicone caulk.
Be sure to sand your boards so that you have a nice smooth surface to paint.
And tape off any areas that you may need to tape!
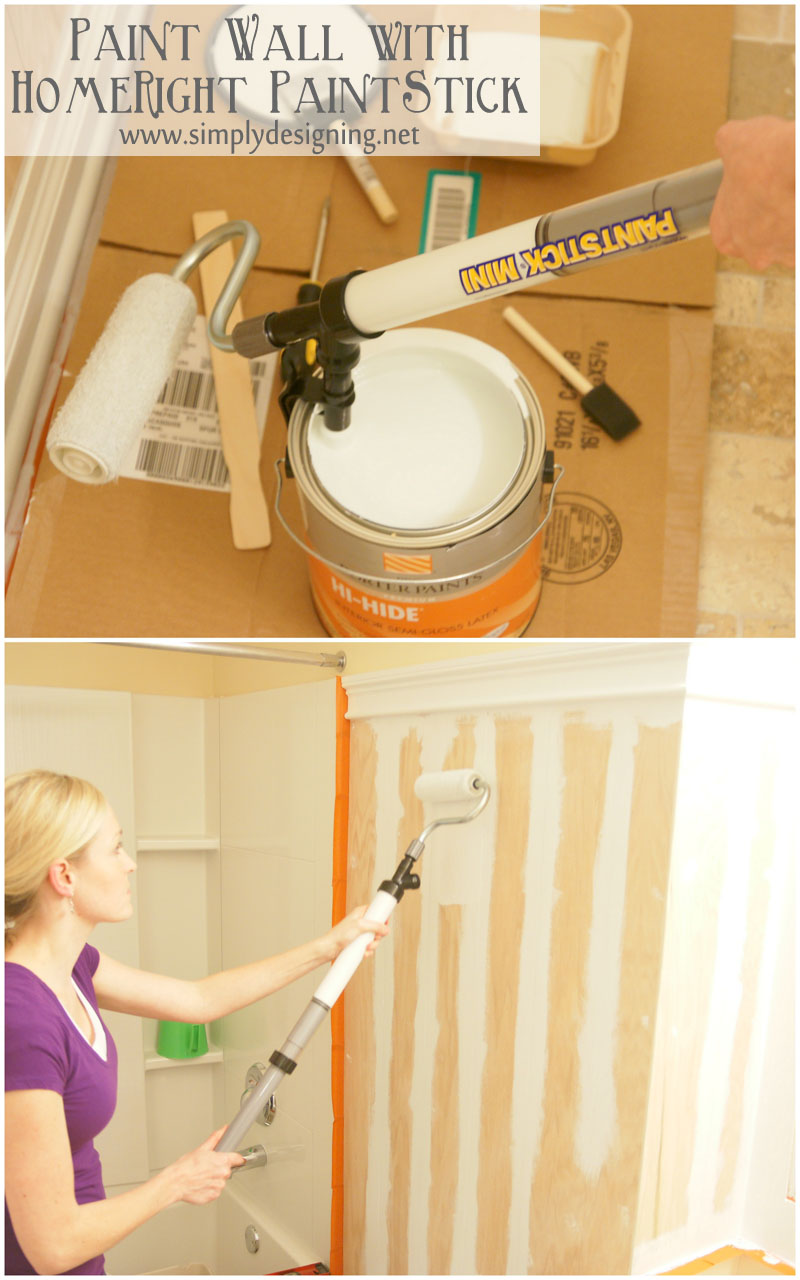
Next comes the fun part! You get to break out your awesome HomeRight Mini PaintStick and paint! Wahoo!
I have told you how amazing many HomeRight tools are, I LOVE being one of their blog ambassadors this year! I have the coolest job ever!
And the Mini PaintStick was the perfect tool for this job! This bathroom is small so a regular paint stick would have been too big and awkward. And painting this with a brush would have taken for.ev.er! So I was glad to be able to use my new fun tool!!
Here is a quick little video to show how simple it was to paint my paneling with the HomeRight Mini PaintStick!
I love how you can suck the paint right up into the handle of the PaintStick! And as you paint, you will gently push the handle in and the paint comes out the roller!
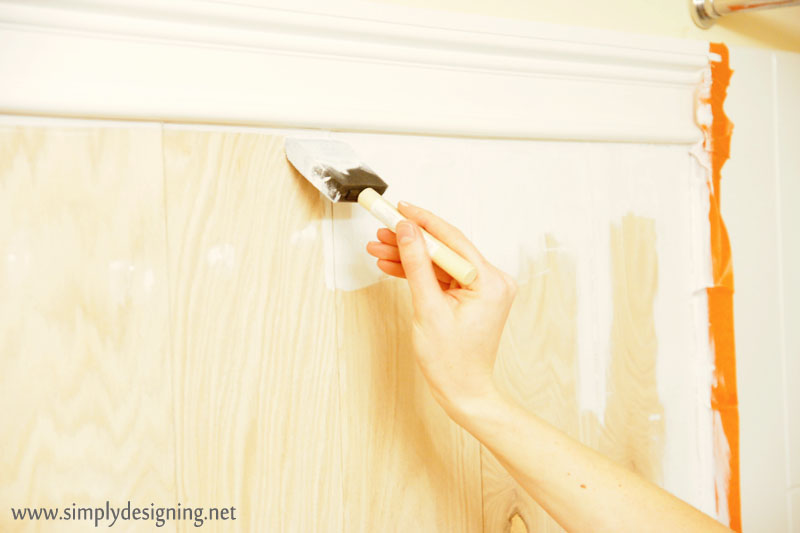
There were zero drips. No spills. And no messy paint tray to deal with! The PaintStick ROCKS! We still needed to do a bit of edging with a brush, but overall the painting went very quick with our HomeRight PaintStick!! (I prefer to edge first, but you can really edge first or last, it's up to you!)
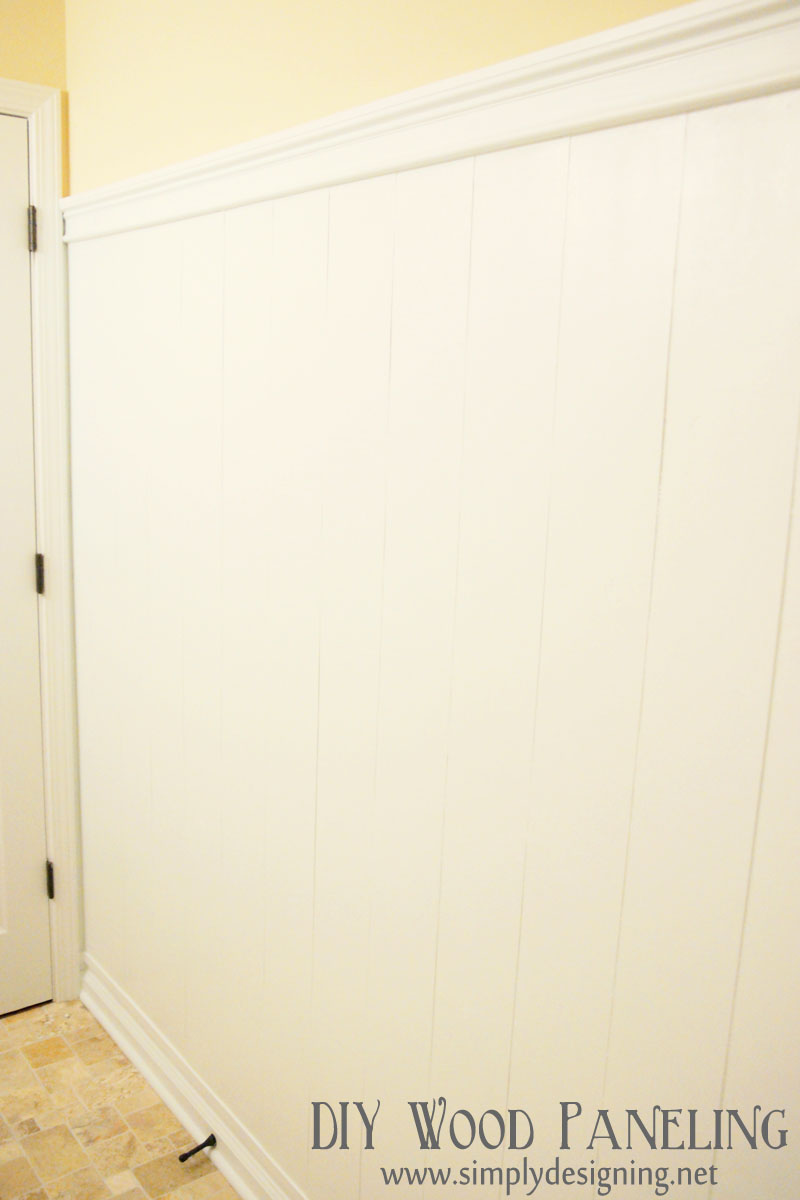
You will finish off your room by adding silicone caulk around the wet areas and by re-installing any light plates, mirrors or decorations that need to be re-installed. (You may need to use spacers to help your light switches or outlets fit properly like we did.) And we love love LOVE how the paneling turned out in our kids bathroom! I am so glad that we have wipe-able walls now!
I wish the pictures did this room justice! But you know how it goes, no natural light, teeny tiny space...the photos do not do this room justice!
I love how the white paneled walls look up against our pretty tile floors!
And to have wipe-able walls in our kid's bathroom is amazing! HURRAY!
I think it makes the room look lighter which is especially nice since this room has no natural light in it.







Natasha Johnson
although probably not as fun, i would paint the walls with a white paint before we move.
ittehgaps
I have some paneling that I would like to put up in my back foyer to cover all the scuff marks in this busy area. the paint stick would make finishing it a whole lot faster. Cindy
Julie Workman
What wouldn't I paint? My entire house is 5 different shades of brown from the previous owners, and I really don't relish the idea of a paint tray on a scaffold...but first I'd tackle my master bedroom. Just because I've never "done" my bedroom before, and I feel like we need a more grown up space to retreat to.
Eligonma
I would paint my living room.
Karen
I would paint my bedroom
annemarie
I would paint my kitchen and bathroom.
Colleen
My entryway as well as the hall and our bedroom<br />ColleenB.~Texas
Ashleigh
I would paint my kitchen walls! missashleigh at juno dot com
Skyann Smith
I would use it to finish painting our room and then paint the walls when we move.
STEPHANIE CALDWELL
I would totally paint my livingroom while my toddlers nap!!! What a neat tool!!
Ally
I would paint my craft room.
Jeanne
The first thing I would paint is my master bedroom walls! I have 5 different paint samples scattered throughout my room. I can't pick a color I like!
Laura Clark
A great project! What a difference the paneling makes. Thanks for giving the PaintStick Mini a try on this project.<br />Laura Clark<br />HomeRight
Ashley Phipps
Thank you so much Laura!!!
Kaye Newman
I would paint my bedroom first. It really needs it.
Samantha
I would paint my entryway and into the living room and kitchen....all in need of a new paint job but I've been putting it off because I have high ceilings...this would be prefect.
trishden
I would paint my master bedroom and bath, It's been way overdue, and then my kitchen needs it too. Thanks for a great giveaway!<br />trishden948(at)yahoo(dot)com
Corinna Bennett
I would paint our master bedroom. I painted it a deep dark chocolate to make the room not seem so large, but now it feels like a cave. 🙁
Janet Coffield
I would paint the master bedroom. It has not been done in years. Thanks.
Harmony Burmeister
My living room needs paint