We have been slowly at work updating our home. One of our more recent projects was our downstairs half bathroom. We installed new Herringbone Tile Floors and then we DIY'd our own Floating Shelves. And we love how it all turned out! But when we went in there, there was one last item that stuck out like a sore thumb: our light. So we decided that we wanted to remove our existing light bar and replace it with two sconce lights!
Our previous light was an awful, builder grade, Hollywood-style, chrome light bar. It was effective in that it gave off light, but it offered nothing more to the room. It was ugly. And once we upgraded everything else, we knew we just couldn't live with this anymore!
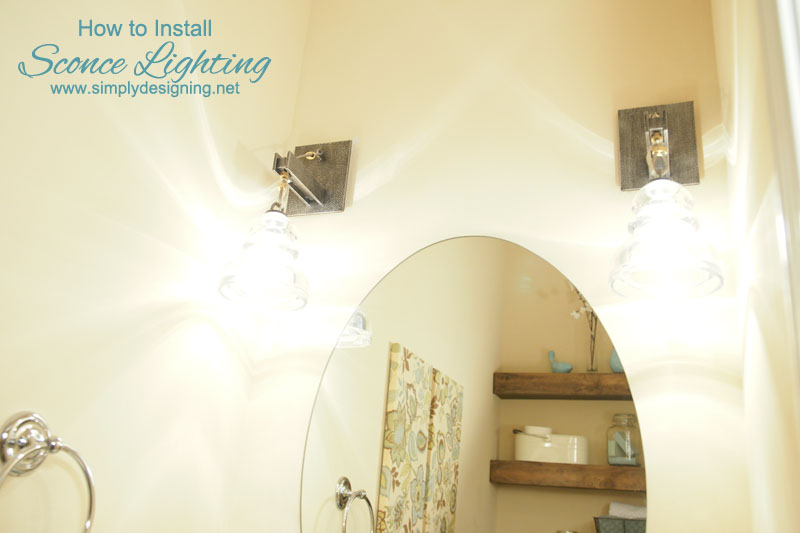
Thankfully Lamps Plus came to our rescue and helped us replace our ugly light with these incredible sconces!!
Hello, beautiful light!
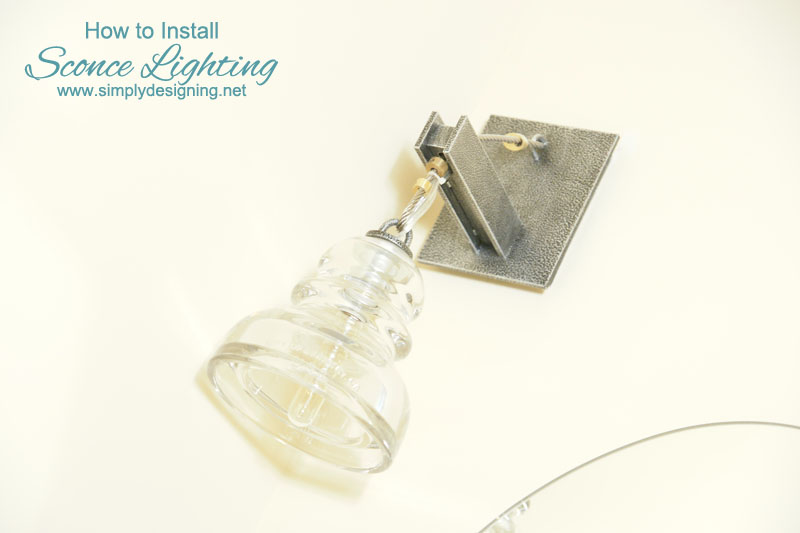
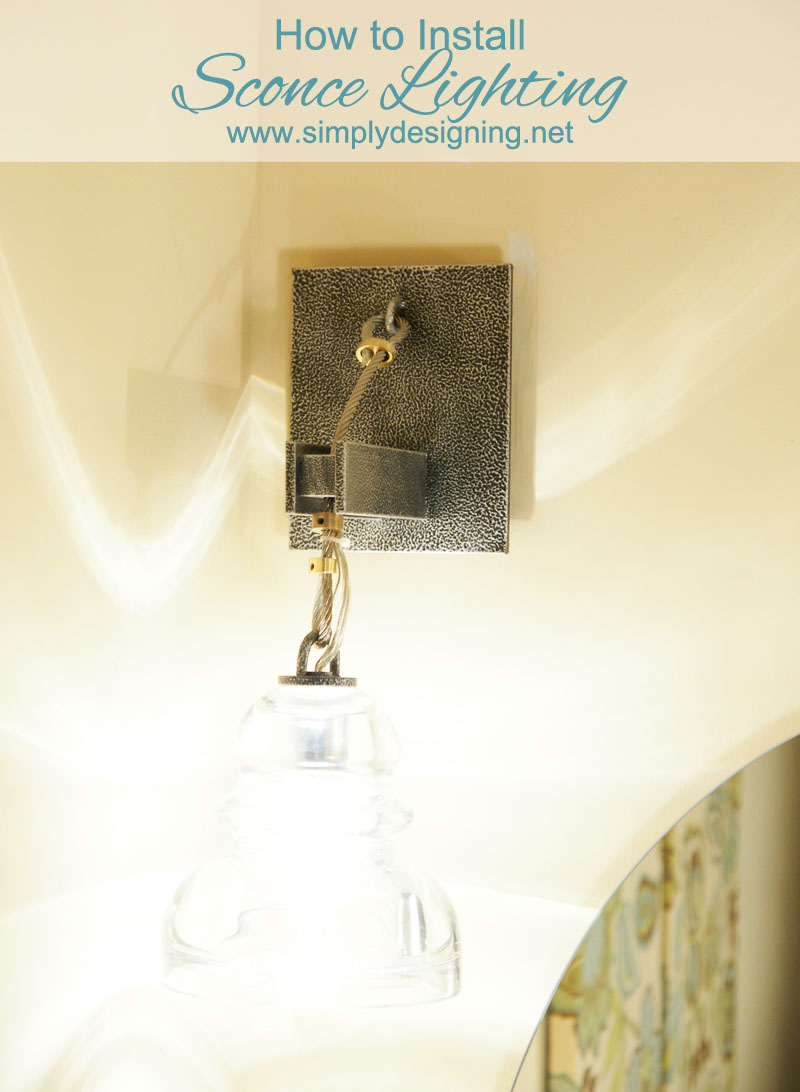
The moment my husband and I saw these sconces, we were instantly in love! They are industrial, vintage, chic and just our style!! They are the Lamps Plus Menlo Park Wall Sconce and they are even more beautiful in person then they are online!
So we set about the task of removing our existing light bar and rerouting the electrical to accommodate two sconces. (Please note that I am not a professional electrician or contractor. I am just sharing what we did that worked for us. If you have any questions or concerns, it is always best to consult a professional. Cutting into walls and dealing with electrical can be dangerous and can entail costly repairs if not done properly. So be sure to be smart, use proper safety precautions and consult a professional! I am in no way liable for anything if you choose to do this yourself.)
First we turned off power to our bathroom at the breaker. We also bought an inexpensive voltage detector so that we could double check that no wires were live while we worked in the room.
Next we determined where we wanted our sconces to be installed. Essentially, our next step was to cut holes in the drywall the size of our electrical boxes in the location where we wanted our sconces to go. But there are several issues one could potentially encounter along the way, so I wanted to take a moment to point out some things to watch out for.
Ya. We almost did that!
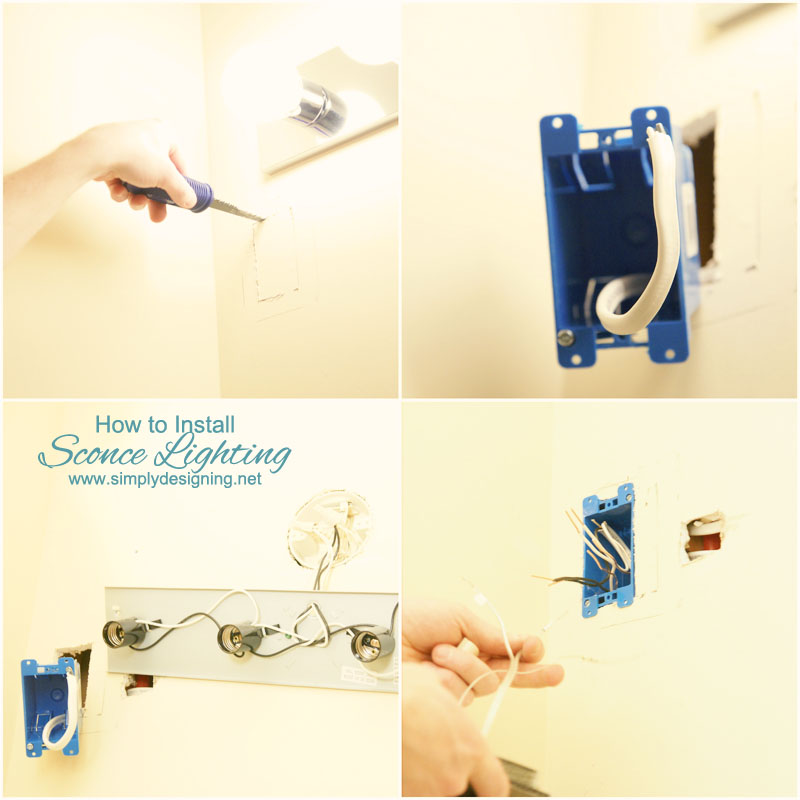
It is important to use a small hand saw to cut through the dry wall. Not an electrical saw. Because we used a hand saw, we were able to feel a bit of resistance while cutting out a hole for our electrical box so we knew we needed to stop, start another hole and investigate what was behind our wall.
The problem with trying to cut into existing drywall is that you never really know where the plumbing and electrical are located. Even if you have plumbing or electrical plans, they may not be accurate. So you simply need to be extraordinarily careful!
Cutting through a water line would have been very expensive and time consuming to fix.
The other obstacle we encountered was one of our studs was in the way of where we wanted our sconce to be installed. So, be prepared to be flexible as you may need to modify your placement.
Back to how to do this, we carefully cut two holes in the drywall the size of our new electrical boxes. Then we ran new wire from our existing electrical box to the first new electrical box.
One thing to watch out for is to be sure that the new wire is rated properly for the amount of current needed for the project. If the wire isn't the proper gauge it could cause a fire hazard. So be sure to use the correct gauge wire.
We ran our new wire behind our dry wall. Thankfully we were not going a long distance but if you are, I would suggest using a coat hanger to help fish the wire from one box to the other.
Once the wire is in place, we connected the new wire to the existing wire at the original box. We used Twist On Wire Connectors to connect the existing and the new wire together. (Remember to get the correct size twist on wire connectors for the wire you are using.)
We connected the new black wire to the existing black wire, the new white wire to the existing white wire and the new ground wire to the existing ground wire. Generally black is the power, white is the neutral and the copper wire is the ground.
Finally, we wrapped each of the connections with electrical tape. We did this to ensure the twist on connectors were secure and that the wires were well insulated from each other.
At this point, we had our wire run from our original electrical box to our first new electrical box and our next job was to connect this wiring both to our new sconce wiring AND piggyback the electrical to the second sconce location. All at the same time.
We fished a second new section of wire from the first sconce location to the second sconce location.
Using our Twist On Wire Connectors, we took the first new wire we ran, the sconce wiring and the second new section of wire and connected them together. Again, we connected same-color wires together. This time, each twist on connector had three wires in it.
Again we wrapped each connection with electrical tape.
Then we used twist on connectors to connect the second new section of wiring to the second sconce wiring.
Install Your Sconces
After you have the electrical run, you will want to install your new sconces.
Every sconce is a bit different, but ours came with a metal mounting plate. We were lucky enough to have studs right there so we simply screwed the mounting plate directly into the stud. If we wouldn't have had studs, we could have attached the mounting plate to the electrical box (most electrical boxes have mounting locations built in). Otherwise we could have used dry wall anchors to ensure that the mounting plate is very secure on the wall. Our sconces are heavy and we wouldn't want them to fall, so we made sure to secure this well.
After the mounting plate was installed, the sconce base attached to the mounting plate. We simply followed the instructions to do this, attached the clear bell-shaped glass and installed the light bulb.
And then we held our breath!
Turned our breaker on.
Switched our light on.
And thankfully all went well! Angels sang and we had new, gloriously beautiful bathroom sconces! Wahoo!
Once we knew that everything was working, we used a dry wall patch to patch over the old electrical box. We sanded, painted and sat back and enjoyed our new beautiful lights!
Our bathroom honestly makes me so happy! From the new tile, to the shelves, the lights and the new decor! It is so pretty!
And seriously!? Aren't these lights to die for!?!?!
You can find some of my other favorite bathroom light options on my Bathroom Pinterest Board HERE.
If you could replace lighting in one of your rooms, where would it be?
You Might Also Enjoy:
DIY Wood Paneling
Hexagon Tile Floors
DIY Floating Shelves
Herringbone Tile Floors


Mary Beth
You lighting choices are gorgeous and I love the tutorial ~ I'm going to save this for future reference.
Ashley Phipps
Oh thank you so much Mary Beth! And thanks for stopping by!
Heidi @ Honeybear Lane
These are beautiful! I don't know that I am brave enough to attempt electrical wiring but the styling is inspirational!
Ashley Divene
Unfortunately this design for the beautiful sconce fixtures was stolen from my shop. It is so sad to see this company credited with my design on multiple websites. It is especially disappointing since these lights are copying an ecologically friendly lighting line that I created by myself, which is completely focused towards the environment and is made out of all re-sourced, recycled, and repurposed materials. These are not, and are made from China sweatshop parts.
Electrician Pros Phoenix
Looks amazing, thank you for sharing.