With spring here and summer right around the corner, it is time to update your outdoor living space and so today I am excited to share my tips and tricks for How to Pot a Plant plus a simple Patio Makeover! Last year I shared an updated Outdoor Living with an Easy Backyard Fire Pit project, you can check it out HERE, and we still love using this space every spring, summer and fall night that we can! But this summer, I wanted to take a space that hasn't been updated at all, and turn it into a usable, and beautiful space with this Patio Makeover and pot some plants to make this space feel more welcoming and inviting. Keep reading to see all my tips and tricks.

A big thank you to Better Homes & Gardens at Walmart for sponsoring today’s post about How to Pot a Plant and a simple Patio Makeover. All opinions and ideas are mine. Affiliate links may be included in this post for your convenience. If you make a purchase through these links, you will never pay a penny more, but I receive a small commission for it. Thank you for supporting my blog.
How to Pot a Plant and a simple Patio Makeover
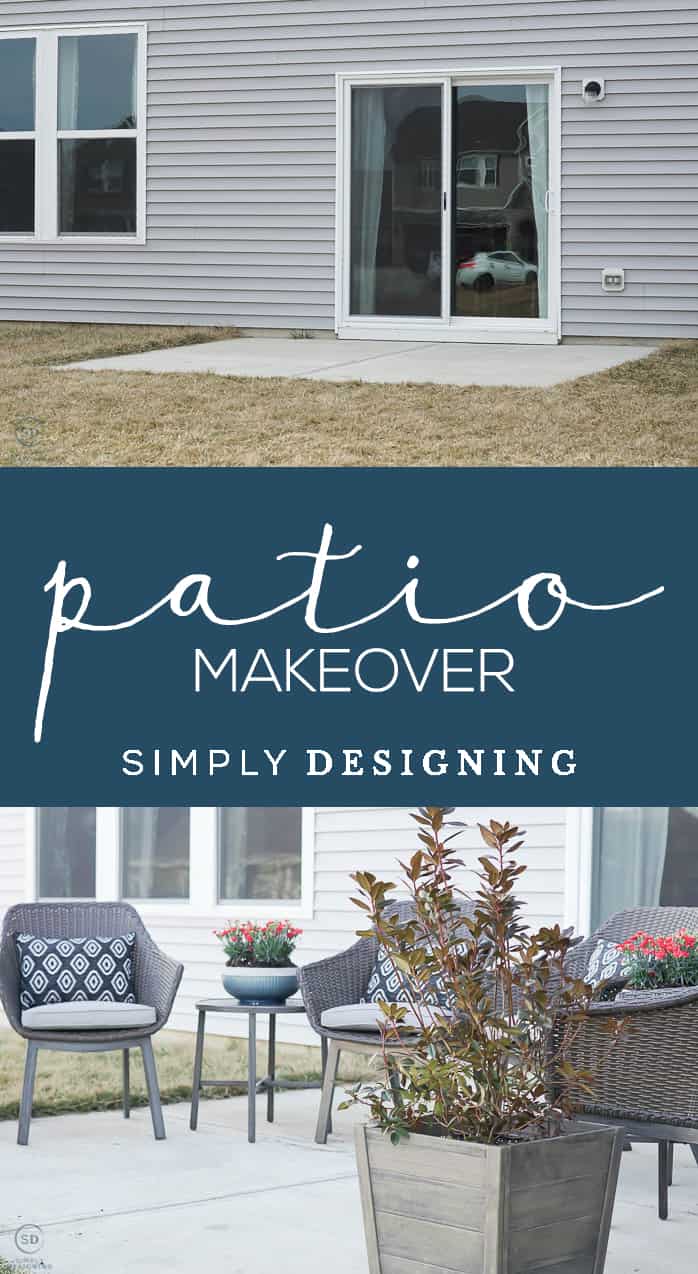
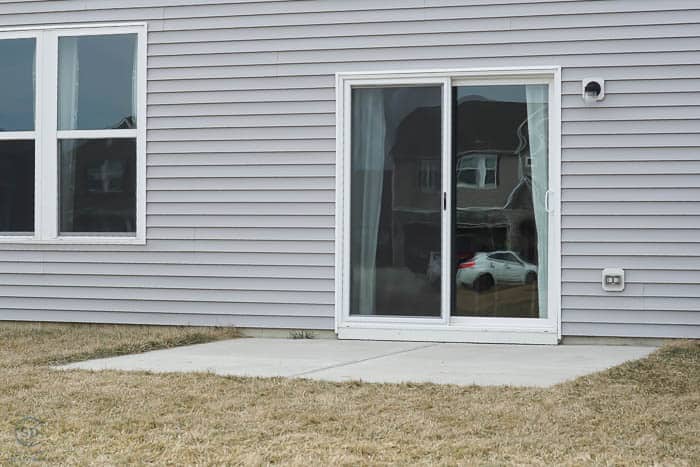
First thing first, I wanted to share the before of this patio space.
Patio Makeover
This patio was empty, uninviting and needed a little welcoming touch. I was so excited to help make this space into a useable outdoor living area!
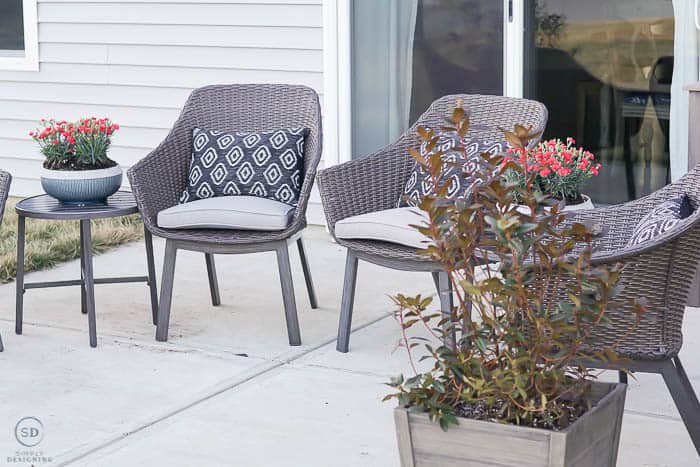
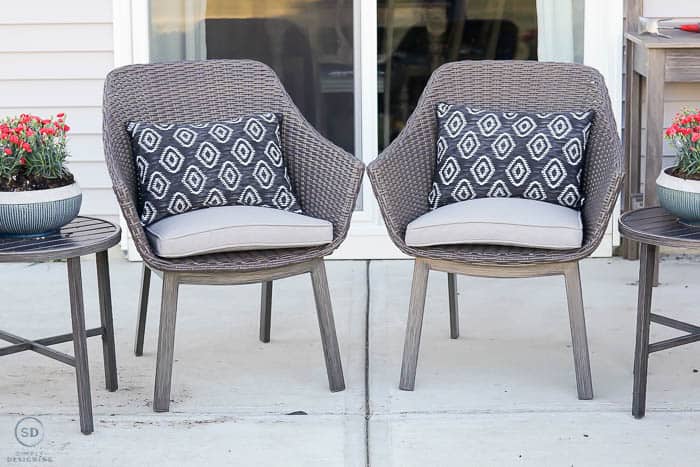
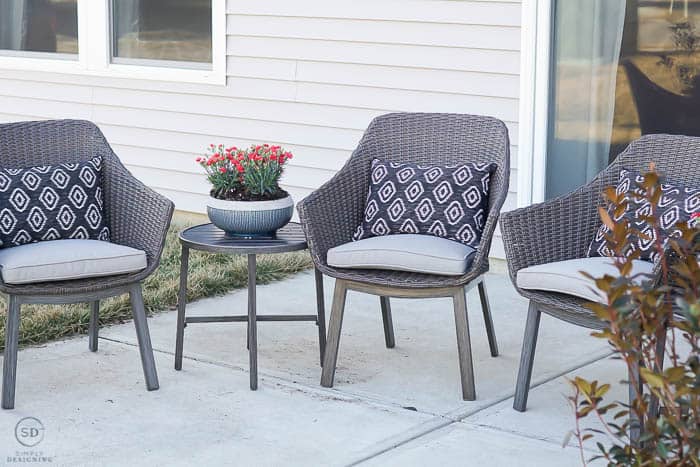
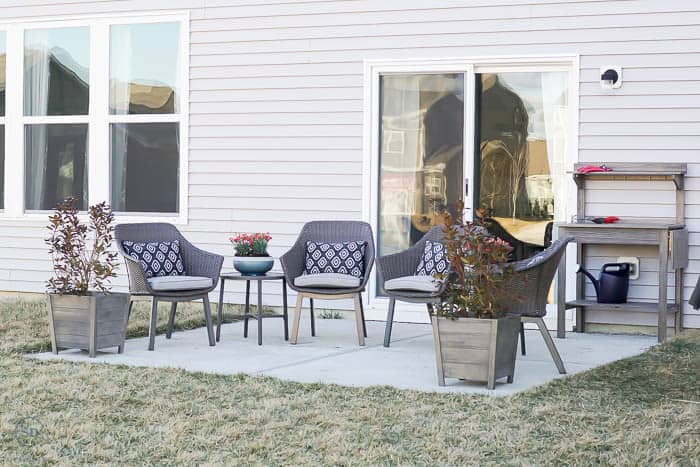
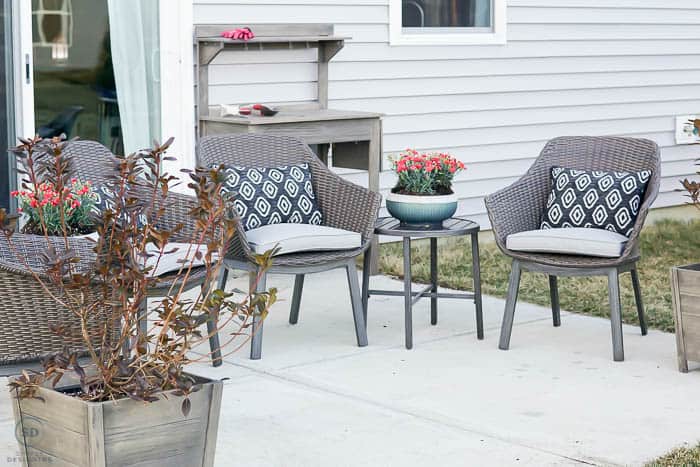
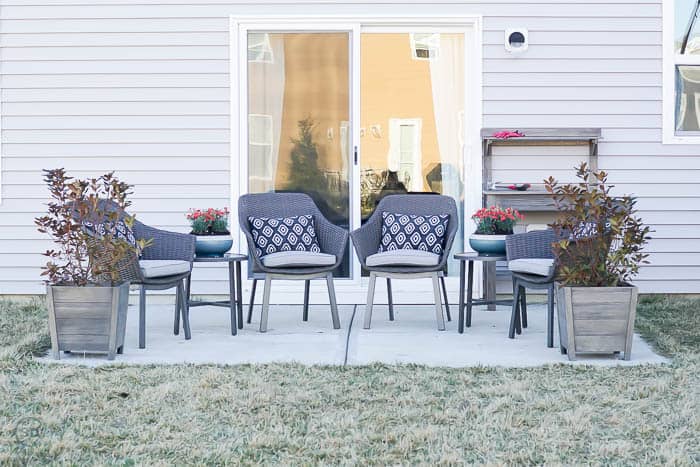
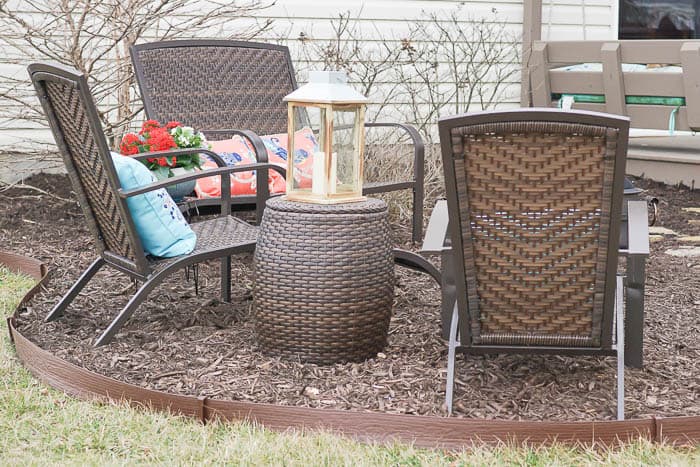
I decided to begin by adding some furniture to the space, four chairs, four pillows and two side tables. I bought 2 sets of these super cute Better Homes & Gardens Cason Cove Contemporary 3 Piece Chat Set.
I love how this cute chat set comes with 2 chairs and an end table. It is the perfect way to add seating to a smaller patio.
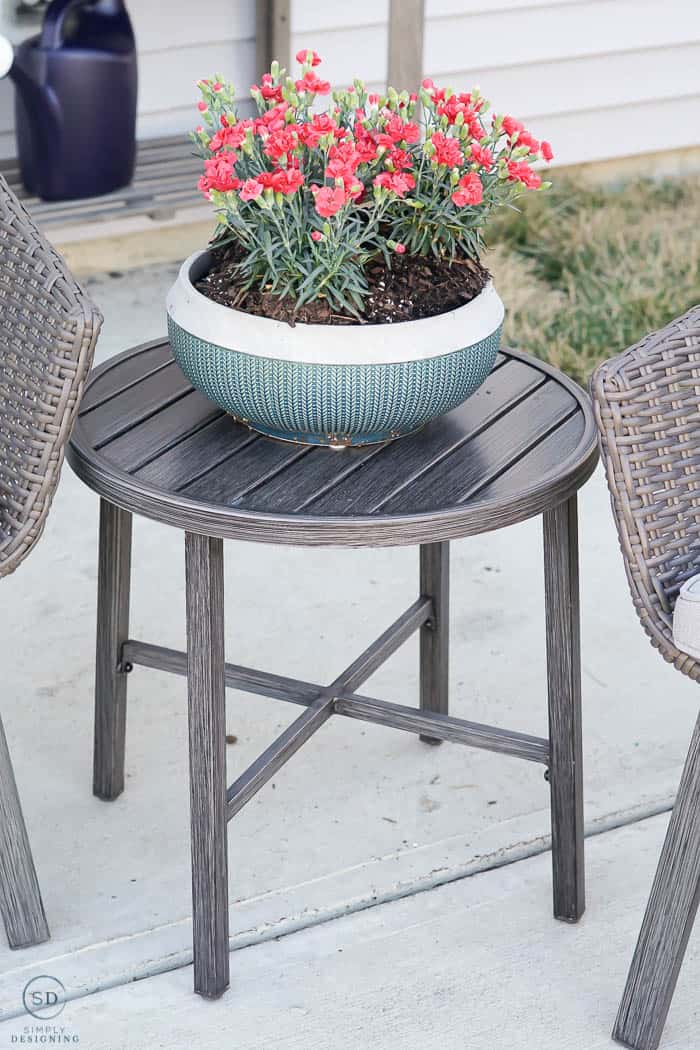
And I think the end tables are just the perfect size and style for any patio!
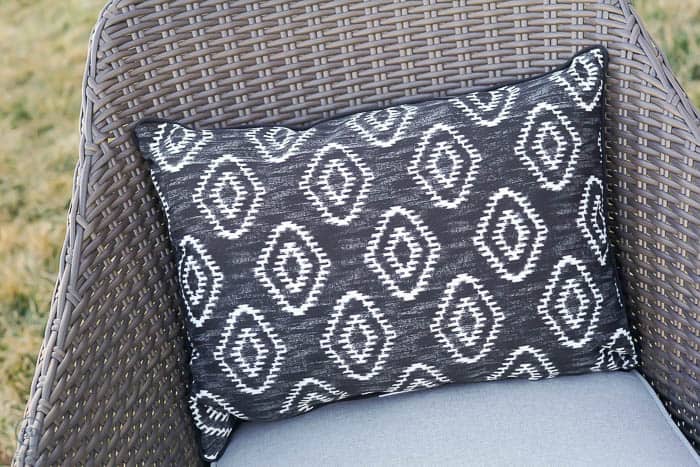
These Better Homes & Gardens 19 x 14 in. Diamond Wandering Ikat Outdoor Toss Pillows were the perfect addition to the chairs! I love the neutral colors and fun design. They add a fun touch to the space without feeling over the top.
It is so exciting to see this backyard patio with some comfortable seating for friends and family!
I also wanted to add some life to the patio with some plants. Here in Indiana, it is perfect weather for planting plants in the ground or in pots, even though it is still chilly outside, this is a good time of year to begin to plant for the summer.
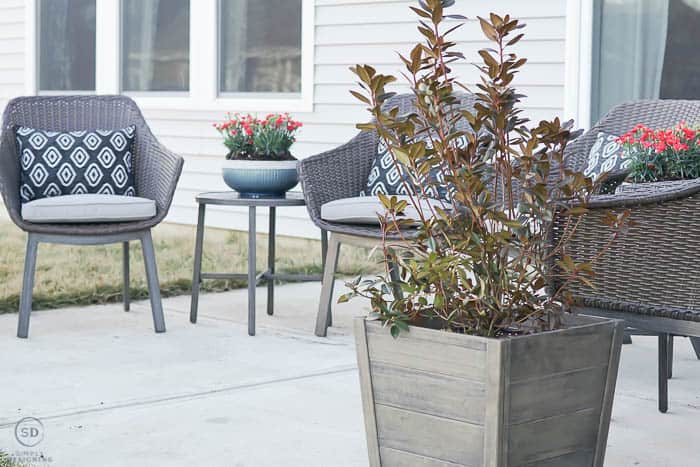
So we added two planters and two containers for flowers in the space as well to add color and life to the space.
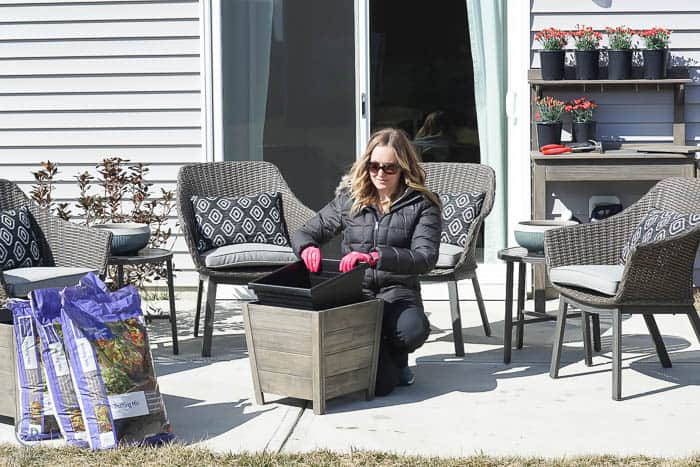
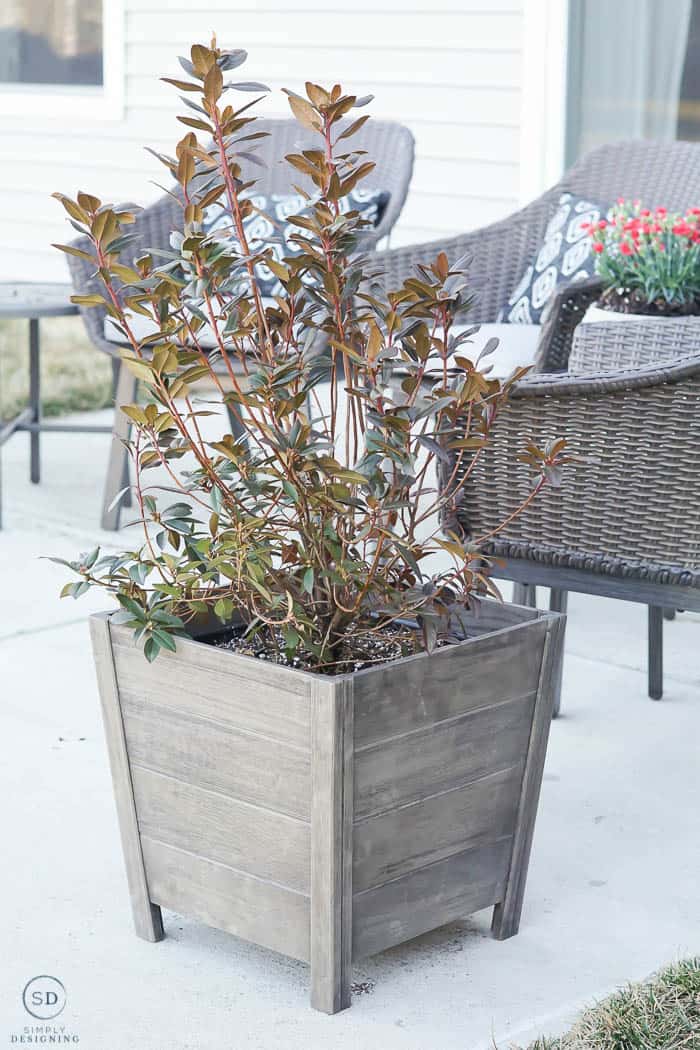
We snagged two of these Better Homes & Gardens Cane Bay Outdoor Planters (Large) to put on either side of the chairs to so we could add some beautiful living plants to the space. I love how well these are made and how cute they look.
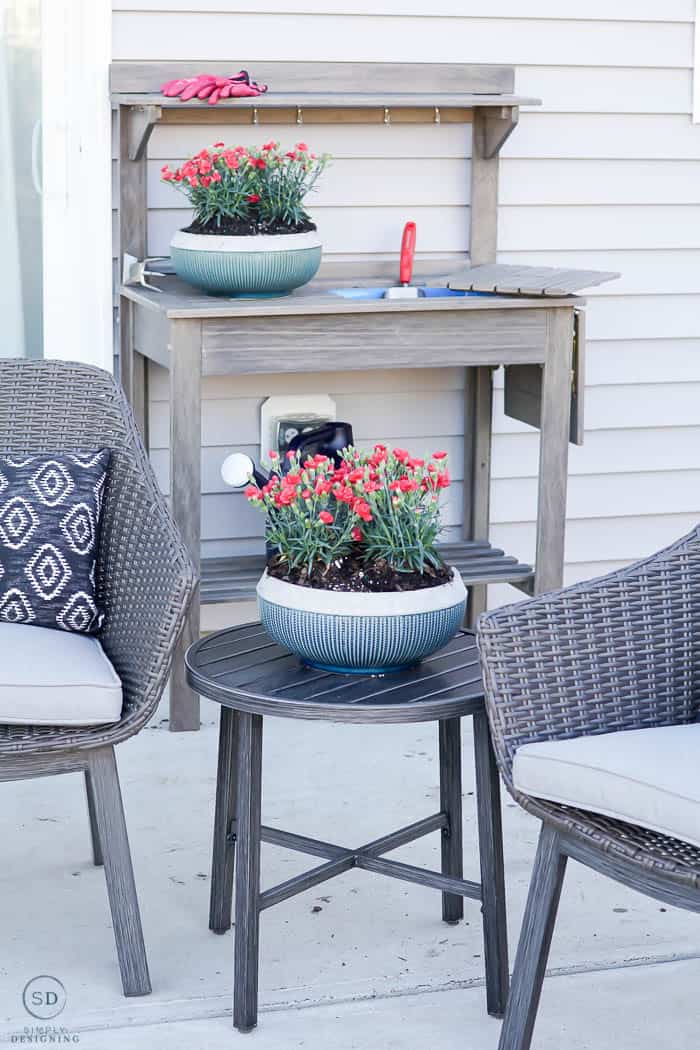
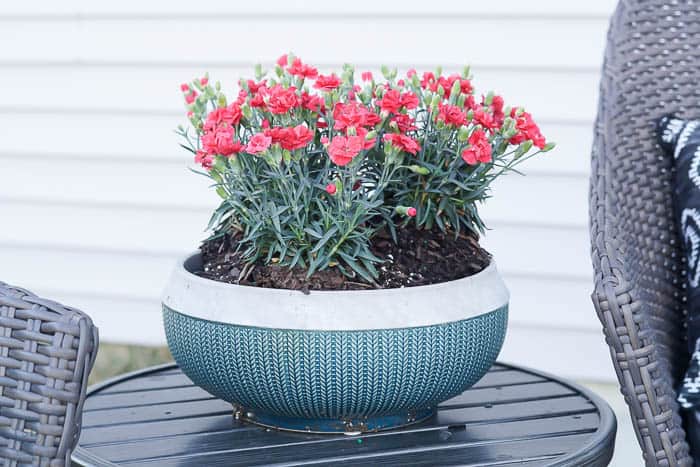
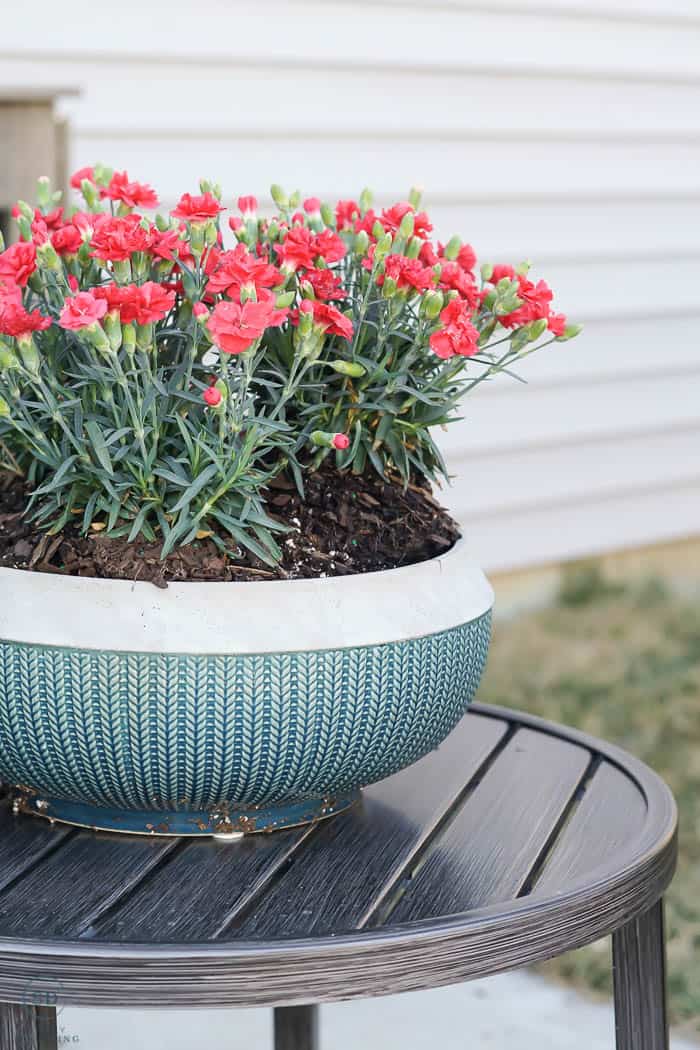
And we used two of these Better Homes & Gardens 12" Teal Brookmonte Planters to add flowers onto the side tables! They are so super cute and trendy!
Even with just these few changes, this space looks amazingly warm and welcoming!
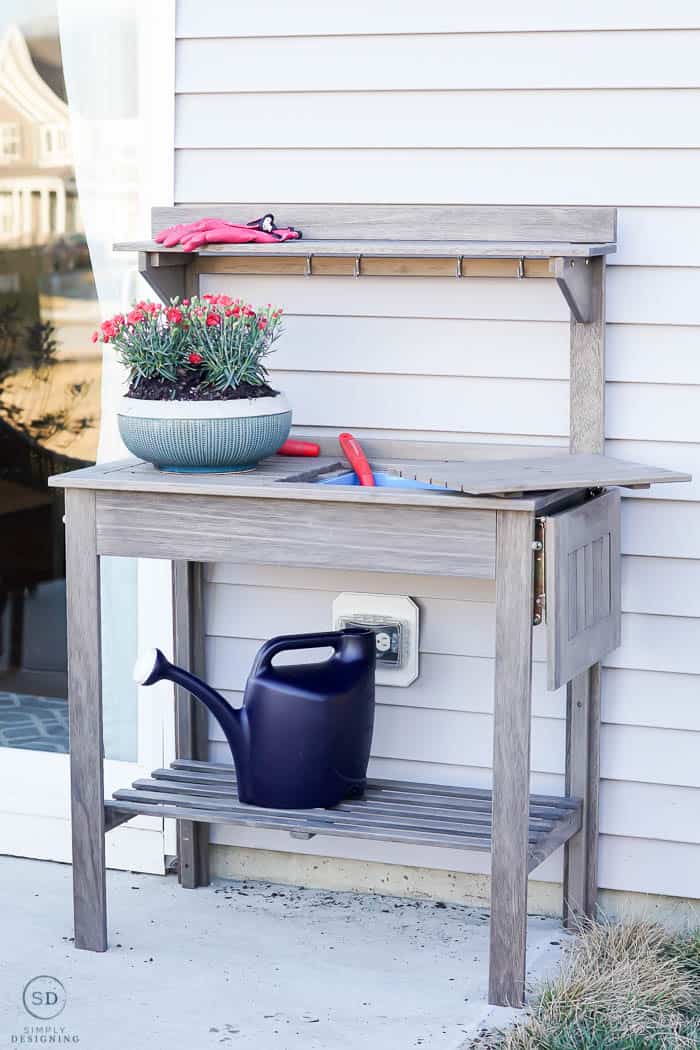
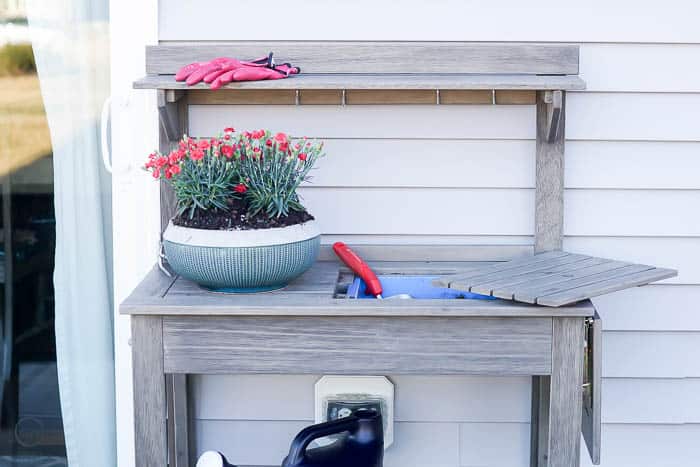
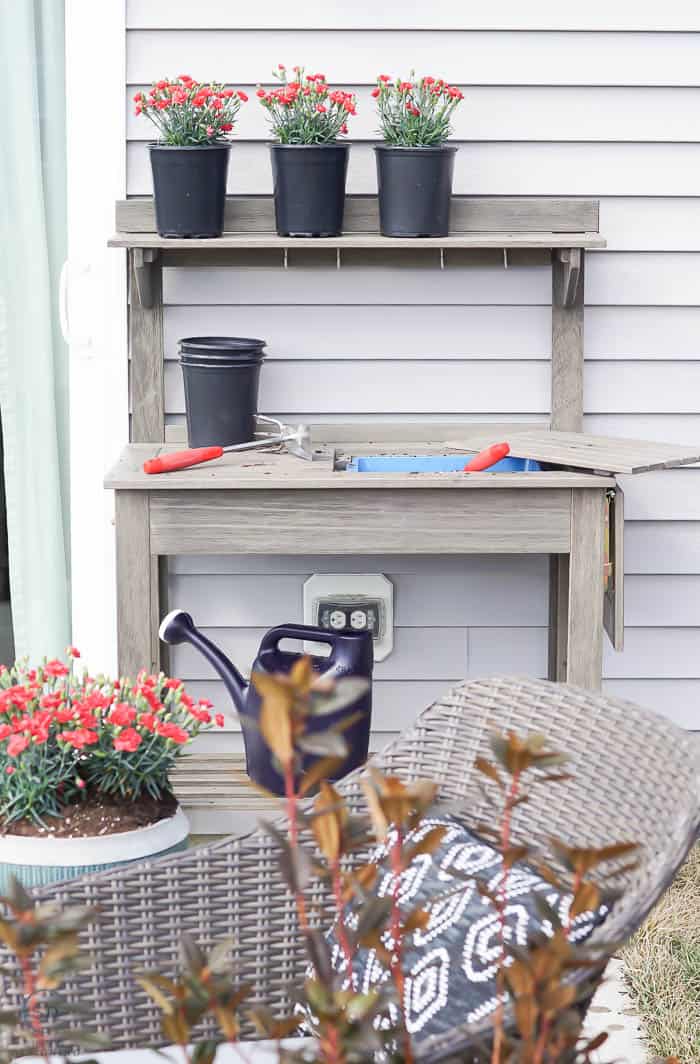
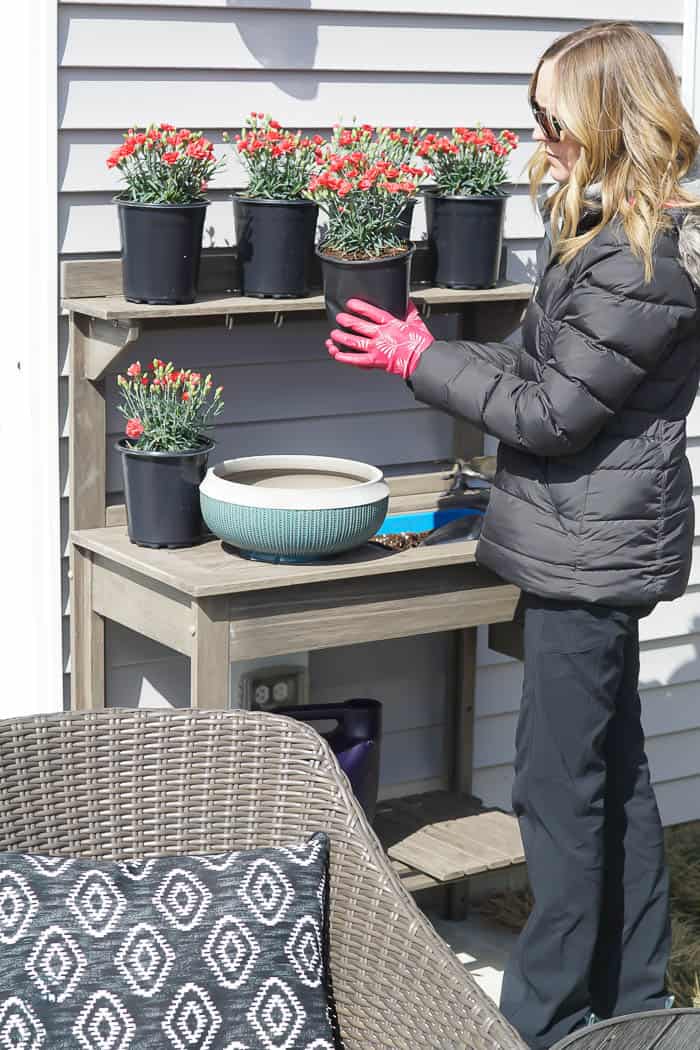
Because I grabbed planters and pots so that I could add potted plants to this space, I decided that it would be really helpful to also add a potting bench to the space! This Better Homes & Gardens Cane Bay Outdoor Potting Bench is stylish, beautiful and incredibly useful.
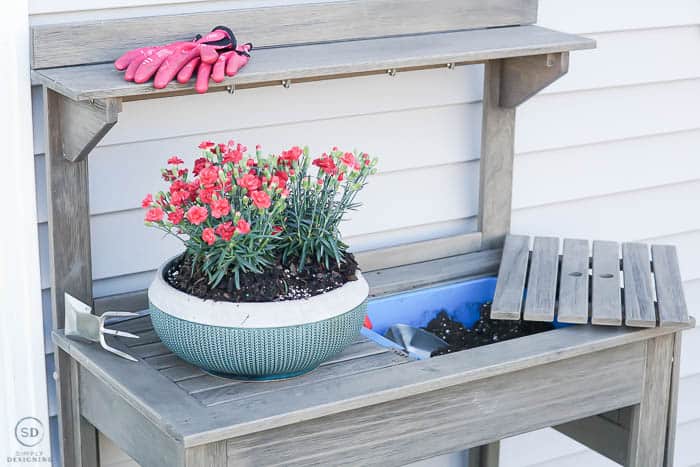
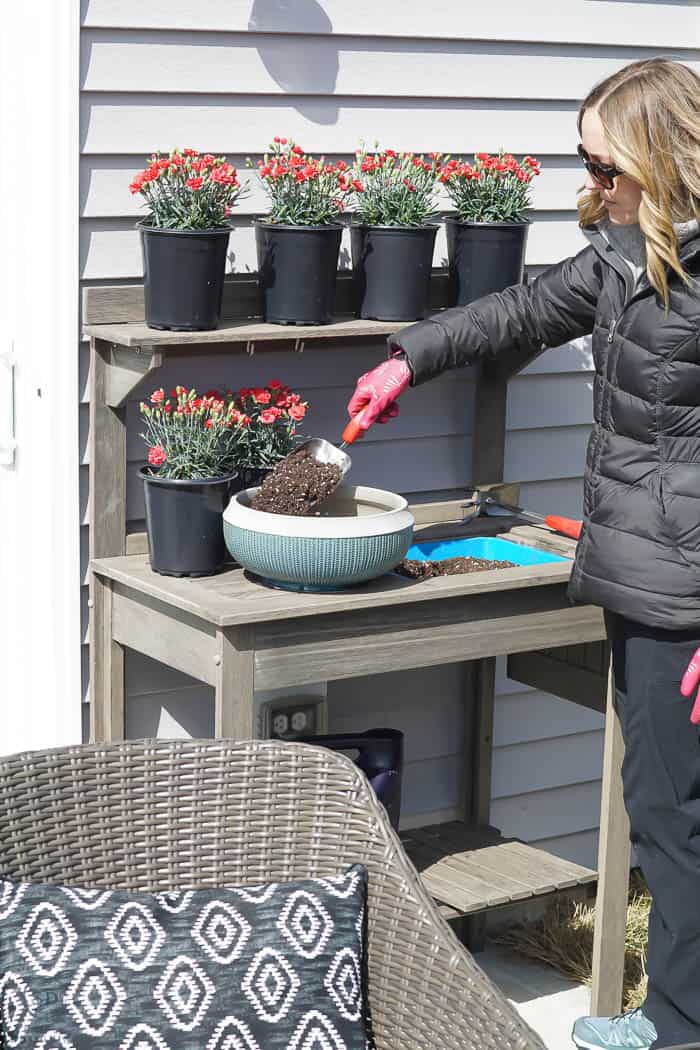
I love how there is a top and bottom shelf in addition to the actual planting surface. This makes the potting bench so useful for storing everything I need to pot plants. And the side extends out for even more space!
I love the built-in soil container. This potting table is so useful and beautiful and made potting my flowers in the pots super easy and convenient! Plus I love that I can stand at it while I pot instead of trying to do it on the ground like I usually do.
And (spoiler alert) I totally plan on re-purposing it to be a serving station when family and friends come over to eat. Eek!
FAQ About How to Pot a Plant
Do I need holes in my plant pots?
Yes, you definitely do! All plant needs are slightly different, but all plants need good drainage. Without proper drainage, your plant's roots will end up sitting in too wet soil and water and can end up molding.
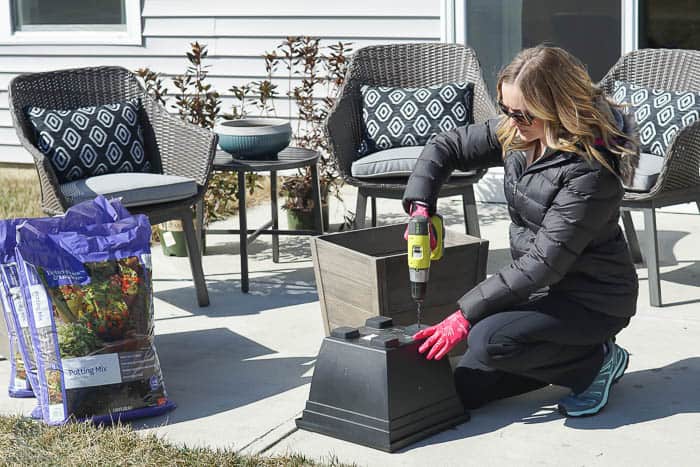
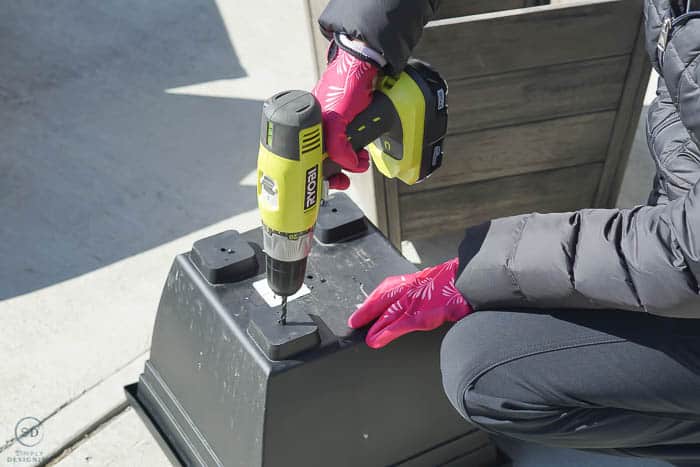
If your pot does not come with drainage holes, use a drill to drill some holes into it yourself prior to potting a plant.
Should I put rocks in the bottom of my planter?
Ideally, your planter will have drainage holes in it, or you can add your own with a drill. If for some reason, you can not add holes to the bottom of your planter, you can add rocks to the bottom. This can help to keep the roots out of excess water at the bottom of the pot.
However, if you do this, it is important to ensure that you don't overwater your plant because it can still lead to pooling of water and your plant being overwatered.
Does repotting kill plants?
No, repotting does not kill plants. Repotting can send your plant into shock for a bit if you aren't careful, but if you follow my instructions your plant should re-pot just fine.
It is actually necessary to repot plants sometimes to proved fresh, nutrient-rich soil and a larger space for growing roots.
How do I know if my plants need to be repotted?
If you see roots beginning to come through the surface of the plant, or down through the drainage holes of the planter, it is definitely time to repot your plant! Also, you can slip your plant out of the pot and if you see more roots then soil, it is time to move to a larger pot and repot your plant.
If your plant begins to drop leaves more then usual, not flower as usual or if the soil seems extra dry, it is definitely time to replace the soil in your pot. You don't necessarily need to move to a bigger pot unless the roots are outgrowing the current one. But replacing the old soil with fresh soil can give your plant the fresh nutrients that it needs.
Are you ready for the step-by-step directions on how to pot a plant? Ok, let's go!
How to Pot a Plant
It is super easy to pot a plant in just a few simple steps. If you follow these steps, it will be much more likely that you will have great success with your plants thriving in their new home.
Even though we planted both large plants in the planters, and small flowers in the smaller pots, the instructions are exactly the same. These directions work for plants large and small.
Pick Plants
First, you will want to pick plants that will grow well in your area. Because we wanted to pot plants in an outside planter, it was important that we found plants that would thrive well in Indiana's chilly spring, warm summer and cool fall. Your local nursery should be able to help you with this.
We picked large plants for our two planters and some pretty flowers for our smaller pots.
Prepare the Pot
Our large planters have slats on the bottom, so we needed to put a liner in to hold the dirt and plant in well. We found inexpensive plastic liners and used a drill to put a few small drainage holes in the bottom of them.
Drainage holes are important for potted plants. If you don't have a way for the water to drain, the bottom of the plant's roots can get soggy and moldy. So don't skip this step!
For our smaller pots, they had holes in the bottom, we just needed to remove the plastic plug.
Add Soil
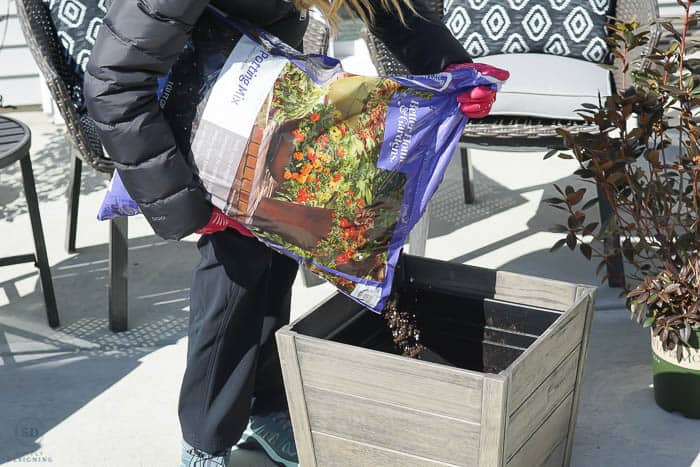
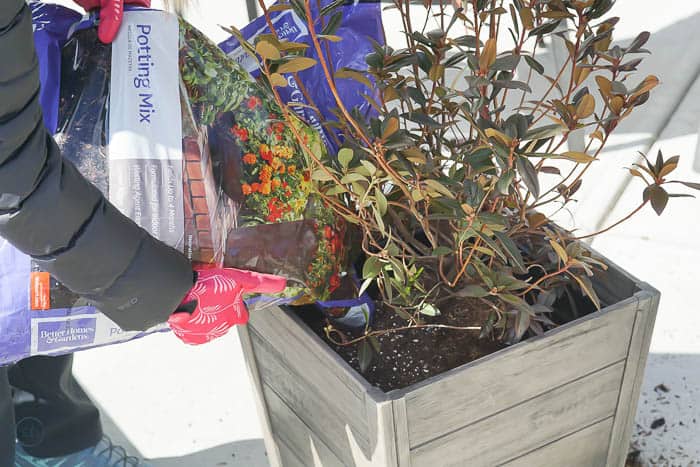
You will want to add a bit of potting soil to the bottom of your pot. We snagged this great Better Homes & Gardens Soil from Walmart and added a bit into the bottom of all our pots.
You want to add enough soil so that the plant is fairly level with the top of the pot once you put it in.
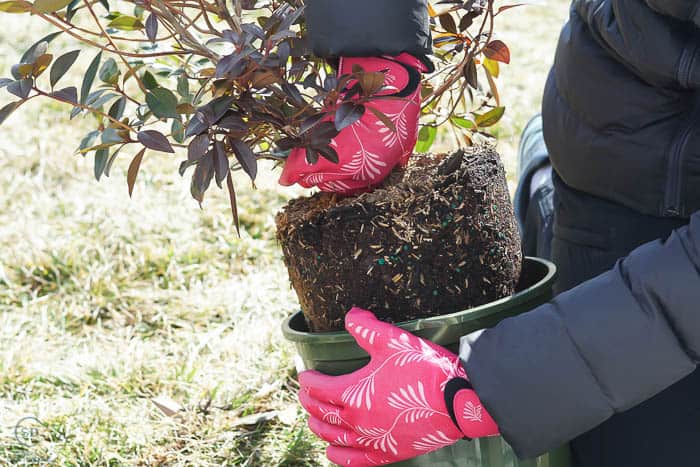
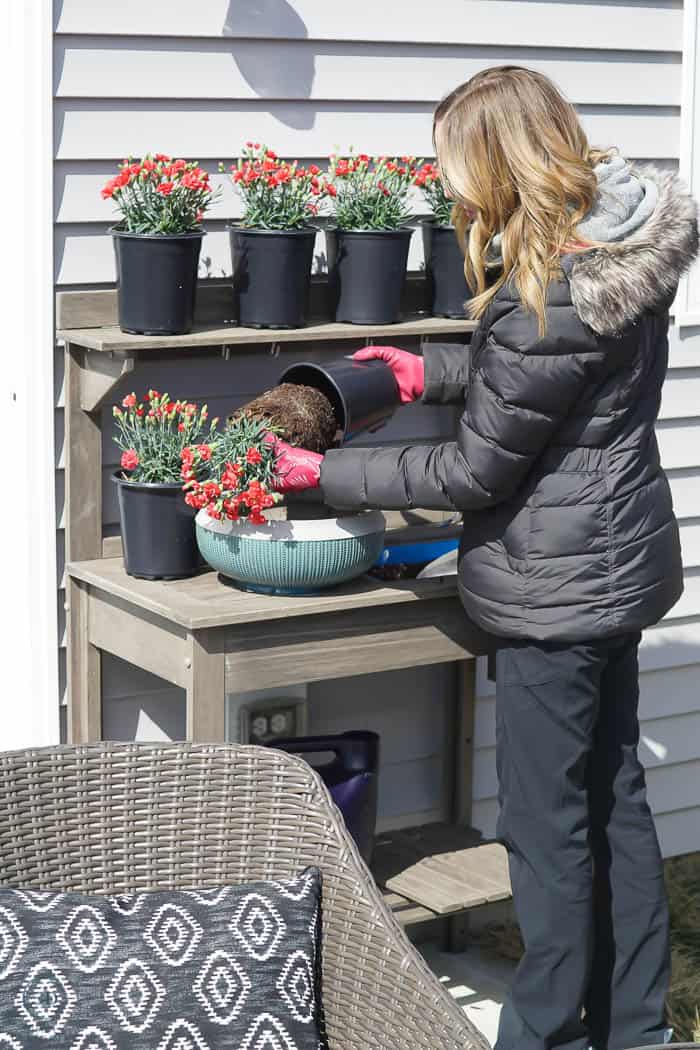
Release the Plant
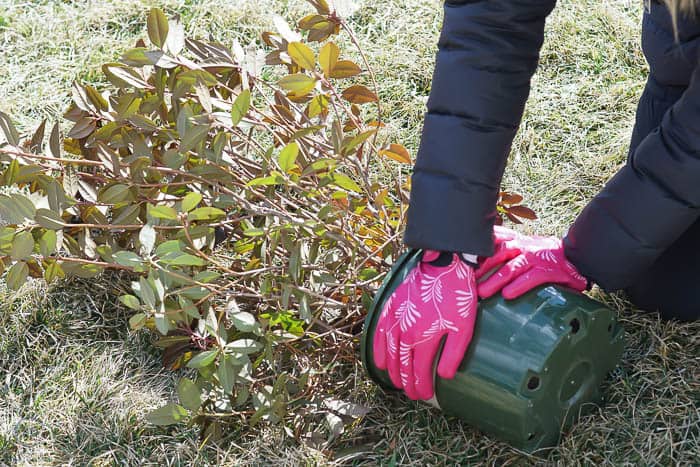
Most plants come fairly snug in a plastic pot, so it is important to release the plant properly from its pot so you don't injure the plant.
To do this, simply gently squeeze the outside of the plant on all sides.
You should then be able to hold the plant carefully at the base of the plant while tipping it over to release it from its plastic pot.
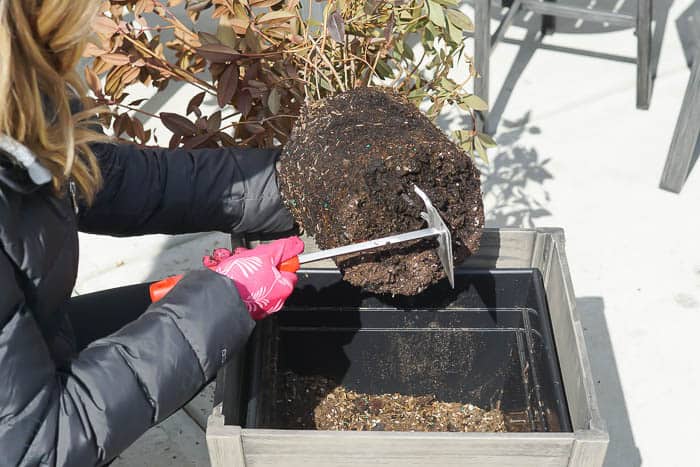
Loosen the Roots
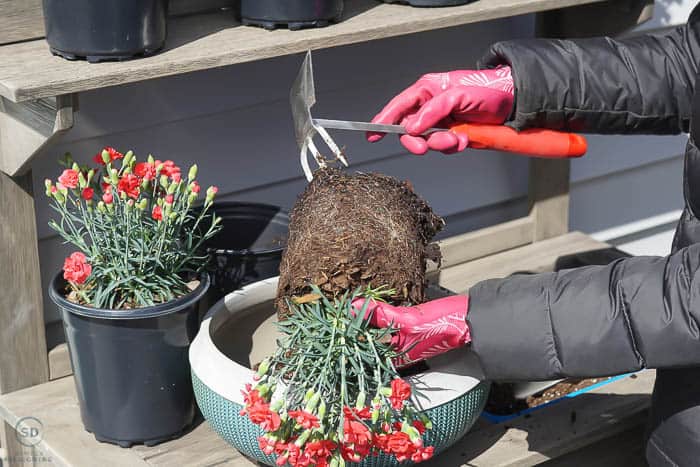
The pots that plants are sold in are often too small for the plants and the roots can become a tight, tangled mess. You will want to take a small garden size rake or use your fingers to gently loosen the roots at the bottom of the plant.
This will help your roots breath a little better and they will take to their new home easier.
Place Plant in Pot
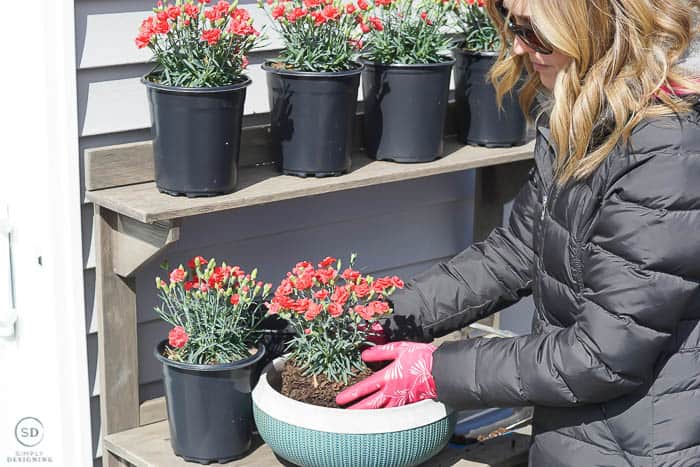
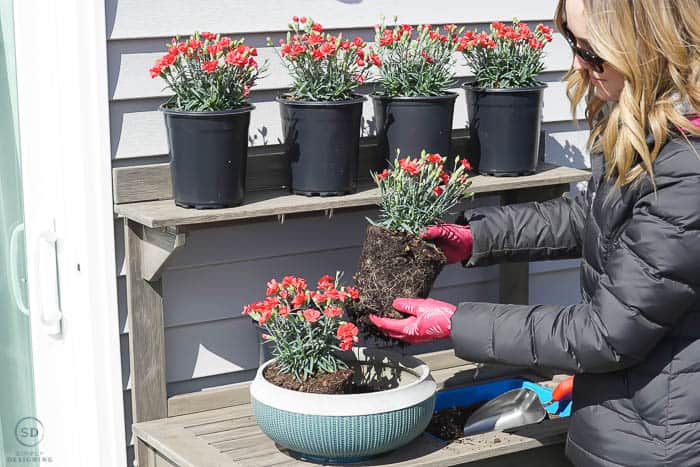
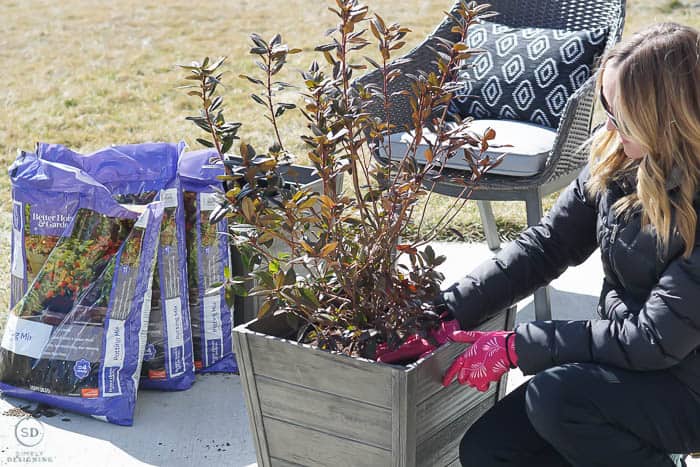
Carefully place your plant in your pot.
If you added enough soil, the base of the plant should be about level with the top of the pot.
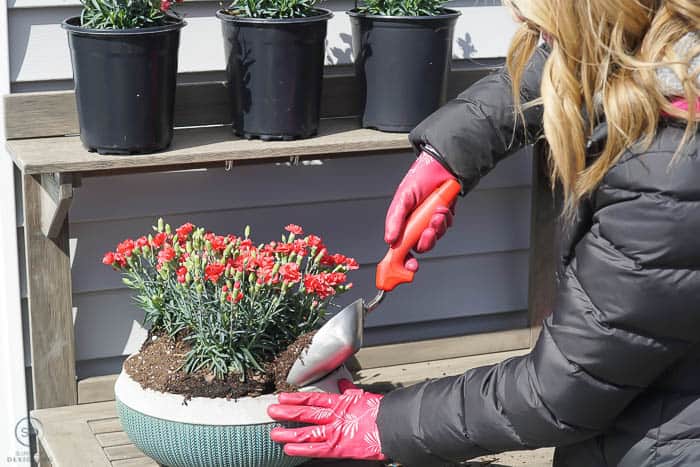
If you are potting multiple flowers, go ahead and add them into your pot.
Add More Soil
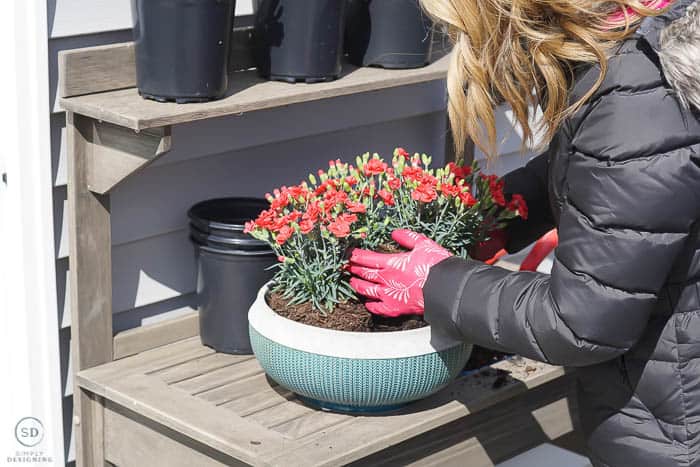
If you have extra room around the sides, you can carefully add more soil to your pot.
You do not want to pack the soil down, just lightly place it in there and smooth it out.
Water Your Newly Potted Plant
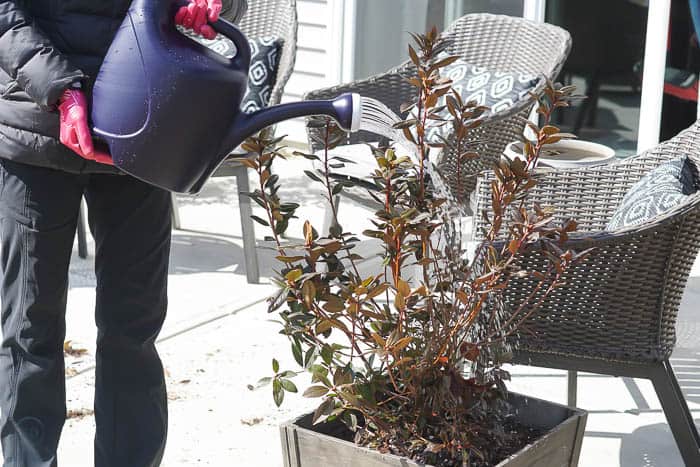
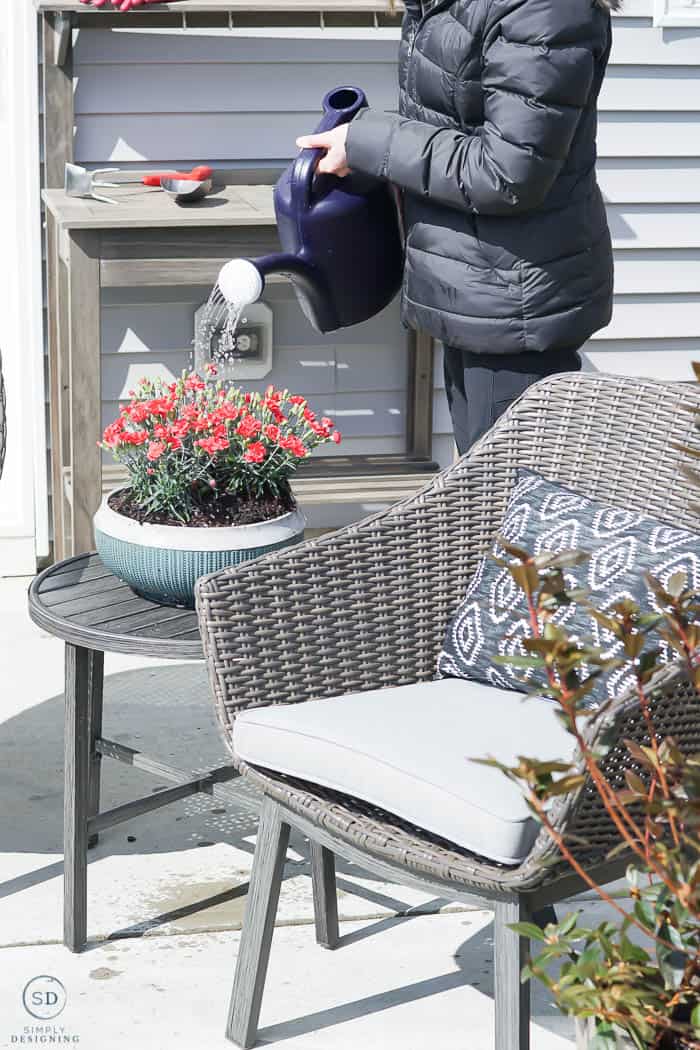
It is important to give your newly potted plant a really good watering.
You can use a garden hose or a watering can to do this.
Follow the Plant Instructions
It is important to save your plant's instructions so that you can learn more about your plant, how often to water it and how much sunlight it may need. All plants are different so be sure to care for your plant in the way that it needs care.
Shop this Look:
- Better Homes & Gardens Cason Cove Contemporary 3 Piece Chat Set
- Better Homes & Gardens 19 x 14 in. Diamond Wandering Ikat Outdoor Toss Pillow
- Better Homes & Gardens 12" Teal Brookmonte Planter
- Better Homes & Gardens Potting Mix Planter Soil
- Better Homes & Gardens Cane Bay Outdoor Potting Bench
- Better Homes & Gardens Cane Bay Outdoor Planter - Large
You might also enjoy these posts:
Outdoor Living with an Easy Fire Pit






Julie Briones
Love yourmakeover, and your tutorial for potting plants! I pinned it to my 'Gardening for Small Homes' board. Here by way of Inspiration Monday… would love to have you join us at Homestyle Gathering on Tuesday!
Jenny
We have a small patio and your set up would be so pretty on it. Great tips for potting plants. Thanks for sharing at Merry Monday
Erlene
It's amazing what a few plants can do to liven up a space. You definitely look like you're ready to have some spring parties out there. Thanks for sharing your potting tips too. Pinned and will be featuring this on this week's MM.