This is a sponsored post written by me on behalf of Devine Color for IZEA. All opinions are 100% mine.
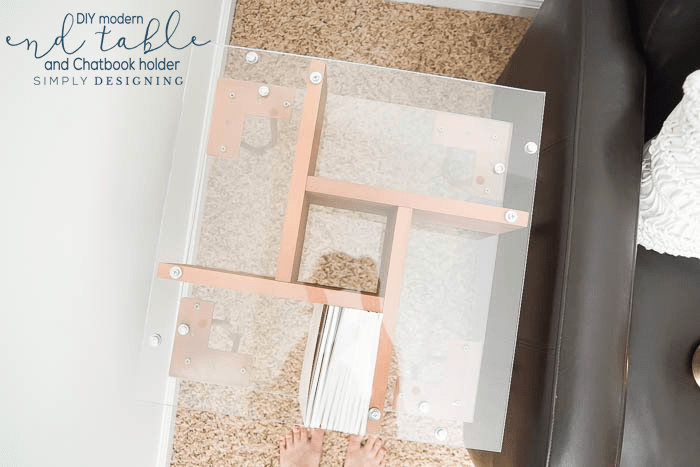
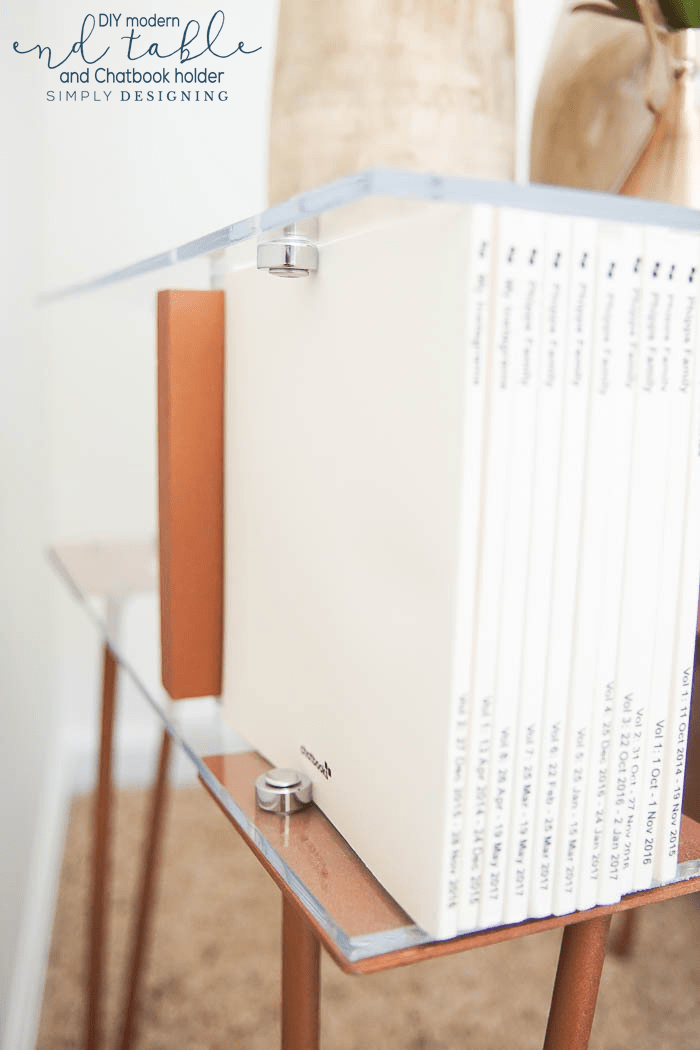
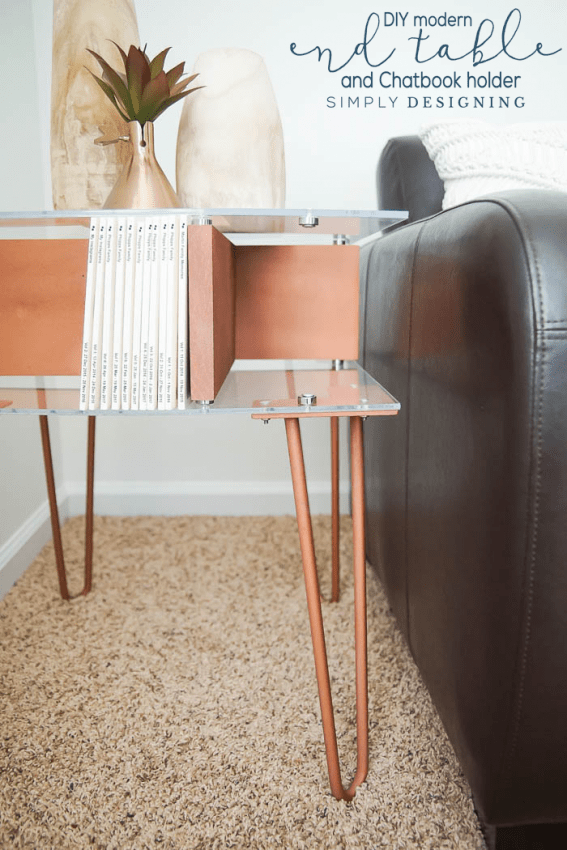
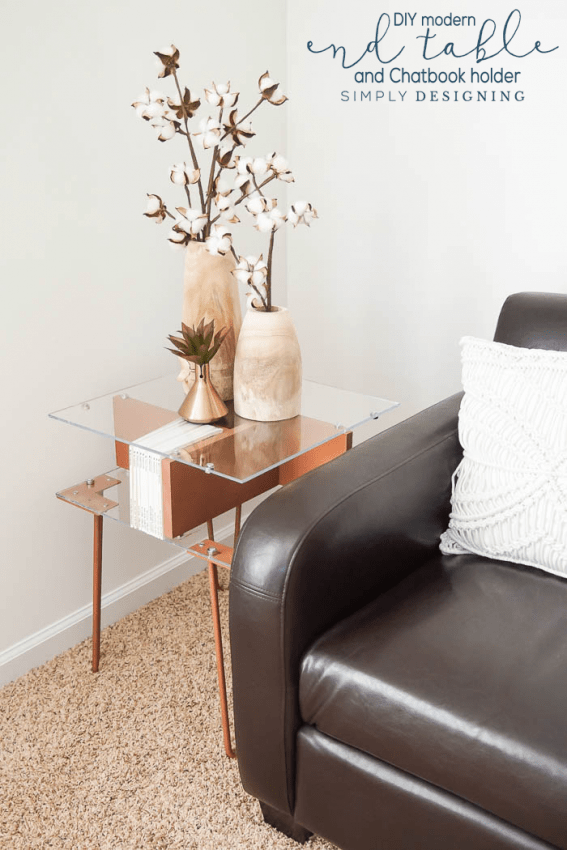
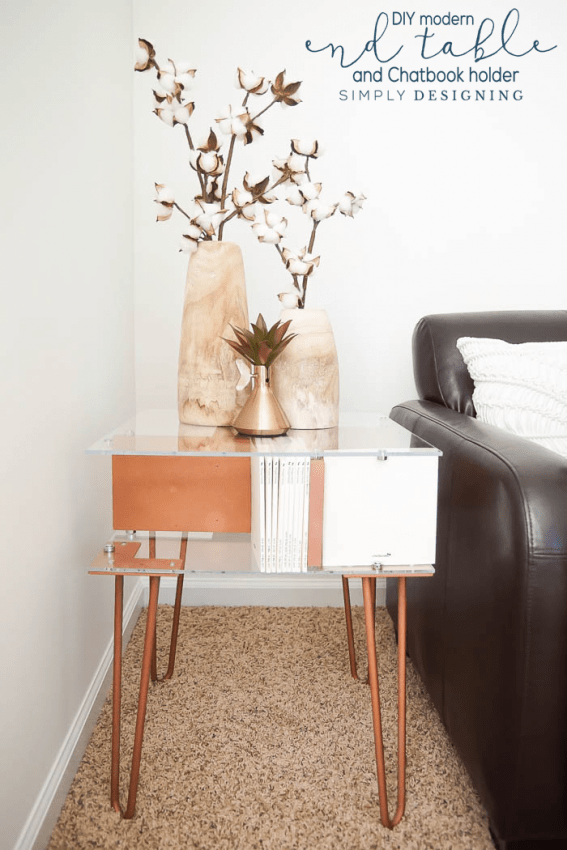
In our bedroom we have a chair. I love that chair. I read in it. I feed my baby in it. It is an often used, well loved chair. But for a long time I have been wishing I had a modern end table beside it. Somewhere to set my book or a drink. And so after a lot of stewing and brainstorming I came up with a fun plan to build my own DIY modern end table and chatbook holder. Yes, that's right, this end table also doubles as chatbook storage or any other small book storage, or just a fun place to put some unique decor items. Really the options are so endless! This is the perfect little end table and it fits perfectly in my bedroom next to my cozy little chair! And today I am excited to show you how to make your own DIY Modern End Table and Chatbook Holder.  The great thing about this modern end table is that you can truly modify this to meet your needs. If you need it a little smaller, taller, longer, wider you can totally do that! Just tweak the measurements to fit your space and your needs! If you have something else you want it to hold instead of photobooks, you can tweak the sizes to fit that as well! The options are really endless!
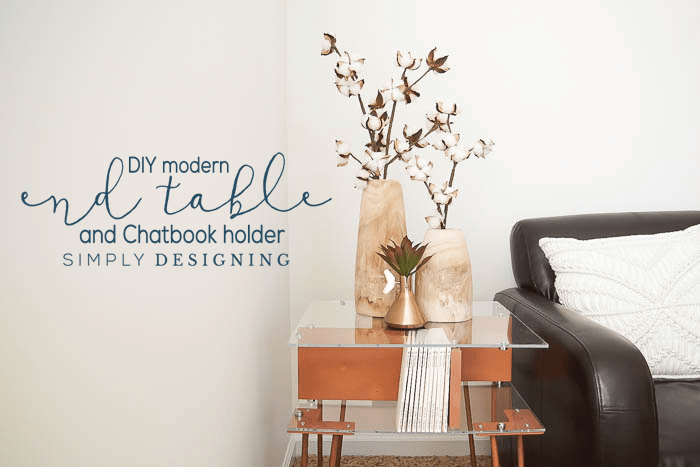

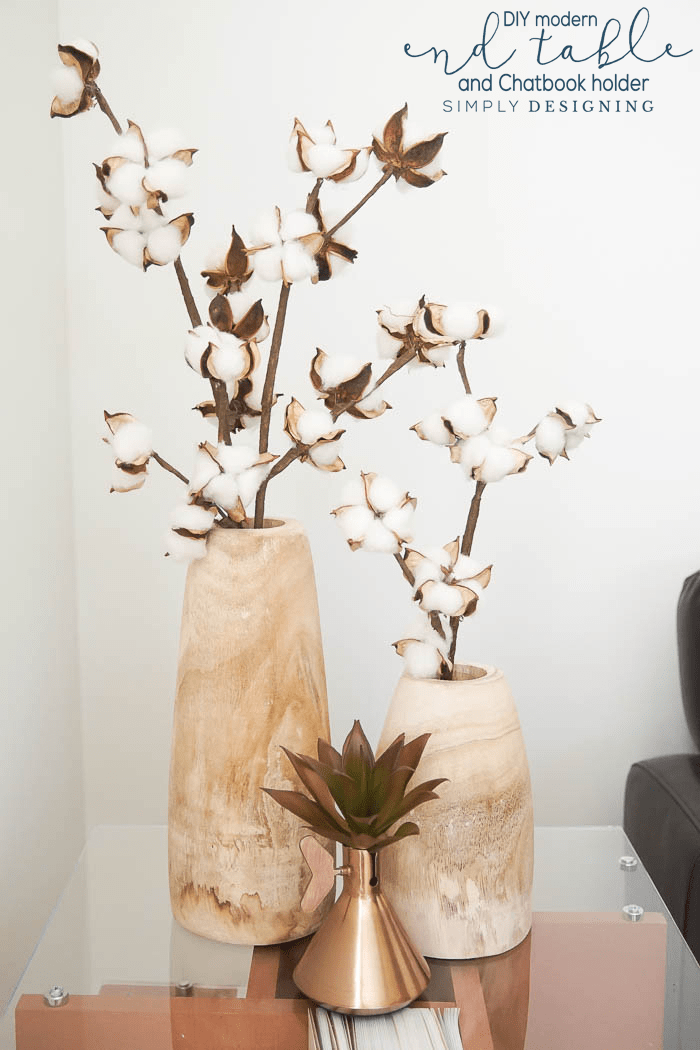
DIY Modern End Table and Chatbook Holder
Supplies You Will Need:
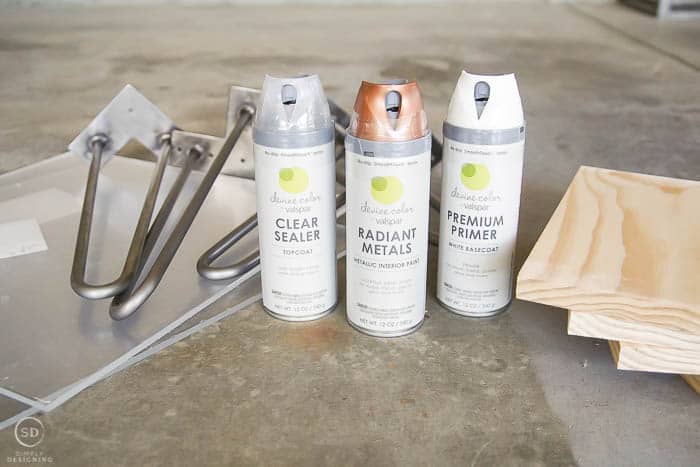
- (2) sheets 18" x 18" x ¼" Plexiglass (Pro tip: if you can't find it pre-cut in this size, ask the hardware store to cut it for you!)
- (4) 16" Hairpin Legs
- 1" x 6" x 6' Wood Board
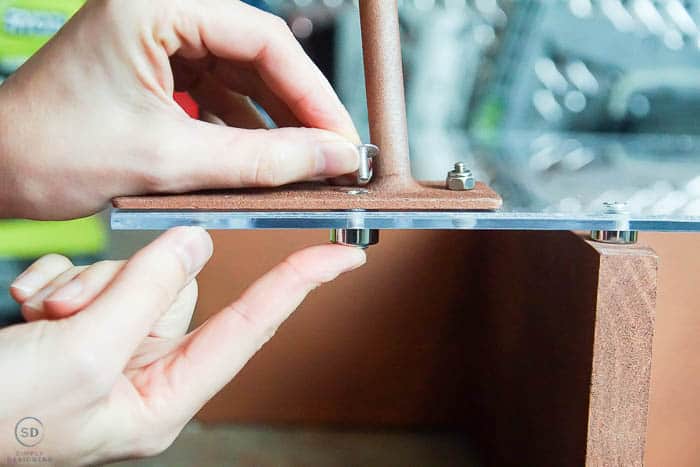
- (16) ¼" x ¼" Chrome Spacers
- (8) ½" Screw Post
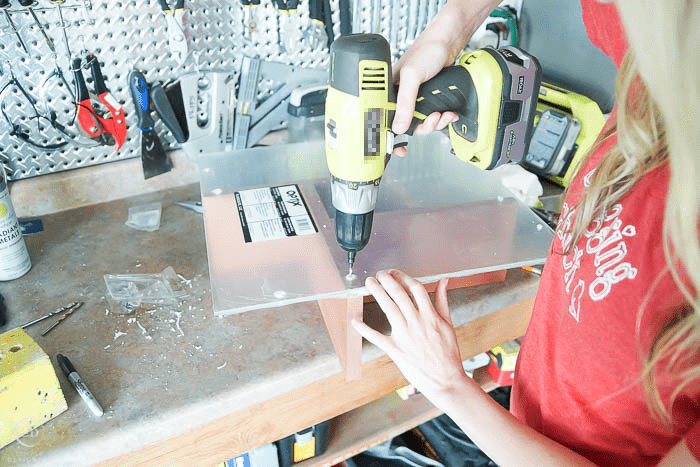
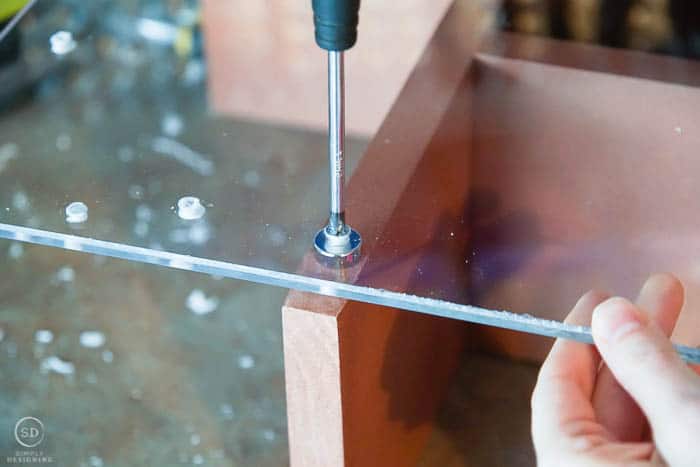
- (8) #8 1 ¼" Wood Screws
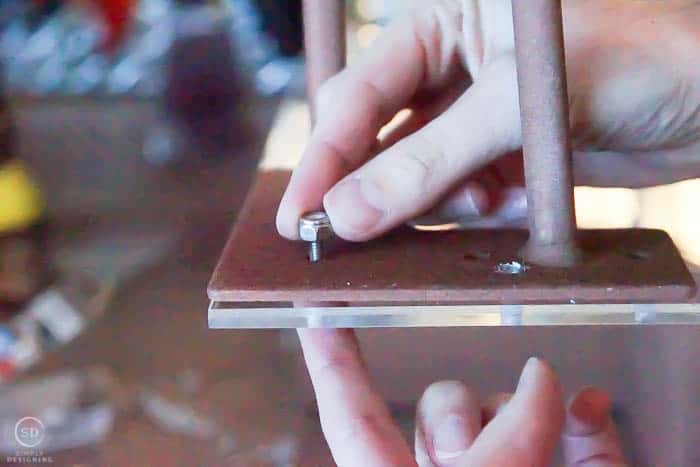
- (12) #8 Lock Nuts and #8 ¾" Screws
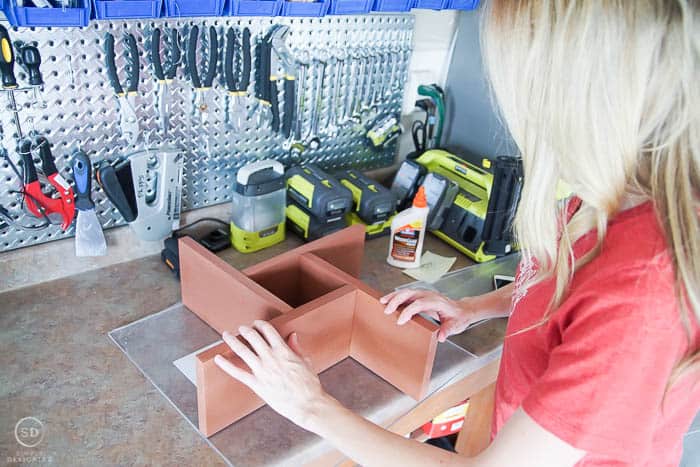
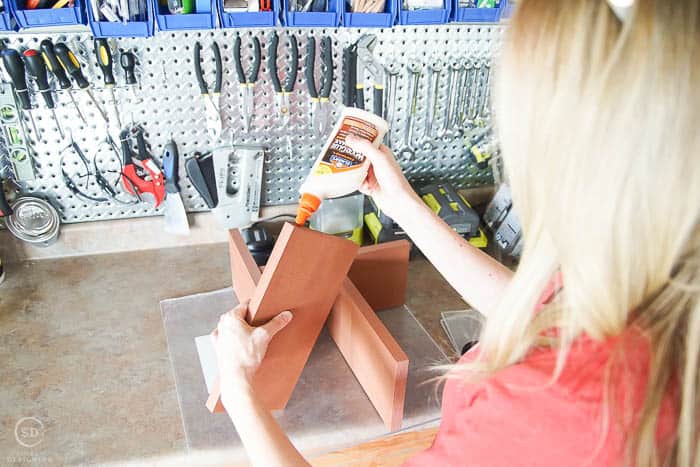
- Wood Glue
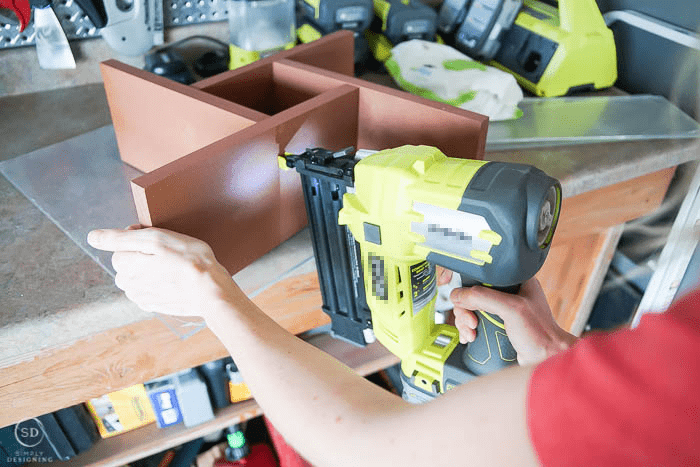
- Nail Gun with Brad Nails
- Compound Miter Saw
- Electric Sander
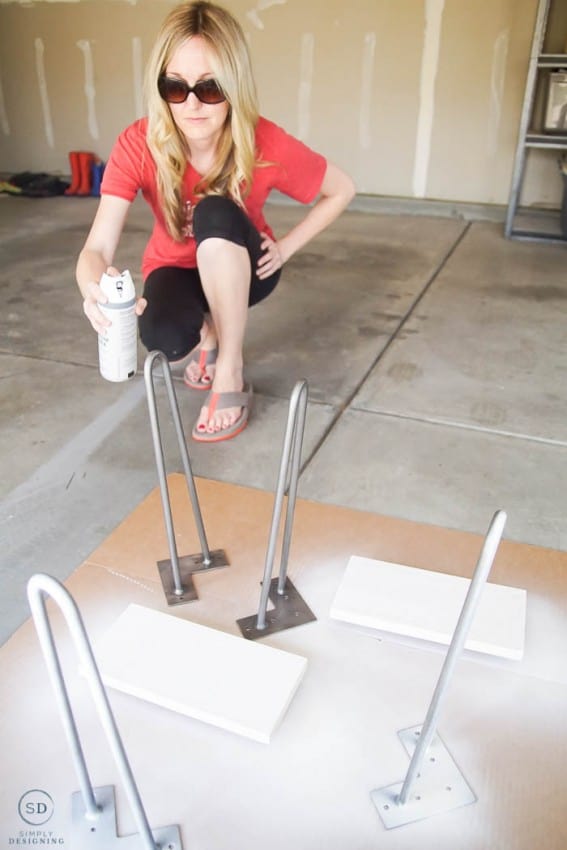
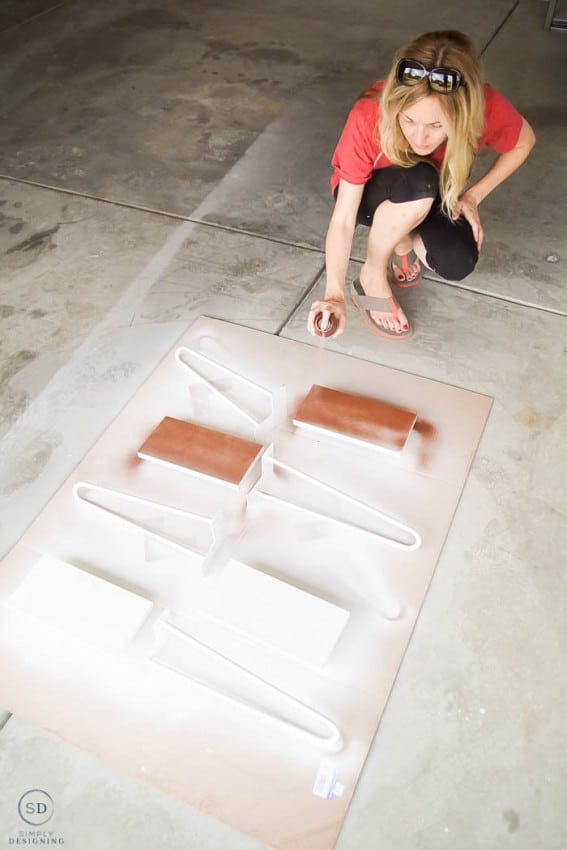
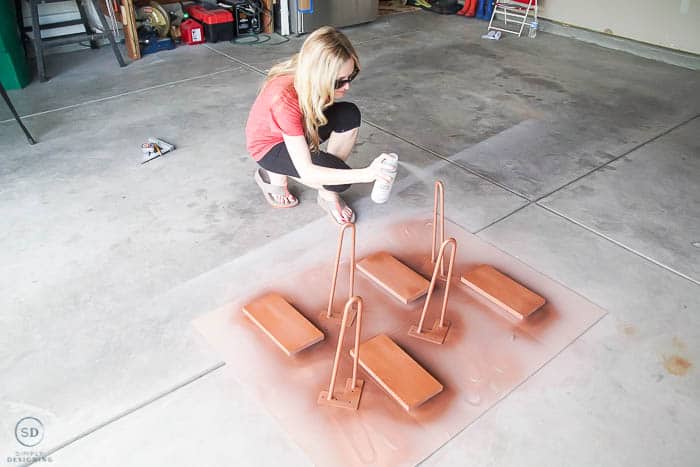
- (2) cans of Devine Color + Target Metallic Copper Spray Paint
- (2) cans of Devine Color + Target Primer
- (1) can of Devine Color + Target Clear Coat
Instructions:
*Remember to always follow manufacturer instructions when using any tools or supplies. Please wear and use appropriate safety gear and follow all safety guidelines, especially when using tools.
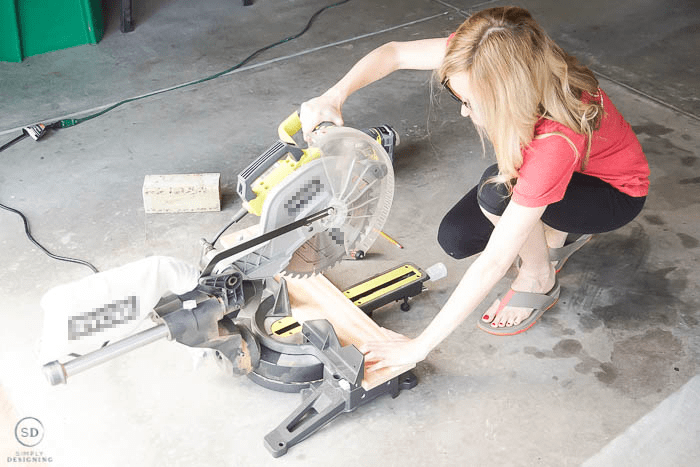
First we used our compound miter saw to cut the wood into (4) 11 ¼" lengths. 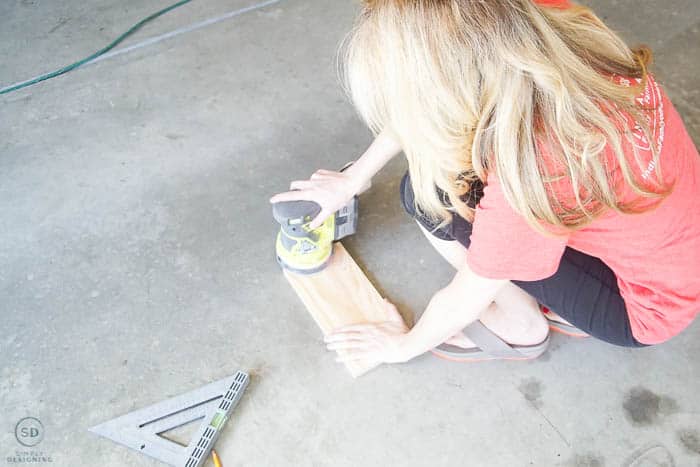




Jenna
What a great table! So pretty, but modern at the same time! Love those colors you used!
Bobbi
What a great design! I'm a modern girl so this look is right up my alley.
Lynn Woods
This would great in my office! Thanks fr sharing at the #HomeMattersParty!
Allen Michael
I love that this end table is versatile and has so many compartments. This is really a perfect design for a minimalist, modern living room as well.
Painting the wood into copper is a great touch, it made the design look more on trend. And great job on the "invisible" book stopper too! Thanks for sharing!