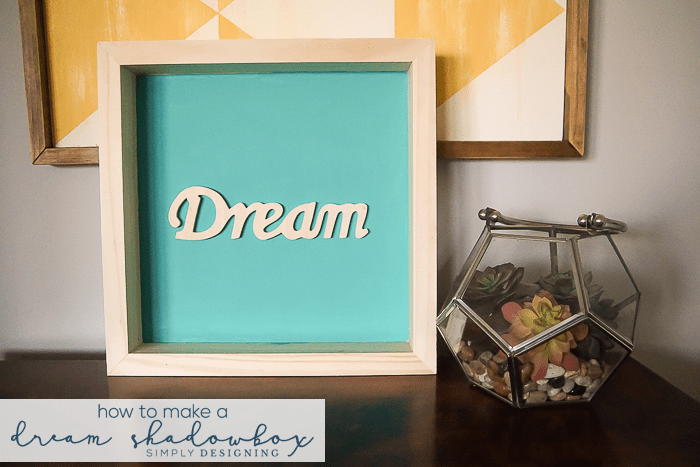
Have you ever had a dream you wanted to achieve, but you needed to be reminded regularly to work on it? Walt Disney said, "All our dreams can come true if we have the courage to pursue them." I am a big fan of following my dreams, but I do need to be reminded. And, with a new little one at my house, I need sleep. And the most restful sleep is when we dream, right? So when I saw the materials for this Dream Shadowbox Decor, I knew I would want to make one to add to my decor.
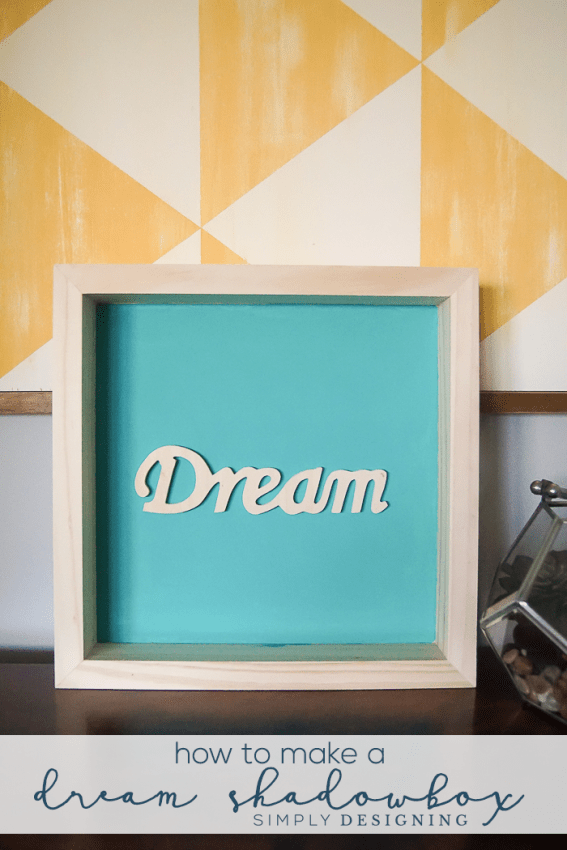
This dream shadowbox decor was so easy and fun to make. I'm sure you will love it for your house. Even though I used turquoise paint for the background and kept the wood natural, you could paint it any color you'd like to match your home. You could even make it for a gift for friends or loved ones to match their decor. The possibilities are endless.
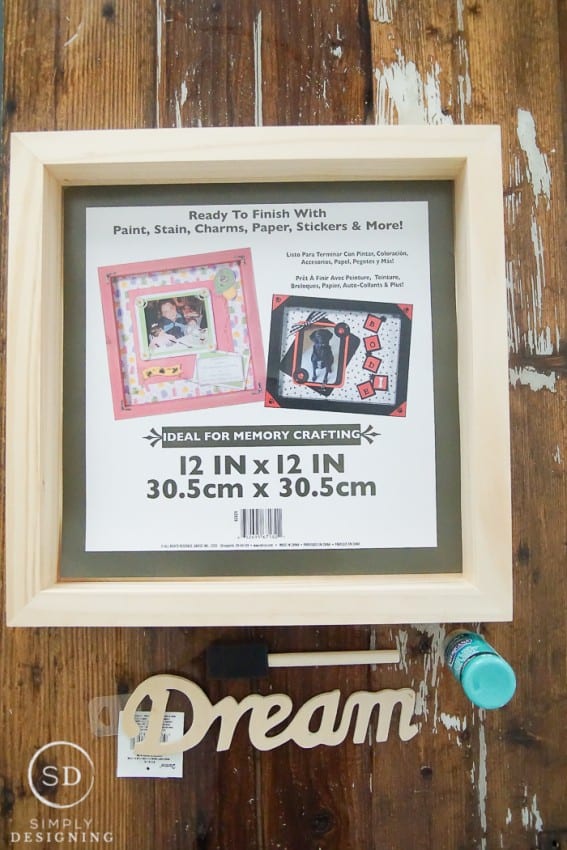
Supplies Needed for Your Dream Shadowbox Decor:
This post contains affiliate links for your convenience. By purchasing any items, I receive a small commission but you never pay a penny more. Thank you for supporting my blog.
- Wood Shadow Box
- Dream Wood Script Word
- Paint Color of Your Choice
- Foam Brush
- Low-temp Hot Glue Gun
- Glue Sticks
To get started, gather all your supplies together and remove packaging.
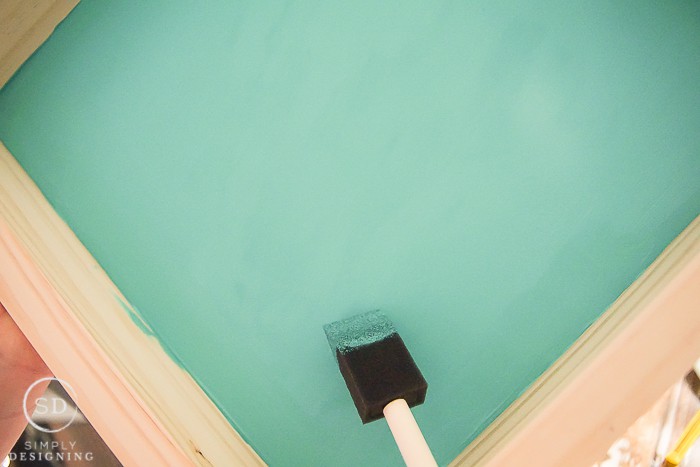
Carefully paint the back of the shadowbox. If you choose to paint the entire box in one or two colors, do that now. If you are painting the Dream wood script word, you can paint that now, too. Make sure the paint is nice and dry.
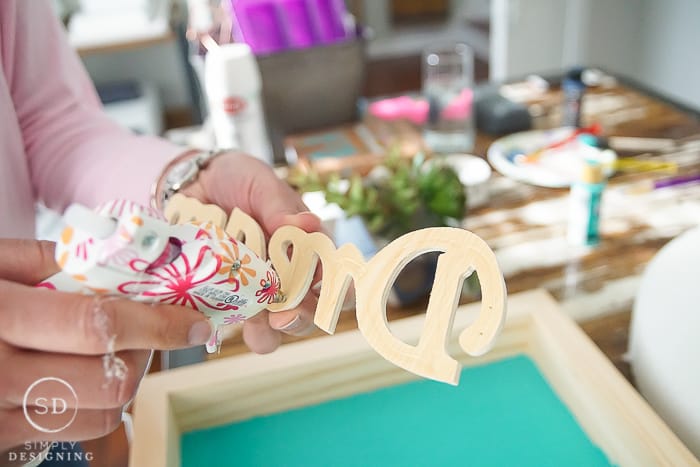
With a low-temp glue gun, trace the letters on the back of the Dream wood script word. A low-temp gun is helpful since there are spaces on the word where the glue might hit your fingers. Center the wood script word and press into place in the shadowbox.
Now it's ready to display! I hope you enjoy making and displaying this as much as I did and that it helps you have the courage to follow your dreams!
This idea was first shared on Darice's blog.
You might also enjoy:
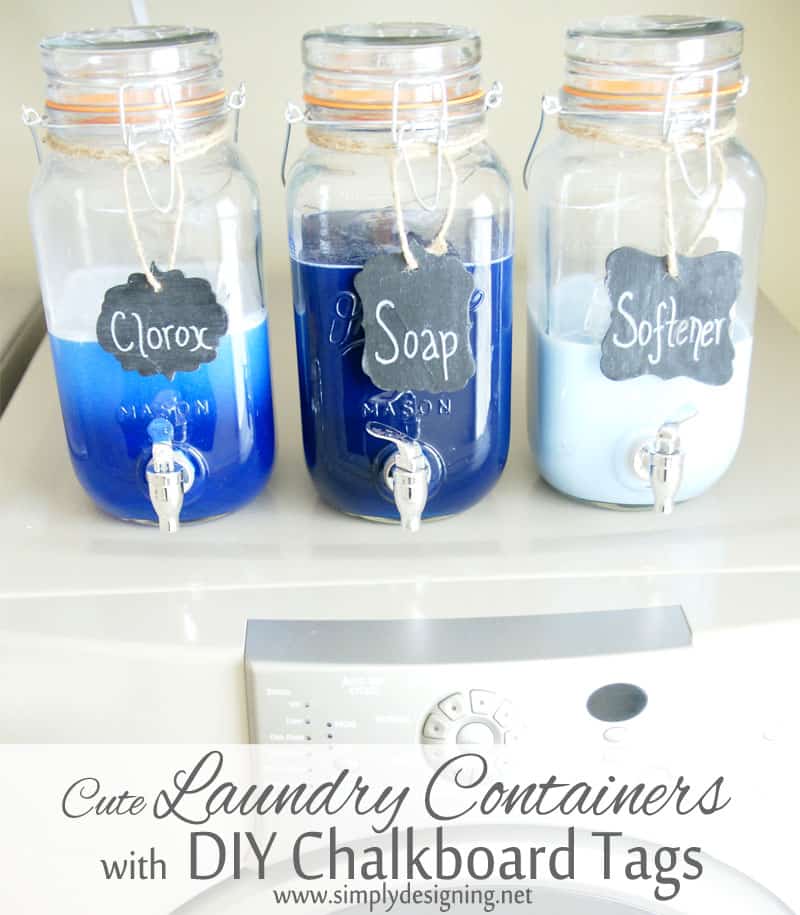
Mason Jar Laundry Soap Containers with DIY Chalkboard Tags







Marissa | Squirrels of a Feather
Pretty! I have been wanting to make a shadow box for my child's room...I am going to save this to check back to! Thanks 🙂
Jenny
Beautiful! I love an easy and cute DIY. This is perfect! I will be featuring this at Merry Monday in my Get Crafty post. See you at the party.