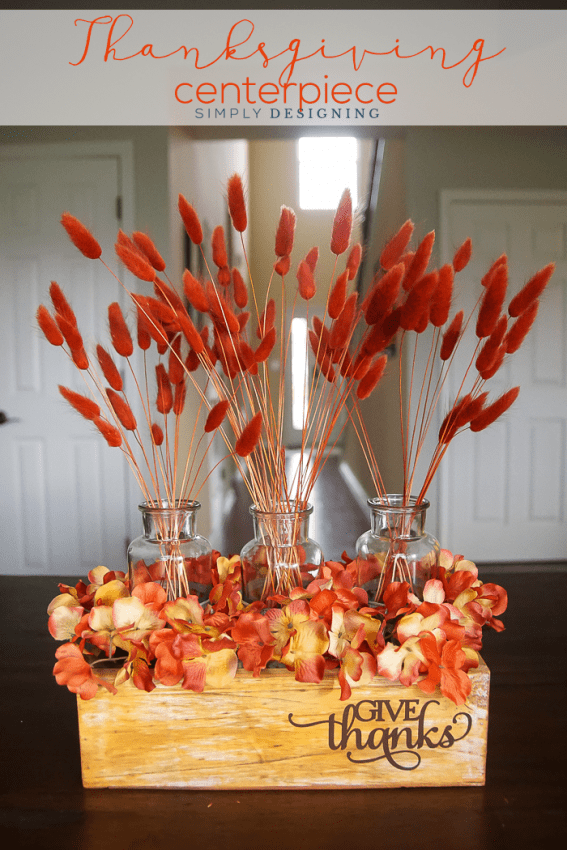
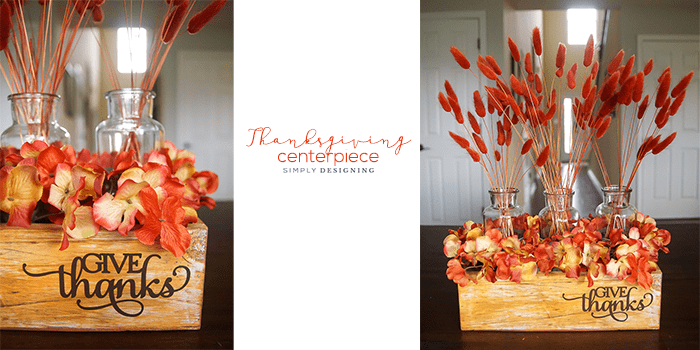
I love creating for the holidays and while Halloween is only a few days away, today I wanted to share a really fun Give Thanks Thanksgiving Centerpiece that is perfect for your Thanksgiving table! You could easily create it now, and enjoy it on your table or mantel for the next month or so until Thanksgiving actually arrives. Or you can create it now and set it aside to put out especially for the big feast. Whichever you prefer works as this centerpiece is easy to put together and oh-so-lovely. I am sharing the entire tutorial below.
A big thanks to Expressions Vinyl for making today's post possible. All ideas and opinions are mine.
A little while ago I created this pretty Farmhouse Fall Centerpiece and fell in love with it. It was one of those projects that was easy to make and I loved it even more than I thought I would! It has had a home in my family room for the last few weeks. So I was inspired to take the same idea, but turn it into something a bit more suitable for Thanksgiving!
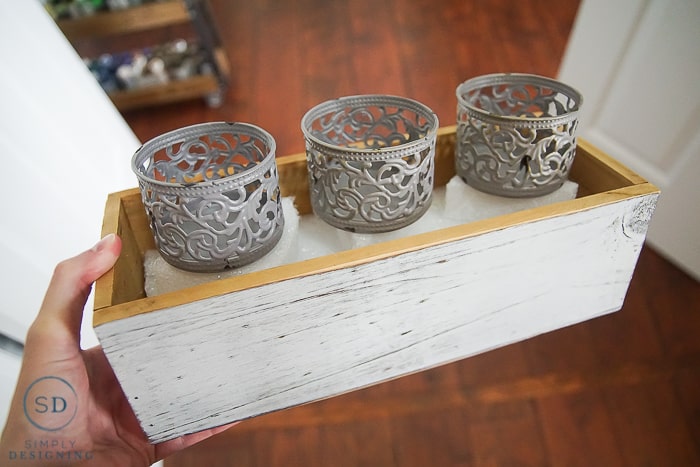
I took the centerpiece I previously made apart because I knew I could reuse the wood box and the glass jars for this project, and I went shopping at my local craft store for a few supplies. I picked up a couple of orange and yellow hydrangeas and a more natural bouquet. If you don't already have a wooden box, you can find something similar at almost any craft store, and snag three glass jars while you are there too.
Because I was repurposing this centerpiece, I already had styrofoam in the bottom of the wood box and my jars were already secured in place with glue. You will want to do this first. Fill the bottom of the wood box with styrofoam and use glue to secure the glass jars in place. (In my case, the jars I bought came with decorative metal cups the glass jar sat in, so I glued those to the styrofoam.)
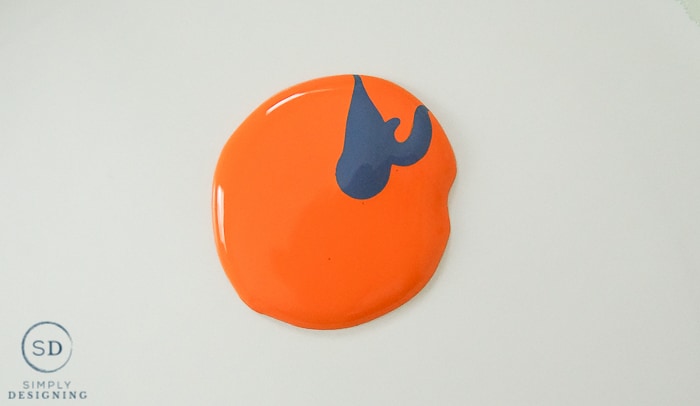
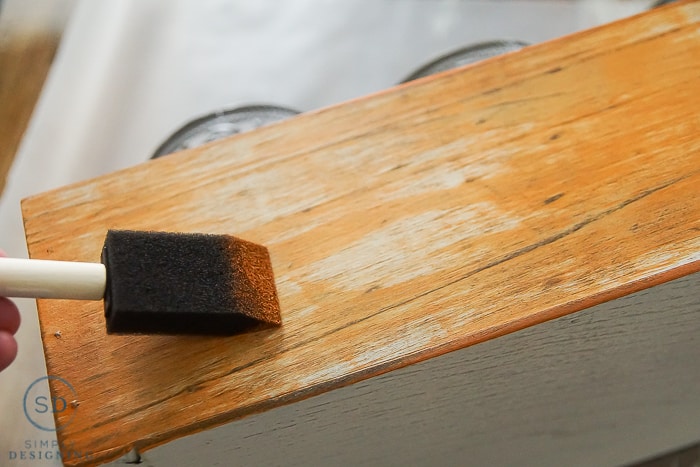
Then I decided to transform the wood box. It was pretty in white. It really was. But I wanted to transform it a little bit, so I grabbed some craft paint and a foam brush and dry-brushed a few other colors of paint on the wood box. I mixed a little blue and orange paint together to create a deeper orange color and carefully and lightly brushed a bit of the paint on the box. Then I added a bit of brown paint on top of that to add dimension and depth.
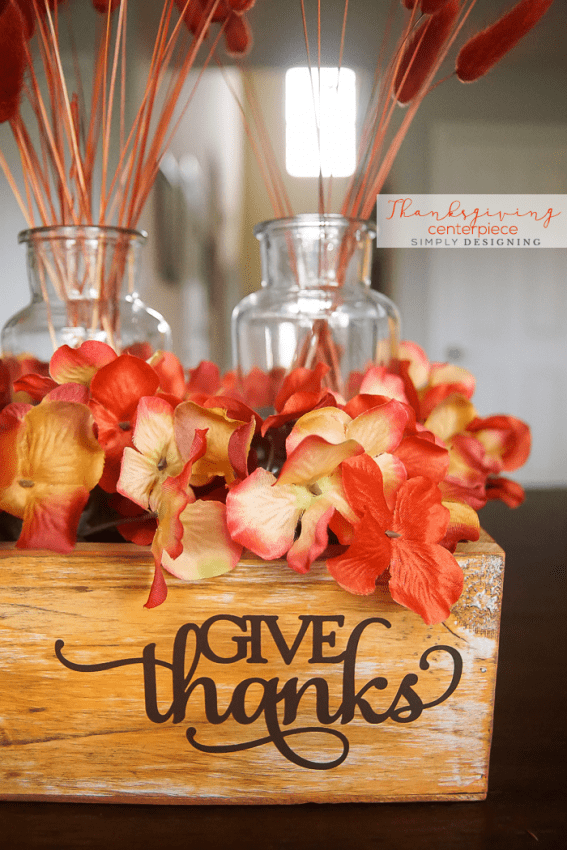
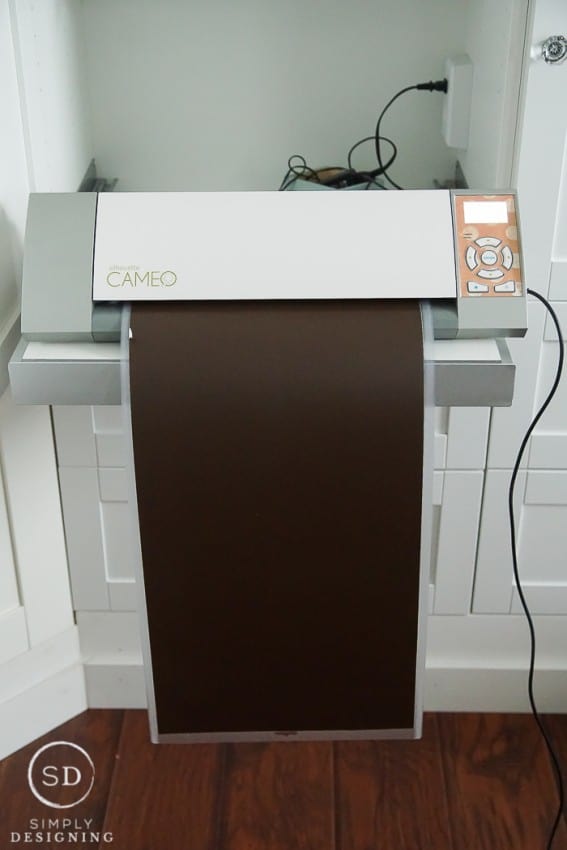
While the paint was drying, I brought up the Silhouette program and then the Silhouette store and found a cute "give thanks" cut file. I sized it to fit on the wood box and cut it out with my Silhouette using brown vinyl.
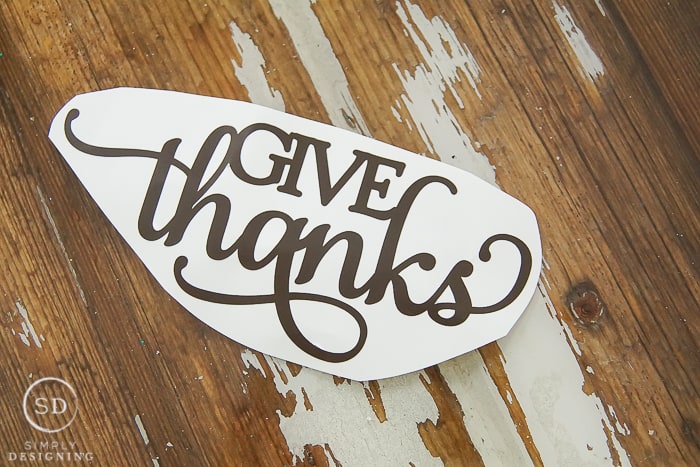
I weeded (removed) the excess vinyl from the backing paper.
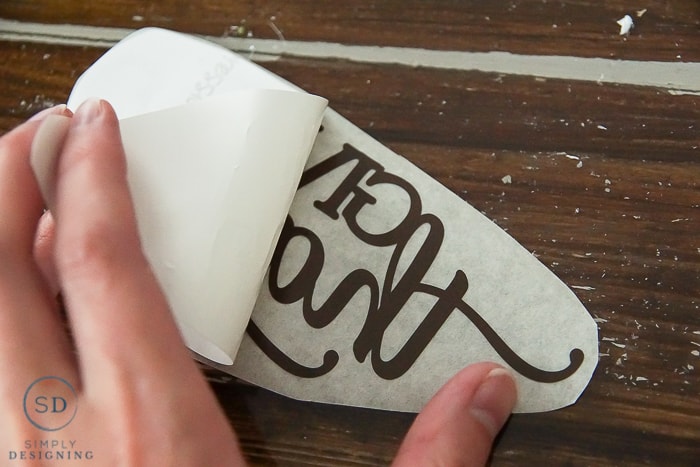
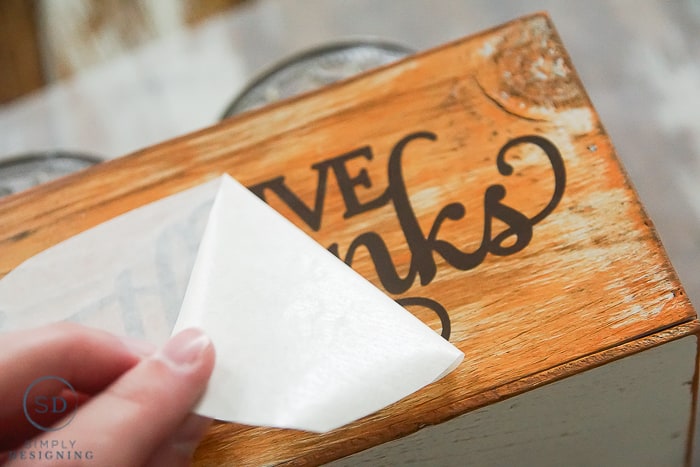
Then I placed a piece of transfer tape on top of the vinyl and rubbed it together.
I removed the backing paper (making sure that all the vinyl was adhered to the backing paper, and placed the "give thanks" vinyl in place on the wood box.
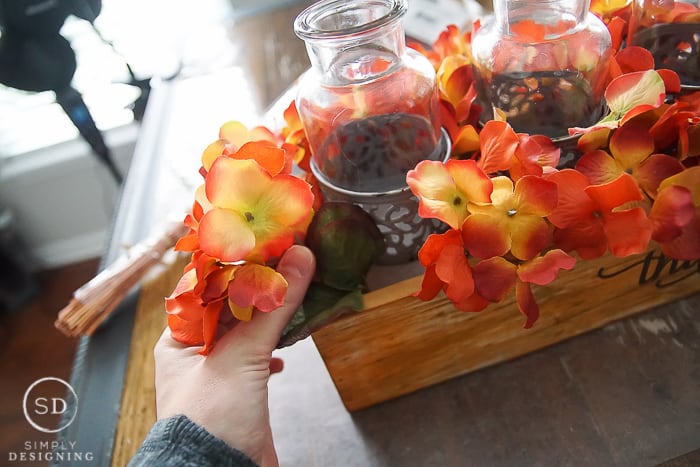
I cut the hydrangea into smaller pieces and placed it into the styrofoam around the glass jars. And then I added the natural stems to the glass jars.
I really love the colors of this Thanksgiving Centerpiece and I love how the vinyl adds a beautiful touch to the box. It is so fun to accent decor with vinyl and I am really happy with how this turned out!
You can find the brown vinyl I used for this project here: Expressions Vinyl Series 31, Coconut Husk
And if you love vinyl as much as I do, be sure to enter this great giveaway from Expression Vinyl below:
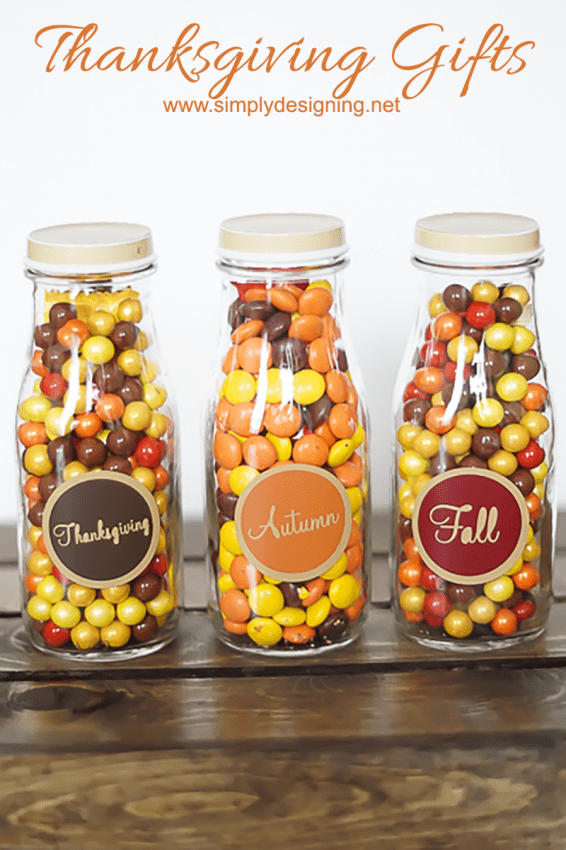
You might also enjoy:



Kim~madeinaday
Love those fuzzy stems! Thanks for linking up to Merry Monday! Sharing on G+! Have a great week!
Kim
Sue Lewis
This is a beautiful centerpiece. Thank you for sharing it!
Jenny
Your centerpiece is beautiful! I'll be featuring it tonight at Merry Monday! Hope to see you at the party