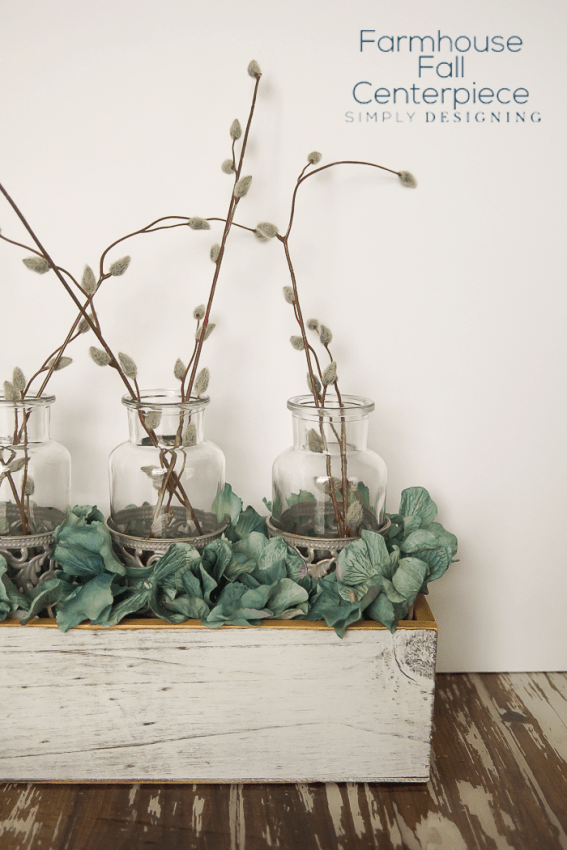
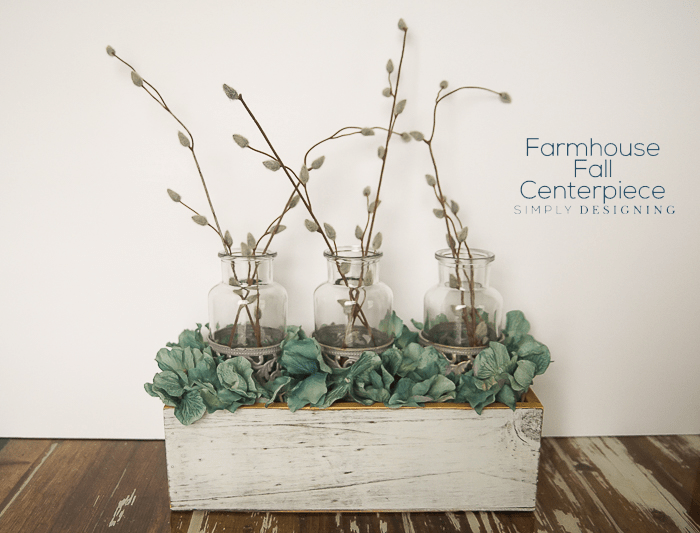
I love creating fun and pretty centerpieces for my kitchen table, mantel or other spots in my home. With school about to start and fall just around the corner, I decided to get a head start on a fun fall centerpiece for my table. But I didn't want a traditional fall centerpiece with pumpkins or leaves. I don't have much orange or red in my home so I wanted something that would still match my home AND be fall-ish. I wanted something beautiful, something rustic, something fun. So today I am excited to share my Farmhouse Fall Centerpiece with you!
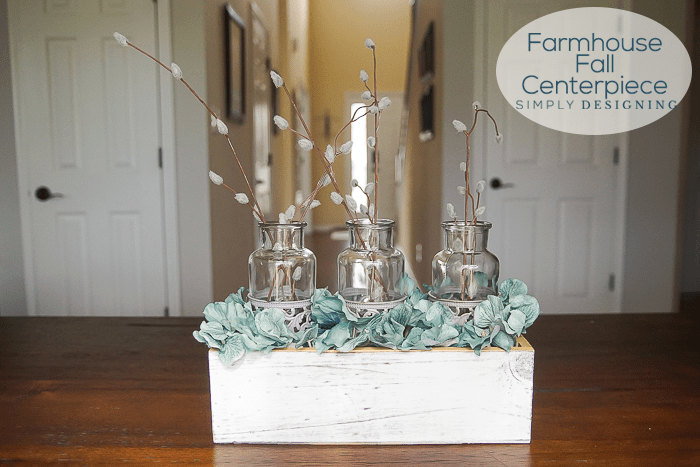
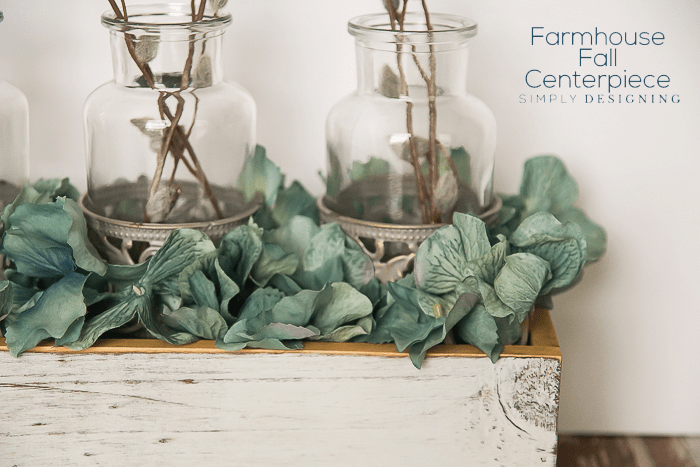
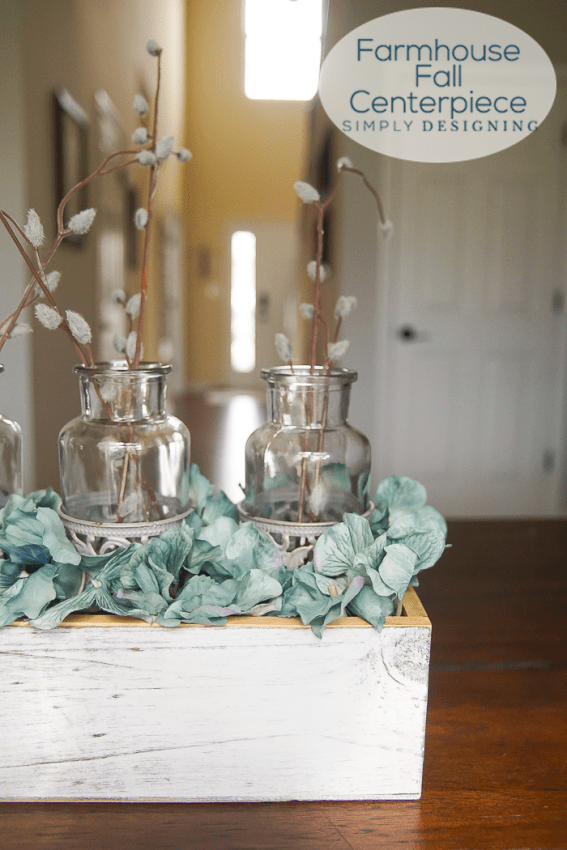
This Farmhouse Fall Centerpiece is a bit unconventional as I mentioned because I did not use any fall colored leaves (real or faux) and I did not use typical autumn colors (no red, orange or mustard yellow here). But it is still really beautiful with muted whites, turquoises and greys and it is a perfect way to bring a touch of fall into your home without necessarily needing to change your whole house color schemes!
Yes you heard me right, you do not have to change your color schemes to fit each season! By finding muted or rustic tones of the colors already in your home, you can easily add a rustic fall touch to your home without changing your whole home decor up! So keep reading and find out how to make this cute and unconventional, rustic, farmhouse fall centerpiece!
A big huge thank you goes out to Elmer's for making today's post possible. All opinions, ideas and images are mine.
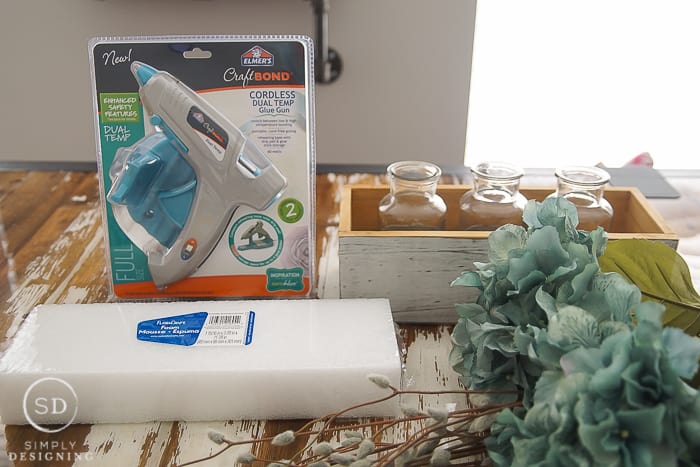
To create this Farmhouse Fall Centerpiece, you will need:
- (1) Rustic Wood Box (I found this at a craft store, already painted and ready to go)
- (3) Small Glass Vases (the ones I found came with pretty grey metal holders)
- Styrofoam to fit your Wood Box
- Elmer's Dual Temp Cordless Hot Glue Gun
- Floral Snips
- Knife or Floral Foam Cutter (THIS one is my favorite because it cuts through the foam without leaving a styrofoam mess)
- Flowers (I chose rustic turquoise hydrangeas and a few pussy willow stems)
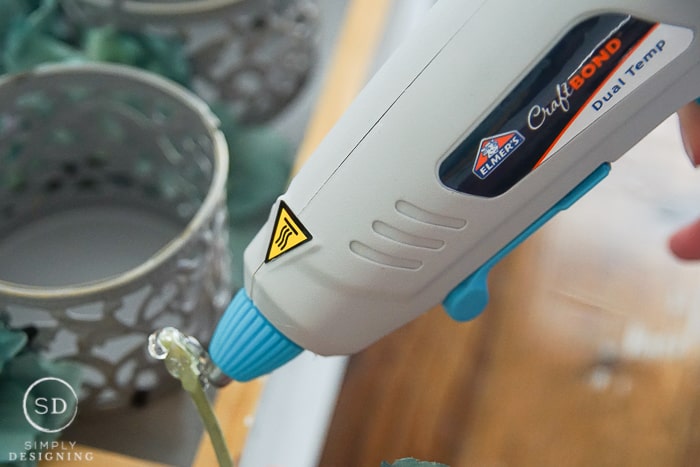
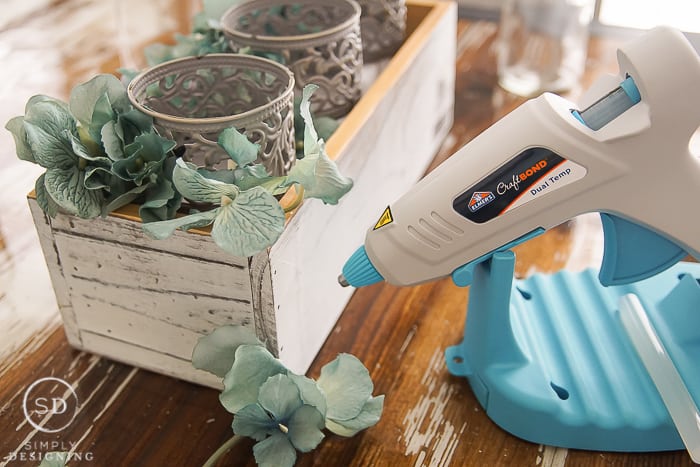
I decided to use Elmer's brand new hot glue gun they recently released and I really did like it! It is a larger glue gun (I prefer the large ones over the small ones for most projects) and it is dual temp so I can easily decide if I need the high temp or the low temp with just a switch of a button! I used low temp for this project. Also, it is cordless! Which is so convenient! You just let it heat up in the base, and then it can be used for about 5 minutes without being attached to any cord or base! It is really convenient and stayed hot as long as I needed it to for this project.
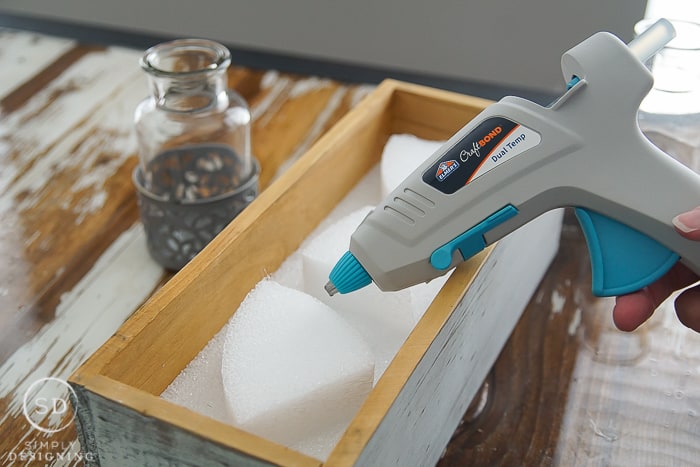
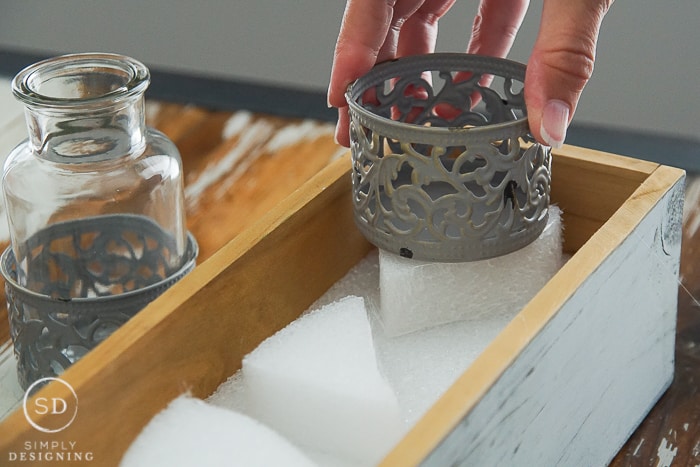
We began by cutting the Styrofoam to fit inside the wood box. Because the Styrofoam was only 1 ½" thick, and I wanted my vases to be more raised, we put a second layer of Styrofoam where the vases were going to be attached, however you could just do a full second layer of styrofoam. We used the hot glue gun to attach the styrofoam to the bottom of the box and the second layer to the first layer.
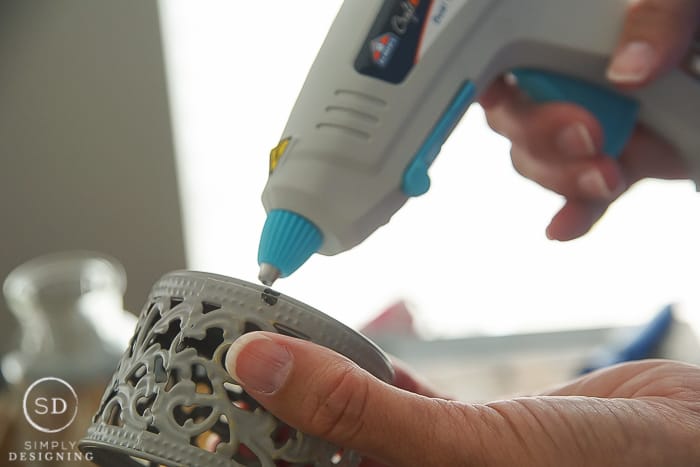
After the styrofoam was in place, we used the Elmer's Hot Glue Gun to attach the cute metal glass vase holders to the styrofoam. If you don't have metal vase holders, you can directly attach the glass vase to the styrofoam.
Next we used floral snips to cut the hydrangea into small stems and, using hot glue, pushed the small stems into the styrofoam until they were secured in place surrounding the glass vases.
All that was left to do was trim the pussy willow stems and place those in the glass vases!
It is such a simple craft but I just love how it turned out!
It is perfect for fall and I love how it could be easily adapted to fit any color scheme your house currently has!
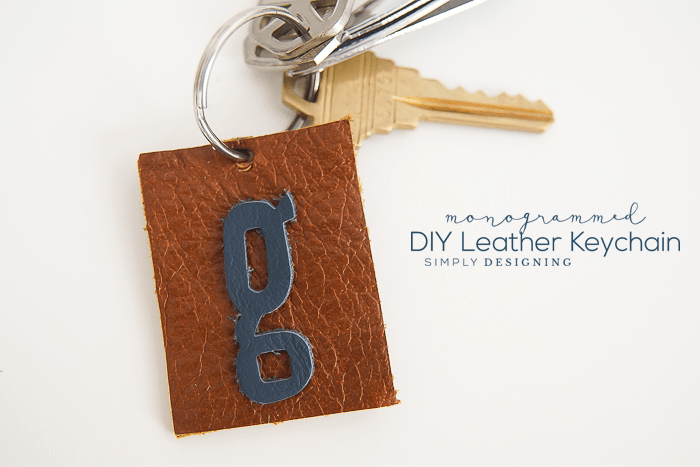
You might also enjoy these fun crafts too:



Kimm at Reinvented
So pretty! I love how you boosted the vases up so the pretty metal details would show. I've been brainstorming neutral fall decor ideas too, it's so fun! 🙂
Kristan @ Pink Rose Co.
This is so pretty! I was walking around Hobby Lobby the other day with the idea that I wanted to make a fall centerpiece for my dining room, but I didn't really have any inspiration. I didn't buy anything. Now I think I'm just going to copy yours! Haha thank you!
Helen Fern
This is really beautiful - Would love to have you share this on the Pleasures of the NW's DIY party!
http://www.pleasuresofthenw.com/do-it-yourself-linky-party-17/
BonBon
This is a great centerpiece for Fall. Love your design. Thanks for sharing at Inspire Me Monday
Emily
I love finding non-traditional seasonal decor ideas, especially for fall. I don't have much orange or red in my decor either. I love your neutral + turquoise centerpiece! Thanks for linking up with Merry Monday this week.
Michelle from Weekend Craft
Beautiful I am dying to build a box like this and fill it with succulents.
Leanne
What a beautiful centerpiece. I love all the natural elements.
Kate
I love that box and those willow branches add the perfect touch! This came out great!
Thanks for joining us this week at the Wake Up Wednesday link party! Hope to see you again next week!
Kate | TheOrganizedDream.com
Vanessa Barker
This is so cute. What a fun idea for a centerpiece.
Pamela J Smith
love this! This is the perfect colors for my house too! i like how simple it it too!
Stacey
It's neat when a combination of unrelated items makes something gorgeous!
Happy TOHOT! 🙂
Angela
I absolutely love this centerpiece. I think I'm going make something similar.
melanie - bellenza
I love how elegantly this turned out sans the use of pumpkins for fall!
Kati
This is so beautiful and so easy! I love it. Pinned!
Audra @ Renewed Projects
Good idea hiding Styrofoam underneath to give it some lift. Cute centerpiece!
Liberty
Well, I just have a mini glue gun, but a cordless one sounds great!
Liberty @ B4andAfters.com
Sarah @ The DIY Mommy
I LOVE the unconventional fall colours! Who needs to follow the "norm" this is beautiful for any season! Thanks for sharing!