If you have been following along, you have seen our playroom transform into a craft room for me! Well, at least start to! I began by sharing my Craft Room Inspiration HERE and also managed to get "I'm so fancy" (song) stuck in my head....for weeks. (Go here to see why.) And then I shared about our trip to IKEA and a bit of our plans to create an amazing craft room! You can see the beginning of our transformation HERE. We worked really hard to assemble tons of IKEA cabinets and put them into place! And today, I am sharing what we did next to create my Dream Craft Room!
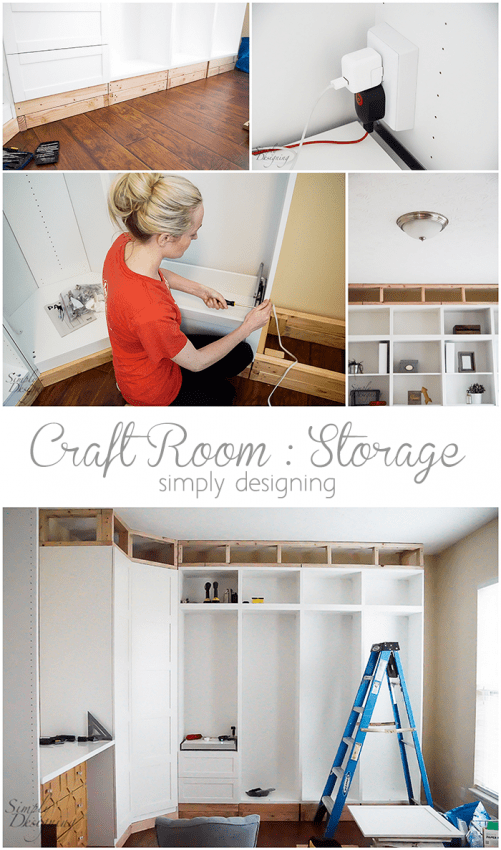
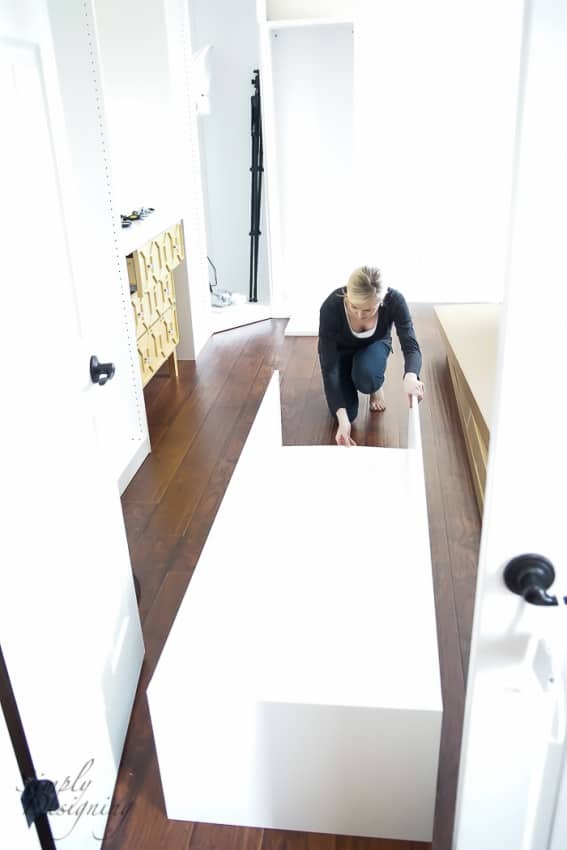
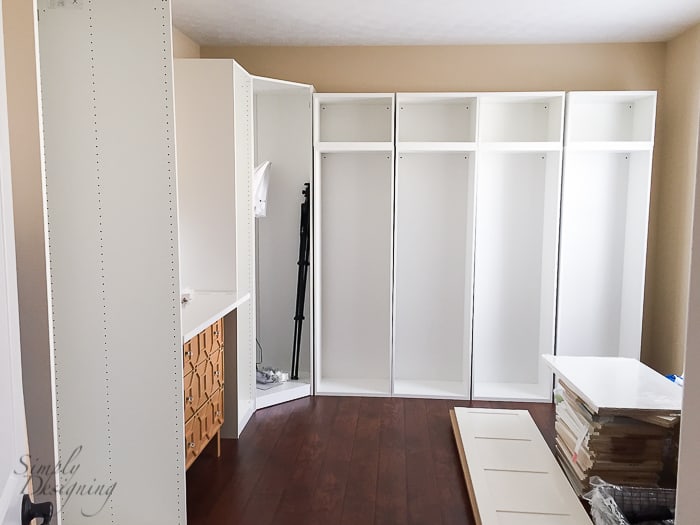
We had soooo many IKEA cabinets to assemble it wasn't even funny.
It felt like the assembly took forever. And because we choose really tall cabinets I needed my husband to help me assemble and lift these. He is such an awesome guy for helping me with this!
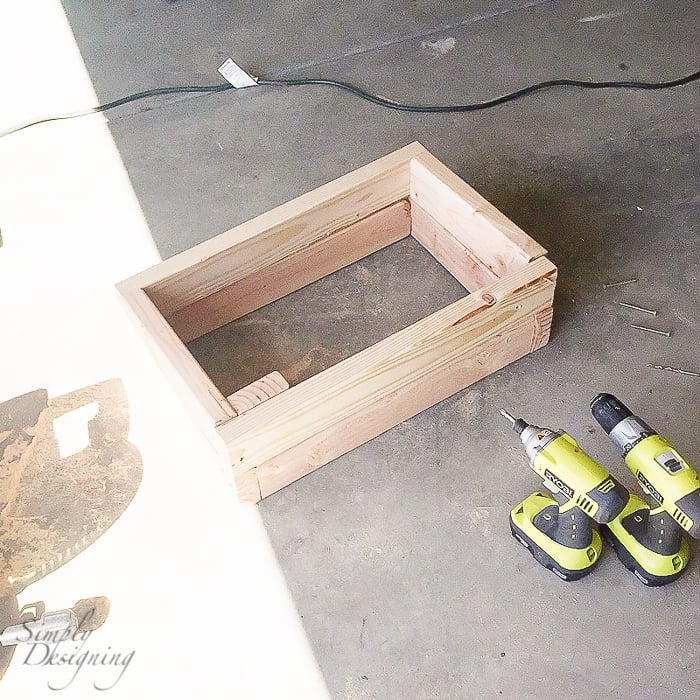
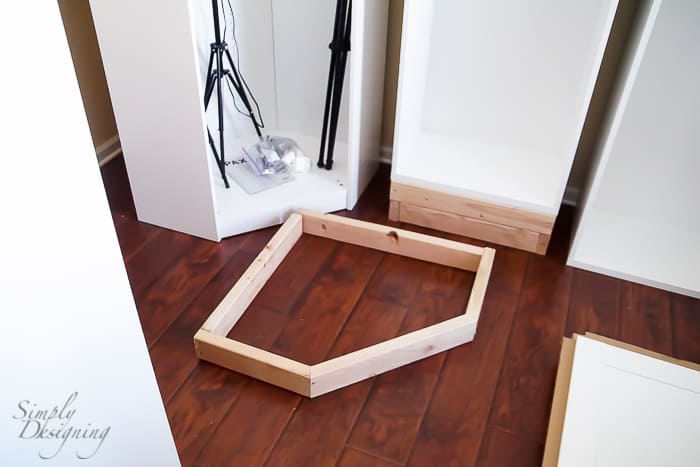
After they were assembled and in place we built bases for them all to go on!
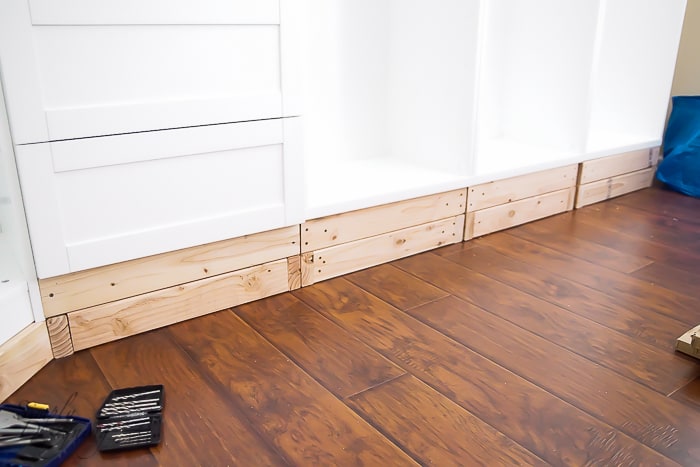
It was a simple 2" x 4" base, but because we had two different height cabinets, we had to build them a little different for each cabinet line.
Our PAX line of cabinets went on (1) 2" x 4" base.
And our Besta line of cabinets went on a double height 2" x 4" base. This helped accommodate for the height difference in the cabinets.
After the bases were assembled and the IKEA cabinets in place, we secured the cabinets to the walls using the wall attachment kits that came with the IKEA cabinets. And we also secured the cabinets into the bases by screwing screws from the cabinet into the base. These cabinets are really secure!
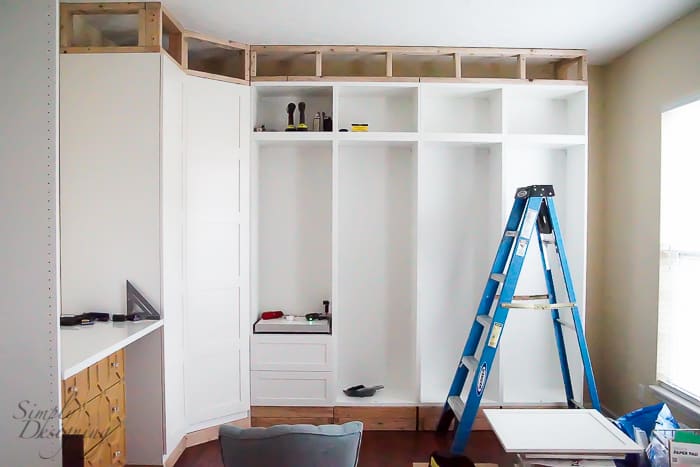
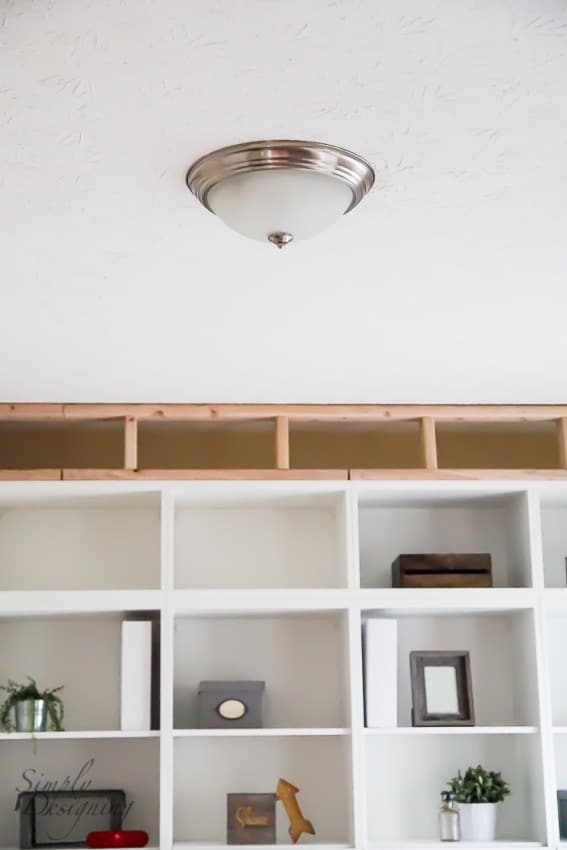
Next we framed in the top of all of the cabinets. We wanted a fully built-in look so we took this framing from the top of the cabinet to the ceiling. We secured the frames into the ceiling and into the top of the IKEA Cabinets.
Seriously, these cabinets aren't going anywhere! And don't worry, all this framing will all be covered eventually!
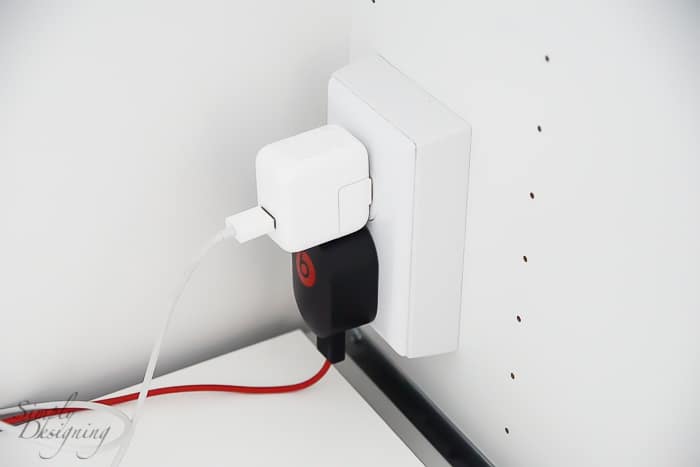
I didn't want to cover up all my electrical though so ran our electrical from the existing plugs up into the cabinets and installed new electrical outlets. Seriously, how cool is this!?!?!
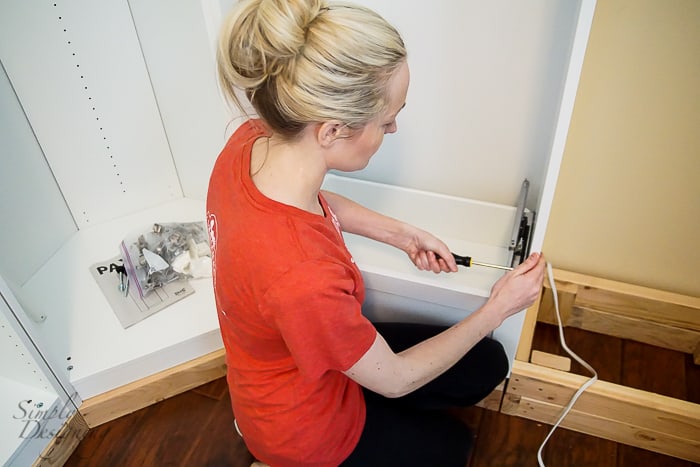
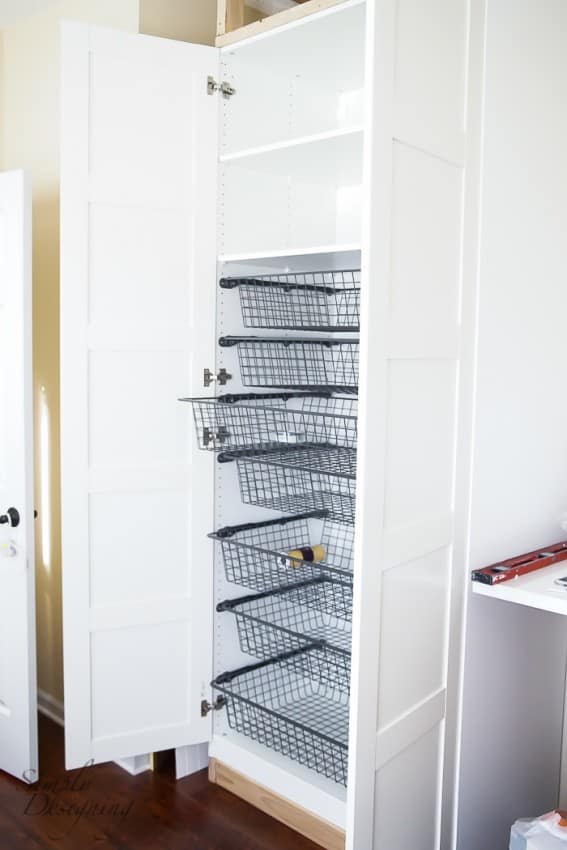
And finally, we installed all of our shelves and drawers in the IKEA Cabinets!
Whew! It was a long process but our office is finally starting to come together! I really can't wait to show you more of our progress! I love my how my craft room is coming along! It is light and bright and beautiful! And most important, functional! You better believe I filled my shelves and drawers up really quickly too! If you follow me on Instagram you even got to see a sneak peak of some of my drawers all full! (If you don't follow me on IG, be sure to do that HERE.)
And stay tuned for more soon!
Check out the whole Craft Room series here:
Play Room to Craft Room : Part 1
Choosing Cabinet Knobs : Part 5
The Perfect Gray Paint : Part 6
Industrial Pipe Leg Desk : Part 7
Industrial Rolling Paint Storage : Part 8
Concrete Industrial Pipe Shelf : Part 9
You might also enjoy:




Nancy Walker
I I am looking at the Ikea Pax unit online and was wondering if the shelves are fixed or are they adjustable since I can't tell online.
Thanks,
Nancy
Ashley Phipps
Hi Nancy,
You can install the shelves / drawers etc in the PAX units almost anywhere you like. There are pre-drilled holes every 1-2 inches inside the units, so wherever there is a hole you can install a shelf.
Hope that helps.
(Please note that this is accurate information for the specific units I bought at the time I bought them. I do not stay on top of changes IKEA might make to their products. So I always suggest inspecting the units prior to buying them or giving them a call to be sure.)
Nicole
Where did you find the corner cabinet? I cannot find them on Ikea anywhere!!! I have only been able to find L shaped.
Thanks
Nicole
Dana Lott
Hi Ashley! I'm curious the combination of IKEA cabinets you used. Are they all PAX wardrobe combinations? How did you switch the white pull out plastic drawers for the metal wire ones? Thank you!