A big huge thanks to The Tile Shop for sending us product to help make this post possible.
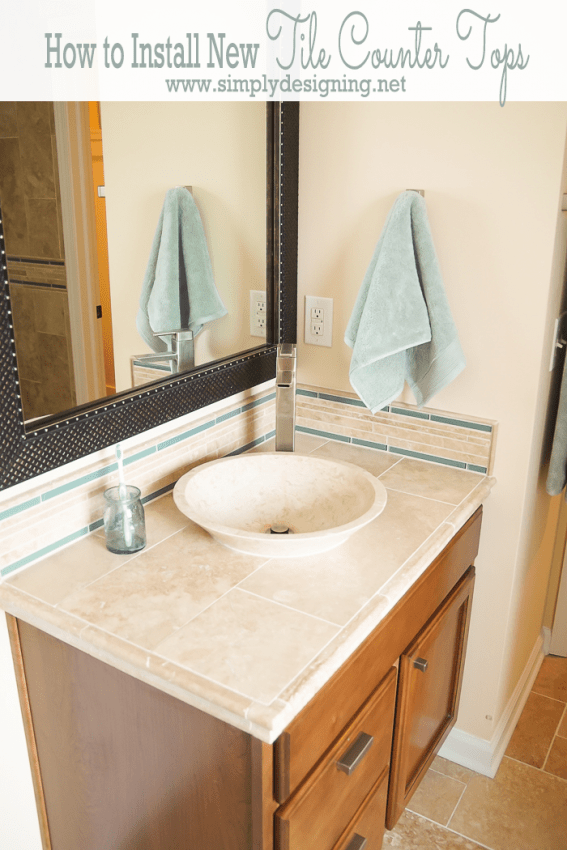
You guys! After months and months of hard work, sweat and even a few tears (of joy of course!) my Master Bathroom Remodel is finally complete! Wahoo! So today I am thrilled to show you our new counter tops! This is the second to last tile post, I can hardly believe it! Since we had already installed new flooring and a brand new shower, we decided our counter tops also needed a little love and attention so today I am going to show you How to Install New Tile Counter Tops!
How to Install New Tile Counter Tops
Do you know, it is actually fairly easy to install new tile counter tops! Yes it is. Well, at least if feels that way after you just completed a huge shower remodeling project! But in all honesty, this project didn't take too long to complete, minus the dry time.
Remove Old Counter Tops
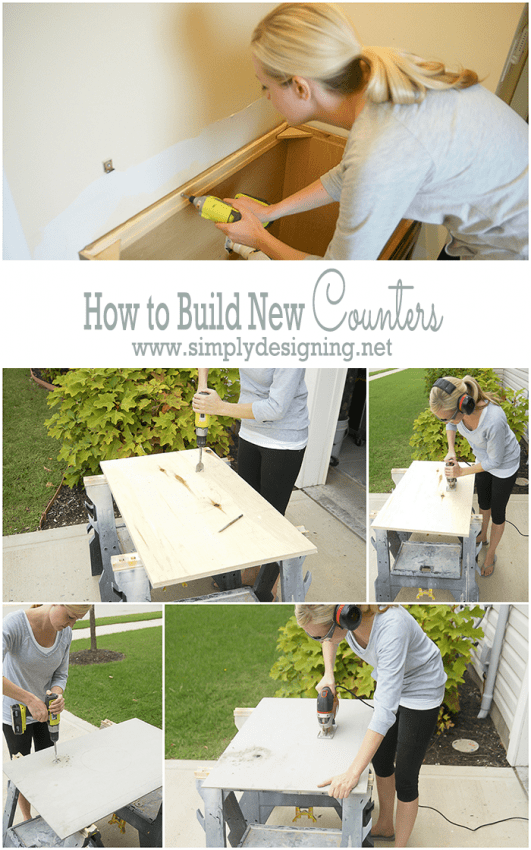
First we removed our existing counter tops, sinks and hardware. We planned to keep our cabinets so we were very careful to remove the existing counter tops without damaging the cabinets.
Cut New Counter Top Base
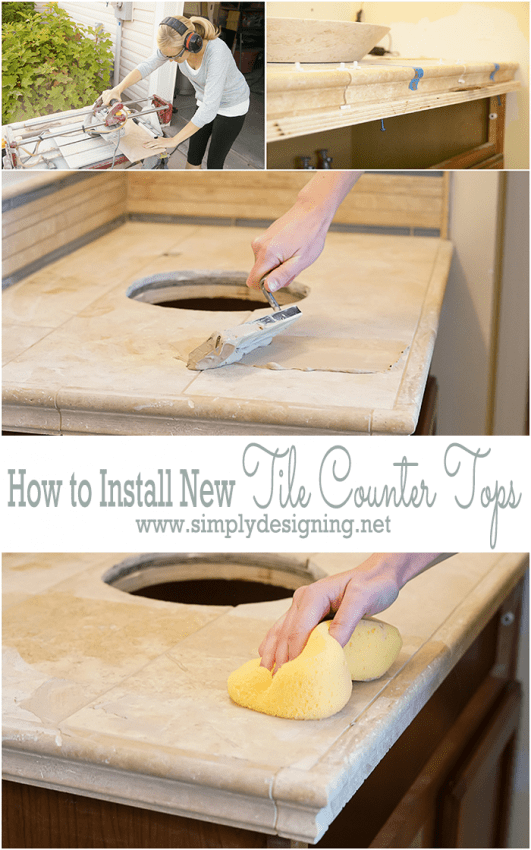
Next, we needed a base surface to install our tile on, so we determined the total length and width that we wanted our counter tops to be. We used a table saw to cut our Plywood and backer board down to size. Of course, always remember to wear eye and ear protection when doing this. Follow all manufacture safety guidelines and keep those fingers out of the way!
Then we marked where the new sink and faucet would go. We decided to put our faucet off to the side of the sink just a little bit, instead of directly behind it. We used a drill to drill a pilot hole into the plywood and then we used a jig saw to cut out the hole for the sink and the faucet. We repeated this process with the backer board.
Install New Counter Top Base
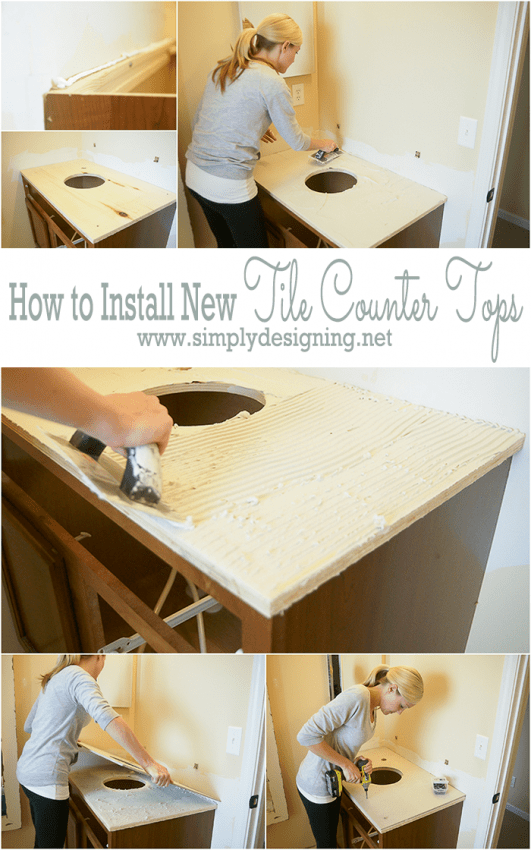
First we added a bit of heavy duty construction adhesive around the edge of the cabinet and laid the cut plywood into place on the counter top. Next we mixed up a batch of thinset and applied it on top of the plywood with a notched trowel.
Then we laid the piece of backer board onto the plywood and secured the backer board to the plywood using backer board screws the same way we did when tiling our floors.
Note: Looking back, one thing we would have done differently would have been to tape and thinset the seam between the counter top and the wall much like we did for all the seams when installing backerboard in our shower. This would have helped to prevent cracks from forming between the counter top and the back splash.
Lay Tile
Cutting Tile Tips
Be sure to insert spacers on all sides of the tile to keep the spacing consistent.
You can also use spacers to scrape out any extra thinset that may ooze out in between your tiles as you are laying them.
Grout
We let our thinset dry completely prior to grouting. (Always read the thinset and grout instructions for recommended time frames.) We mixed our grout with our grout admixture until it was a toothpaste-like consistency using the mortar mixing paddle attached to our drill.
Then we removed our scrap wood that was supporting our edge pieces in place.
We used a small grout float at a 45 degree angle to spread the grout and to work the grout into our grout lines. We made sure that every grout line was filled well with grout. Then we wiped the surface clean with a large wet sponge and let our grout set completely.
Install Sinks
After we finished grouting, we set our new beautiful sinks in place and connected the plumbing. We did this after grouting since the space between the back of the sink and wall was tight and would have been difficult to get a grout float in there. We used a heavy duty construction adhesive to secure the sinks to the counter top. Once the adhesive was dry, we grouted around the base of the sink.
De-Haze and Seal
After our grout had dried, we used a natural stone film remover (aka de-hazer) and a bristle brush to clean our tile. We then wiped it clean with paper towels.
We had to wait about 48 to 72 hours before we could seal the surface. But sealing a bathroom counter top is extremely important as any spilled medicines (ie bright red liquid children's tylenol) or make-up can soak into the natural stone and leave a stain.
We used a sealer sponge and a sealer meant specifically for natural stone. We followed the instructions on the back of the bottle which basically were to wipe on a coat of sealer with our sealer sponge, let it soak into the stone for about 10 minutes and then we wiped off any excess with a clean, dry cloth. You can wait about 30 minutes and repeat for a second coat if needed.
You will know if you have enough sealer on by doing a drip test. Drip a few drops of water onto your stone and if the water beads up, you do not need another coat of sealer. If the water absorbs into the stone, you will want to apply another coat of sealer to your stone.
Be sure to follow all manufacture instructions and let your sealer dry completely prior to use.
A few additional tips to remember when you are tiling:
- Be sure to have all the right tools prior to beginning a project like this. It is the worst to get part way through a project and have to stop to run out to the store. (not that we know from experience or anything...)
- Be careful to lay your tile evenly so that one tile isn't higher then the next. Some like to use a level to help with this, others run a plastic cup (upside down) around the tile to be sure nothing catches, and some like to just use “feel” to get the tile level and smooth. Either way, you want your tile edges to be level with the tile next to it so that you don't end up with uneven counter tops.
- Measure twice and cut once.
- When in doubt, ask a professional! The Tile Shop has many professionals that love to help answer your DIY questions.
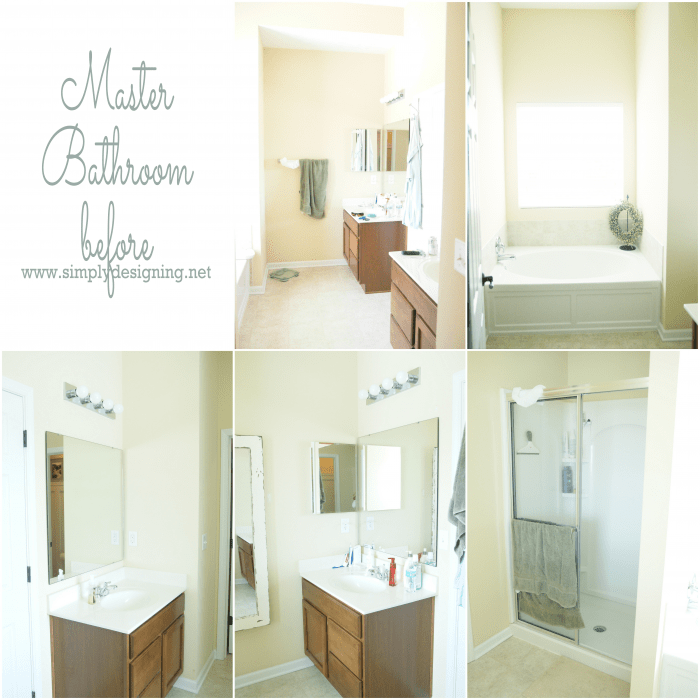
As a recap, here is what our bathroom looked like before:
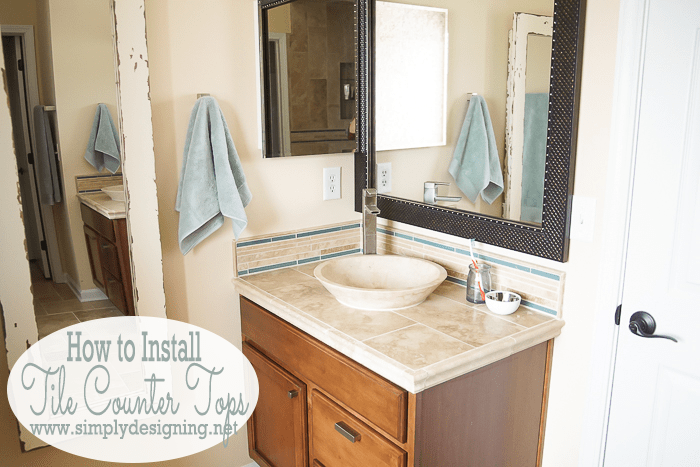
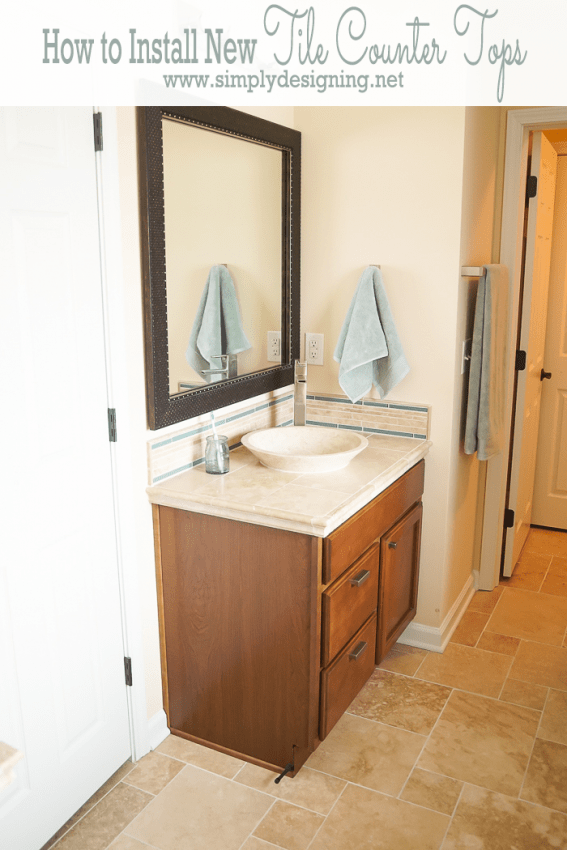
And here is what it is looking like right now:
Isn't that an amazing difference!?
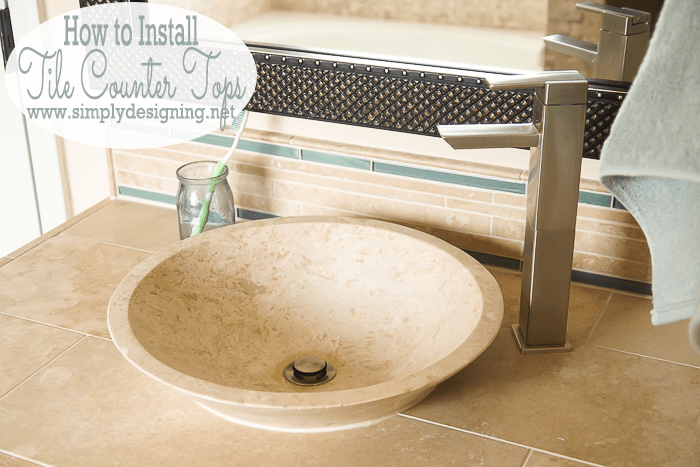
If you are looking to Install New Tile Counter Tops, I highly recommend it! It really didn't take too long and it made such a BIG difference in our overall master bathroom!
And aren't those sinks to-die-for!?!?!
The process of how to install new tile counter tops is really quite straight forward and I hope that this helps you on your quest to upgrade or remodel your bathroom!
Here is a quick supply list of what we used in case you want to install new tile counter tops and sinks too:
SUPPLIES Needed to Install New Tile Counter Tops and Sinks
- Countertop Tile: Bucak Light Walnut, H/F, 20-50cm, #657580
- Pencil Tile: Bucak Lt Walnut Somerset, #658307
- Glass Tile Accent: Glass Aloe Corfu, WFD 3-8-2
- Border Tile Accent: Bucak Medley, H/F, Corinth, #690190
- Edge Tile: Bucak Lt Walnut H Barnes, #658310
- Corner Tile: Bucak Lt Walnut H Barnes, #658311
- Sink: J. Bone Pol. K100 Sink, #659180
- Grout: Desert Sand, Sanded
- Flexible Grout Admixture
- Poultice Stain Remover
- Proflex Thinset (aka mortar)
- Travertine and Sandstone Sealer
- Heavy Duty Construction Adhesive (like liquid nail)
- Trowel
- Notched Trowel
- Grout Float Tool
- Bristle Brush
- Mortar Mixing Paddle (for use with a power drill)
- Large Sponge
- Sealer Sponge
- ⅛″ Spacers
- Tile Saw
- Table Saw
- Drill with large drill bit
- Jig Saw
- Eye Protection
- Ear Protection
- 3+ Buckets (one for mortar, grout and water)
- Cement Board, ¼" or ½" (the size of your counter top)
- ¾" Plywood (the size of your counter top)
- Backerboard Screws
- Scrap wood
- Screws
- Painters Tape
Check Out Our Master Bathroom Remodel Series:
Part 1: Master Bathroom Inspiration
Part 6: Installing Moen Posi-Temp® Shower Fixtures
Part 7: How to Install Radiant Heated Tile Floors
Part 8: Install New Tile Counter Tops
Part 9: Install a Tile Accent Wall
How to Install a new Shower Door
How to Install new Bathroom Mirror Frames (in about 10 minutes!)
DIY Framed Mirror with Hidden Jewelry Organization
Please note that I am not a professional. I am just sharing what worked for us. As always please use all proper safety precautions and read and follow all manufacturer instructions. Please note that I am not responsible in any way for any outcome if you try this yourself. I am not liable for any injury or additional cost or expense incurred. I always recommend consulting and hiring a professional if needed. And always be sure to check with local building codes to obtain all permits needed for any DIY project.




Kathleen
Oh, it's so pretty! I really love the way it turned out and that sink is so awesome! Thank you for linking up to Tips and Tricks. Hope to see you again this week.
Amy Anderson
The transformation is amazing - I am so impressed!
Ashley Phipps
Thanks so much!