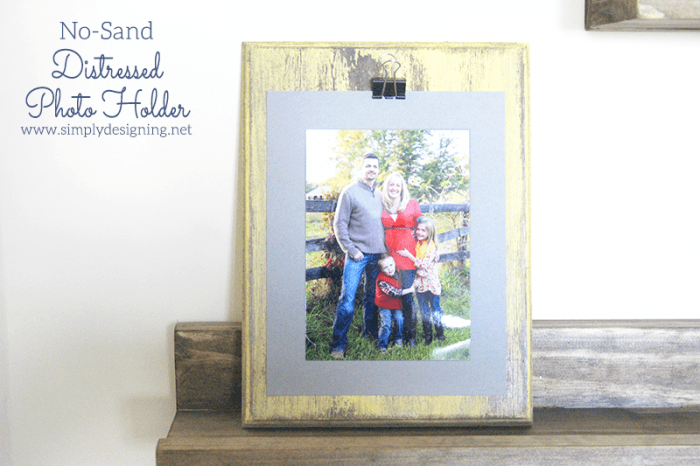
I love finding new techniques to finish wood projects and I am absolutely in LOVE my newest technique that I came up with the other day! It is a no-sand distressing technique that provides a beautiful, rustic finish to any piece of painted furniture without the difficulty of sanding. I created a really beautiful new photo holder and used this technique to finish the wood and I just love how it turned out!
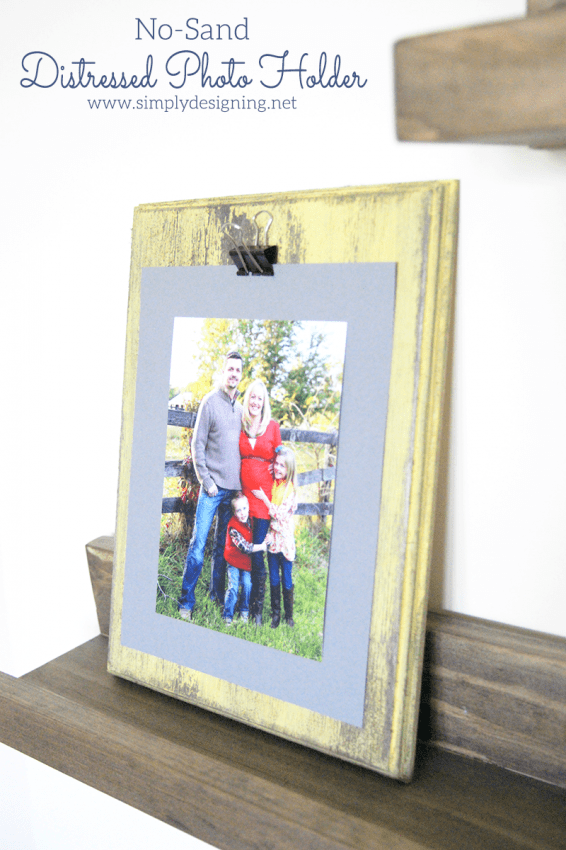
Here is my pretty new No-Sand Distressed Photo Holder!
As I have mentioned before, sanding is actually one of my least favorite parts of refinishing furniture or finishing new projects. I don't know why, but I just don't love sanding. So I was really excited to discover a way to get a similar look, without the mess or frustration of sanding.
Here is what you will need to create your photo holder:
- Wood Plaque, unfinished
- Minwax Dark Walnut Stain (or other)
- Latex Paint
- Rag for Staining
- Foam Brush for Painting
- Gloves to protect hands
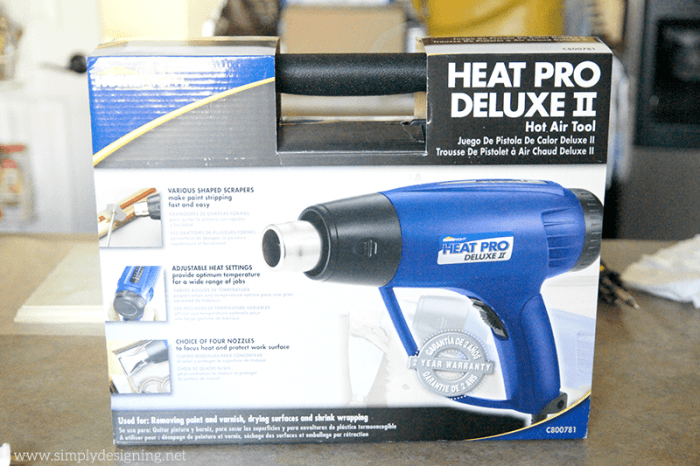
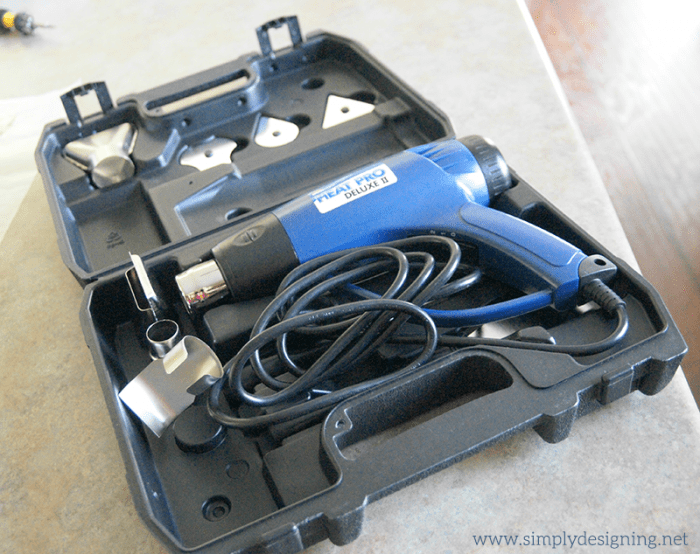
- HomeRight Heat Pro Deluxe II Heat Gun
- Binder Clip
- E6000 Glue
- Hot Glue
First I want to take just one moment to tell you about this awesome new tool I just received from HomeRight! Heat guns have so many purposes such as removing paint, shrink wrapping, embossing and may more uses! And this little tool packs a huge punch, with two fan settings and multiple heat settings, you can really use it for many purposes.
Because I knew you could use this to strip paint, I wanted to see if I could use it to systematically remove paint to create a distressed look, and I was so happy to find out that it works!
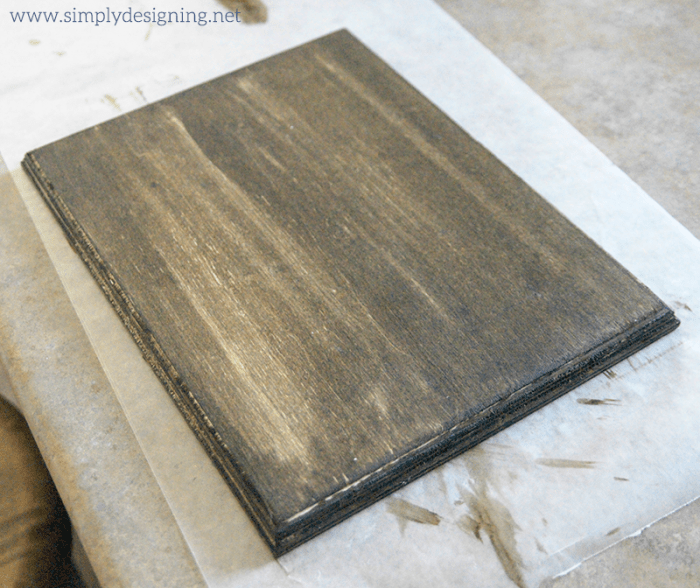
First I stained my wood plaque with a rag and then I let it dry completely.
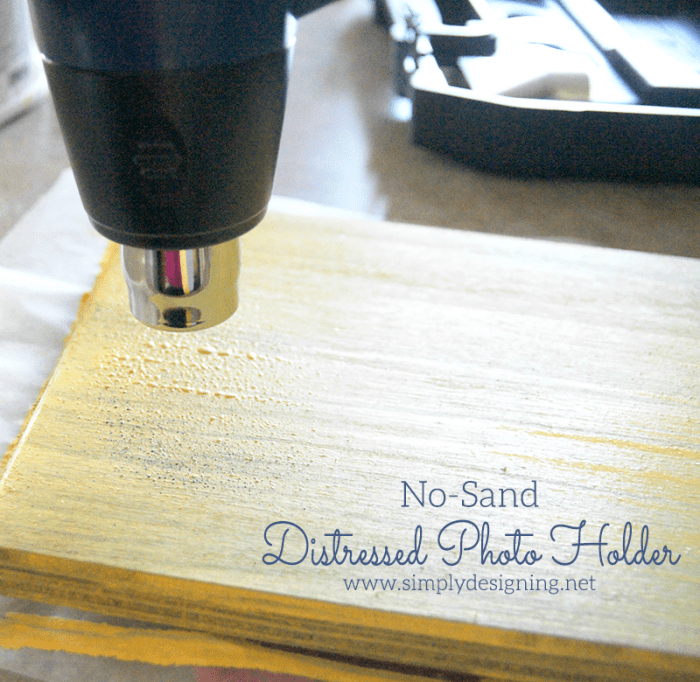
Next I painted my plaque with yellow latex paint. I used one thick coat and painted it on very quickly. As soon as my plaque was painted I grabbed my heat gun and got to work.
I carefully began to heat my paint up in various places on my plaque. After only a few seconds, my paint began to bubble. Once it bubbled in an area, I moved on to heat a new area on my plaque until I had several places on my plaque that were bubbly. At this point, because of the added heat the rest of my plaque was dry too!
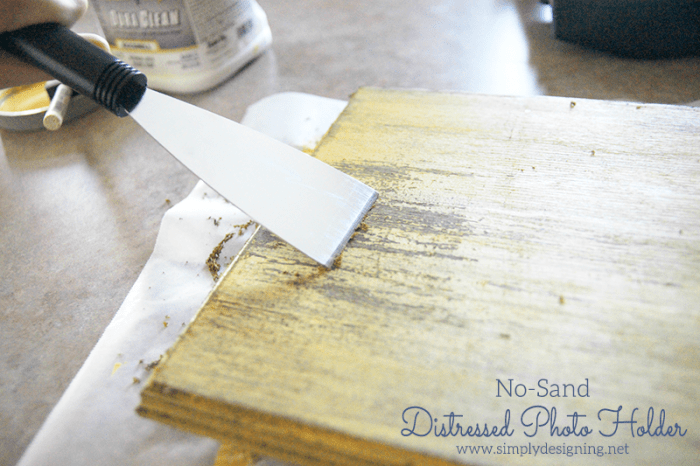
Then I took a scrapper tool and began scraping the paint off of the bubbly areas on my plaque. The harder you scrape, the more paint will come off.
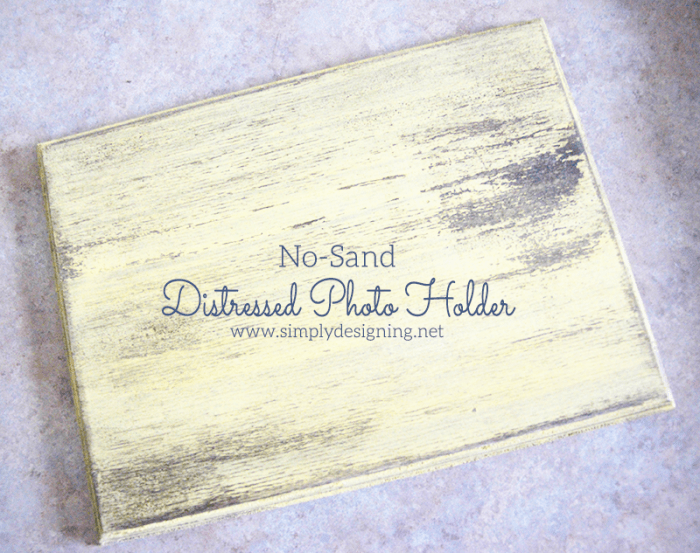
After a few minutes of scraping I had a really pretty distressed board!
After I was done, I placed a little bit of E6000 Glue and Hot Glue on the back on my binder clip. No you don't need both types of glue, however, I wanted to strength and durability that E6000 Glue would give me, but I didn't have the patience to wait overnight or longer for it to fully dry. So I added a touch of hot glue to create a strong bond instantly, and allowed the E6000 glue time to dry while the hot glue held the binder clip in place.
Then I simply added a bit of colored paper and a photo to my photo holder and in not a lot of time, without a lot of work, and without a single bit of sanding, I had a really fun and cute Distressed Photo Holder!
I love my new HomeRight Heat Gun and can't wait to show you other used for it too!
But first, I am really excited to be able to GIVEAWAY a HomeRight Heat Pro Deluxe II Heat Gun to one lucky winner!
Please wait until Rafflecopter fully loads and then enter to win:





gail
oh my gosh Ashley! I LOVE this project. I'm not usually a "yellow" person, but this is so sweet!
I have this heat gun, and it's fabulous.
pinning!
gail
Ashley Phipps
Oh thank you so much Gail! And thanks for pinning!
Emily
so super cute! I love the frame/holder and the photo too ;o) All gorgeous! thanks for the giveaway too!
Ashley Phipps
Thanks Emily! And you are welcome! Good luck!
Amy Anderson
This looks amazing! I need a heat gun!
Ashley Phipps
Thank you Amy!
sharon garofalow
Oh my gosh! I love this technique. What a great idea!
Ashley Phipps
Thanks so much Sharon!
Leanne
I love the look and the process. It turned out amazing!
Ashley Phipps
Thank you Leanne!
Kara
Your photo holder is gorgeous! Definitely pinning so I can make one too!!
Ashley Phipps
Thanks so much for pinning Kara! And thanks for stopping by!
Maryann @ Domestically Speaking
LOVE how that turned out!
Ashley Phipps
Thank you Maryann!
Natalie @ A Turtle's Life for Me
Okay, I don't think I've ever even heard of a heat gun! This is like some kind of magic! Love the way your project turned out and your family is gorgeous!
Ashley Phipps
Ah thanks so much!
Claire @ A Little Claireification
How fun is that?? Home Right as the best tools - I so have to try this Hot Air Heat pro tool ASAP!! Pinned!
Ashley Phipps
Oh thanks so much! And thanks for pinning!
Cass
This is such a fun craft! And I have tons of those types of plaques that I picked up at a thrift store for $1! Now I finally have a use for them. Also, thanks for the giveaway!
Ashley Phipps
Oh thank you and thanks for stopping by! I will have to check thrift stores for plaques! What a great idea!
Laura Clark
Love this use for the Heat Gun and also love how this project turned out!
Ashley Phipps
Thanks so much Laura!
Heather
Cute! And you could spray paint the clips as well! Visiting from SITS FB group.
Katie Adams
Thanks for linking to Create Link Inspire at The Crafty Blog Stalker. You have been featured and pinned! Thank you for sharing.
–Katie, TheCraftyBlogStalker.com
Ashley Phipps
Thanks so much!