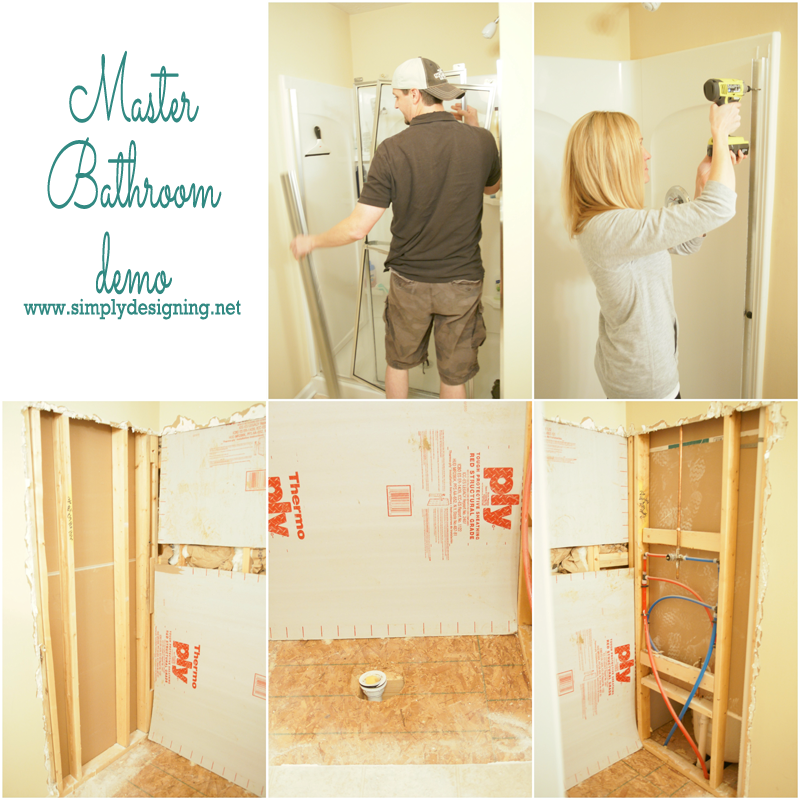
Last week I shared our Master Bathroom remodel inspiration! We are so thrilled to be able to take our master bathroom from builder blah to fabulous! It is going to be a lot of work, but we are so excited for the end result. So after we had a plan in place (check out our inspiration HERE) we began to demo our bathroom! But I have to admit I had one HUGE fear...
As soon as the first piece of drywall came off, the realization that something could be lurking in the walls hit me! Yikes! I hoped and prayed that we didn't find any animal bones in our walls, or any living animals either. Eek! I was so worried that something would come scampering or slithering out of the walls! I know it sounds crazy, but it is true. I don't like animals in my walls.
Thankfully, the only thing we found in our walls was a used can of spray foam adhesive. Whew!
Anyway...we thought about demo-ing our bathroom one area at a time to keep our bathroom as usable as possible, but unfortunately because of all that we are doing, we ended up demo-ing everything.
Which means all four of us are using the kids bathroom right now. Yaaaaa. But at least we recently spruced that space up so it is a very beautiful kids bathroom! (Read all about our kids bathroom remodel HERE, HERE and HERE.)
Our shower came out first: the entire fiberglass shower and the drywall around it and the ceiling too. When the ceiling came down so did the blown-in insulation that we will later be replacing with new insulation. It was such a mess.
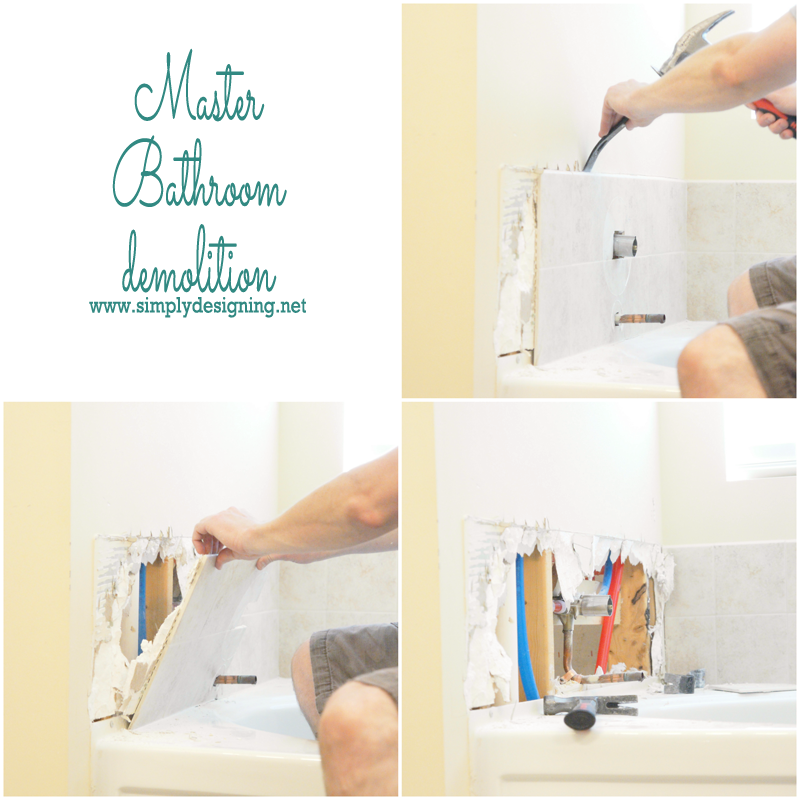
Then our toilet came up, our sinks and cabinets came out, our baseboards and flooring came up, and finally the tile around our bathtub was removed.
It was a lot of work and it was really dusty. Please always use eye and ear protection when demo-ing. Gloves are also a good idea. And I also suggest wearing a mask as well so that you don't inhale any of the dust, especially when dealing with insulation. 🙁
So suit yourself up, grab a crowbar and hammer and have some fun demo-ing!
Check Out Our Master Bathroom Remodel Series:
Part 1: Master Bathroom Inspiration
Part 6: Installing Moen Posi-Temp® Shower Fixtures
Part 7: How to Install Radiant Heated Tile Floors
Part 8: Install New Tile Counter Tops
Part 9: Install a Tile Accent Wall
How to Install a new Shower Door
How to Install new Bathroom Mirror Frames (in about 10 minutes!)
DIY Framed Mirror with Hidden Jewelry Organization
Please note that I am not a professional. I am just sharing what worked for us. As always please use all proper safety precautions and read and follow all manufacturer instructions. Please note that I am not responsible in any way for any outcome if you try this yourself. I am not liable for any injury or additional cost or expense incurred. I always recommend consulting and hiring a professional if needed. And always be sure to check with local building codes to obtain all permits needed for any DIY project.


Rather Square
I like seeing your demo process and inspiration for this bathroom! We're currently doing a "budget" reno on our main bathroom - not demo-ing anything, but just upgrading fixtures and painting walls. Looking forward to seeing what you do with this room next!<br />Laura @ rathersquare.com
Ashley Phipps
Thank you so much Laura! And it is always so amazing what a fresh coat of paint and new fixtures can do in a room! I bet it will look amazing!
Bobbie S
Looks great!