Yesterday I shared all about installing our new bathroom fixtures! We installed a new sink, a new robe hook, hand towel holder, grab bar with towel bar and a new toilet paper holder! Our last step in updating our fixtures was to install a new shower head and bathtub faucet! So today we are talking about How to Replace a Bathtub Faucet!
How to Replace a Bathtub Faucet
We had already put a lot of work into making over our kid's bathroom. All was going well until we came to the last step: installing the bathtub faucet. You see, there are two different ways that bathtub faucets can attach to the plumbing. Our old faucet was screwed into place at the bottom of the faucet. But our new faucet needed to be twisted onto the existing plumbing.
So today I am going to show you How To Replace a Bathtub Faucet when it is Incompatible with your Existing Faucet!
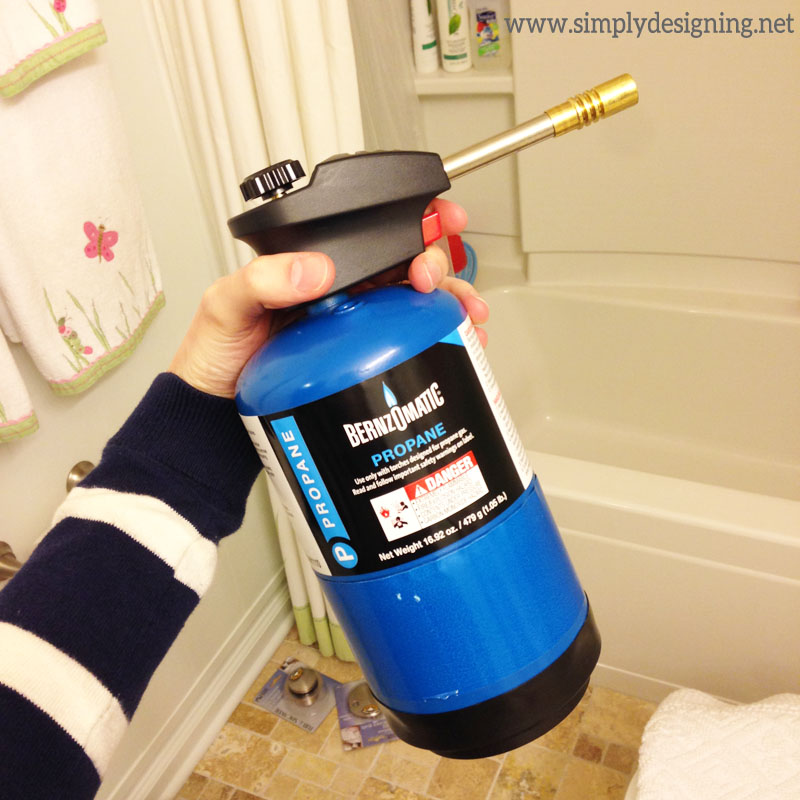
Thankfully, we were able to remedy our little situation. With a blow torch. (And a few other items of course 🙂
Essentially what we needed to do was to make our existing pipe a little longer and attach an end with threads on it that the new bathtub faucet could twist on to.
So we grabbed a piece of copper pipe (to match our existing pipe) and went to work soldering it together.
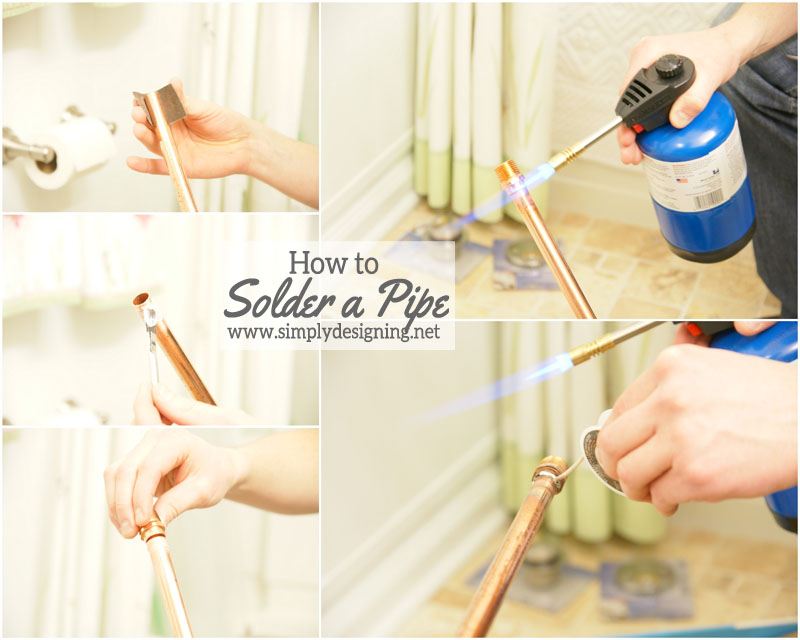
Solder Copper Pipe
First, we roughed the end of the new pipe up with a bit of sandpaper.
Then we generously applied Water Soluble Flux to the same end. The solder is attracted to the flux. Without with the flux, the solder can actually drip off the pipe. So we were sure to be generous with the flux to ensure a good seal.
We placed a coupling onto the pipe and then using a blow torch, we heated up the area.
After the connection area was heated fairly hot, we applied Solder to the connection area.
Solder is pretty neat stuff. As long as the pipe is hot enough, the Solder, that looked like thick wire, just melts upon contact, sealing the connection between the coupling and the new pipe!
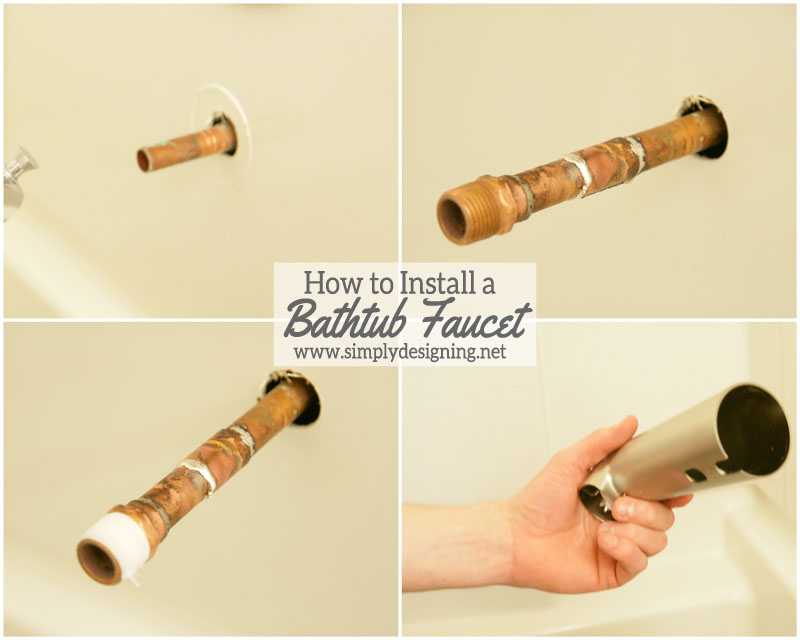
After that was complete, we cut the copper pipe to the correct length that was needed for the faucet to be twisted in place correctly. We were sure to measure carefully!
We then attached the new pipe to the existing pipe with a coupling and then soldered this connection point as well. We sanded and applied flux prior to soldering.
Then we soldered the male-threaded adapter piece onto the end of the pipe, again sanding and applying flux first.
Check for Leaks
We took a moment here to turn on our water to be sure we had no leaks! At this point, a leak would still be very easy to notice and simple to fix! So we wanted to be sure that things were working properly before going on.
Install a New Bathtub Faucet
Next, we applied Teflon tape around the threads and then simply twisted the new faucet into place!
To finish this project off right, we applied a thin layer of silicone caulk around the edge of the faucet.
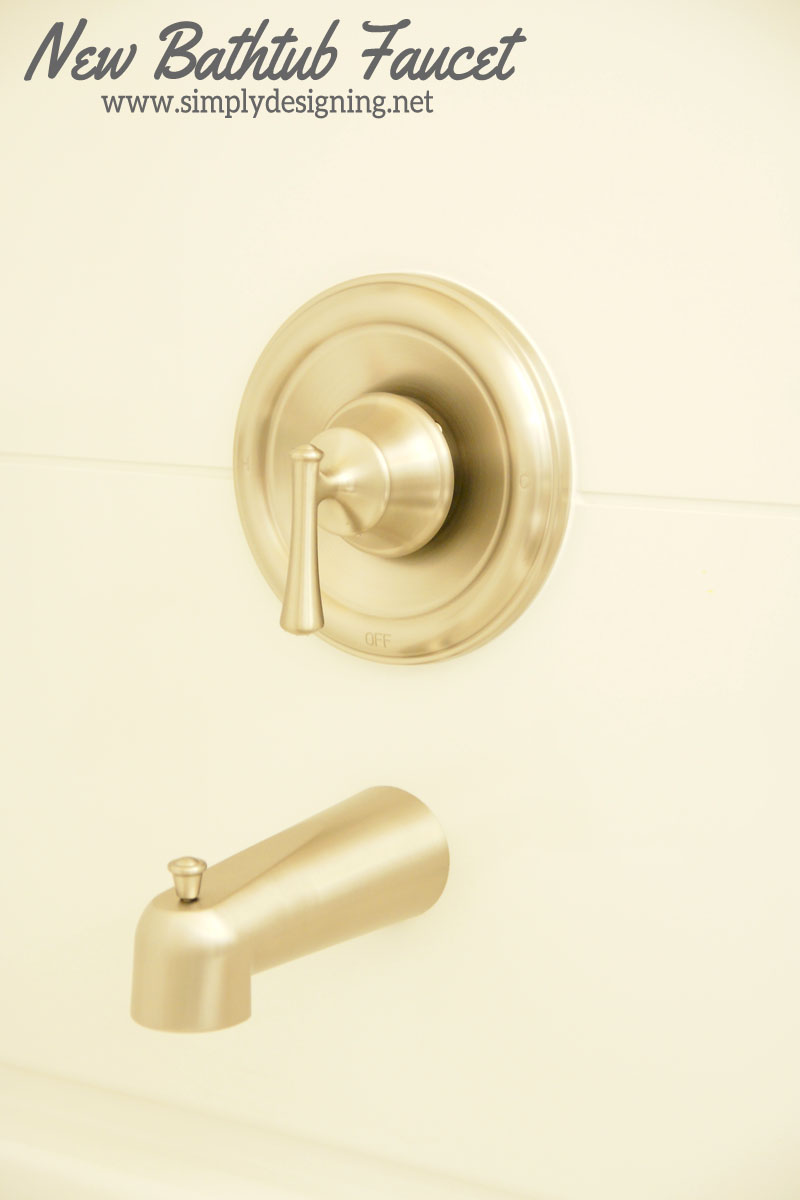
We LOVE how our new bathtub faucet looks!! It is a HUGE improvement over our last one. And both of my children BEG to shower in THIS shower every night!
After we had completed all of this work (the new tile, the plank walls and installing new fixtures) our son woke up the next day and said: "Thank you, daddy, for making our bathroom so awesome!!!"
Which was about the cutest thing ever! Although...secretly I wondered where my credit was for all of the work I did...but mostly, I think it was the cutest thing ever! Our sweet little 4 year old noticed all the changes in his bathroom, and was kind enough to thank us for it and tell us how "awesome" it is!
That makes it all so worth it!
You Might Also Enjoy:
How to Install new Bathroom Fixtures
DIY Panel Walls
How to Install Tile
How to Install Herringbone Tile


Leave a Reply