Last week I showed you how we demo'd our kids bathroom floors as preparation to installing brand new tile floors! You can read all about it HERE. Today I am excited to show you how to install concrete backer board.
Because we were going to install tile on wood sub-floor, we needed to add a layer of concrete backer board (which is often also called hardibacker). Concrete backer board helps give the floor an extra layer to prevent the floor from bending and flexing when you step on it. If the floor bends and gives your tile and grout lines will crack. And after all the hard work you will put into installing tile, you don't want to end up with cracked tiles!
In addition to the added support, concrete backer board also provides a good smooth surface to adhere thin set and tile to.
Because we have laminate wood floors next to our bathroom, we wanted to keep the heights between the two floors as similar as possible. We chose to install ¼" backer board to add as little height as possible. But if you are able to, you also have the option of installing ½" backer board as well. Choose whichever is best for the installation you are working on.
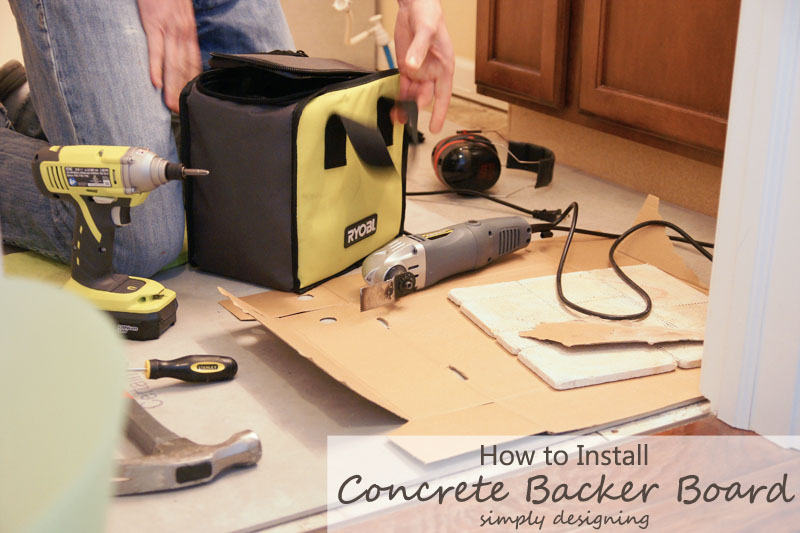
Here is what you will need to Install Concrete Backer Board:
- ¼" (or thicker) concrete backer board, enough to cover your floor
- box cutter
- right angle ruler
- 1" backer board screws
- drill bit for backer board screws (a drill bit came with our screws, but double check because our backer board screws had a square head)
- Ryobi drill (or similar)
- Multi-tool
- Thinset (mortar)
- Trowel
- handsome husband, optional
I was not feeling very well the day we did this project so my sweet husband did a lot of this installation. Isn't he the best!?
Here are a few things to remember when installing concrete backer board:
- lay the concrete backer board out in your space so that you have as few seams as possible
- your wood sub-floor seams and your backer board seams should not line up
- try not to have four seams / corners come together, stagger them
- be sure to use concrete backer board screws
- leave ¼" gap around all edges of backer board as well as in between the boards
- lay it down first to be sure it fits
- then adhere the backer board using mortar, one piece or row at a time
- screw the concrete backer board into place
- be sure the backer board screws go all the way in so that the screw heads do not protrude
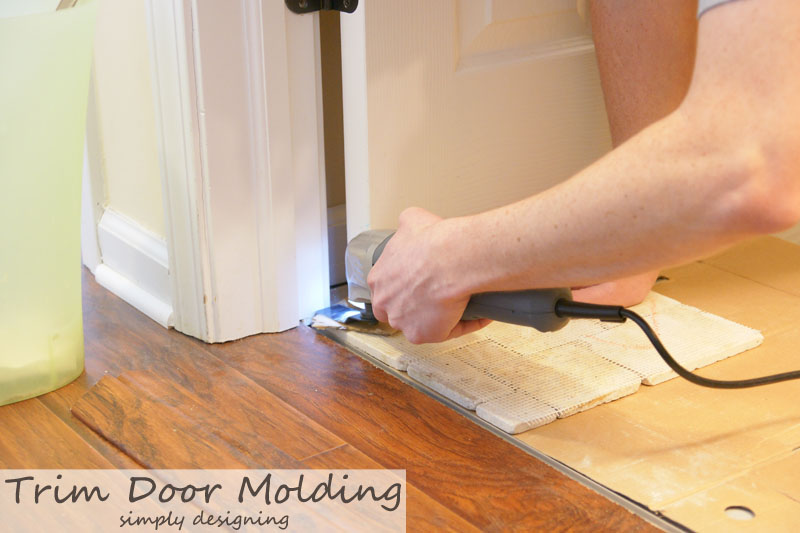
After we were done demo-ing our bathroom floors in preparation for laying tile, we needed to make one more adjustment before laying our backer board. We needed to trim our door moldings.
In order to get a clean and professional looking finish to your tile, your tile should lay underneath your door frames. Now you have the option of ripping your door frames out and re-doing them. But holy cow that is a lot of work! We we decided to simply leave everything in place and trim the door frames.
We laid down the backer board, the tile and then a piece of cardboard right next to the door frames that needed to be trimmed. Then we used a multi-tool to cut the door frames to the correct height.
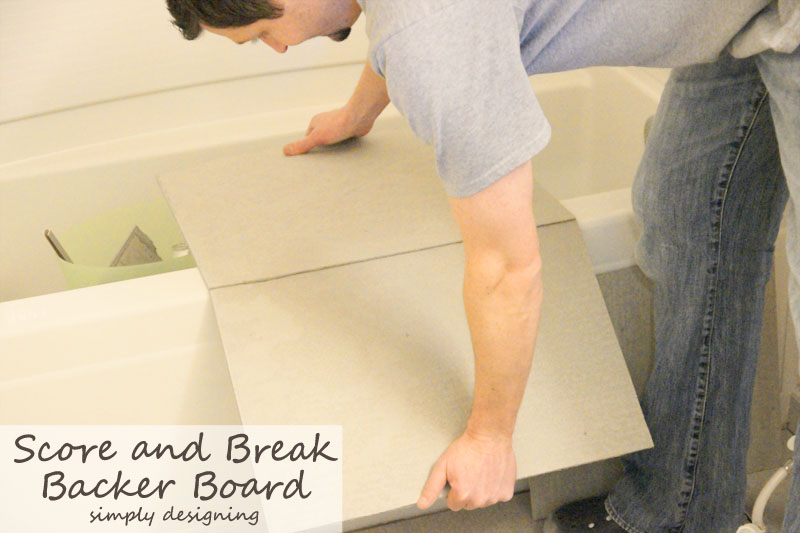
Next we began marking and cutting our backer board to correct sizes to fit the room. We used a right angle ruler and a box cutter to score the backer board.
After the backer board is scored, you can simply bend the backer board and it will snap where you scored it. Pretty simple.
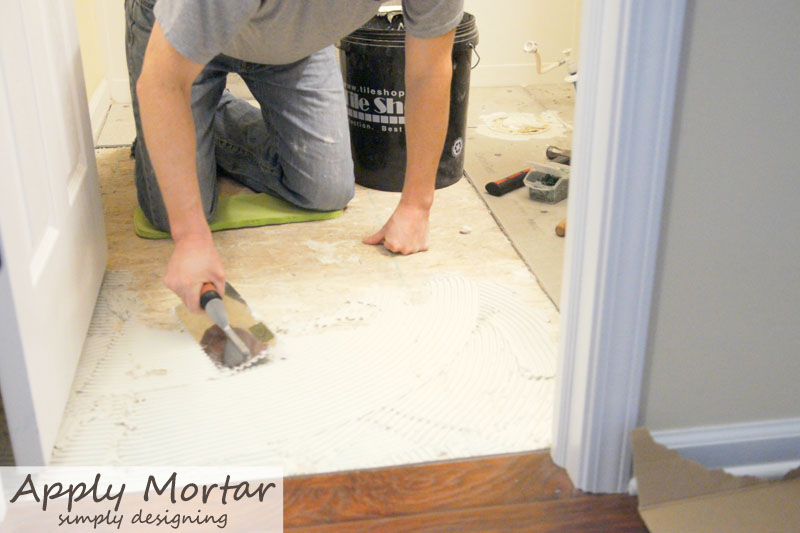
Mix your thinset, apply it directly to the wood sub-floor with your trowel, then press your backer board into it. Do this one piece or one row at a time so that you don't mix the pieces of backer board up.
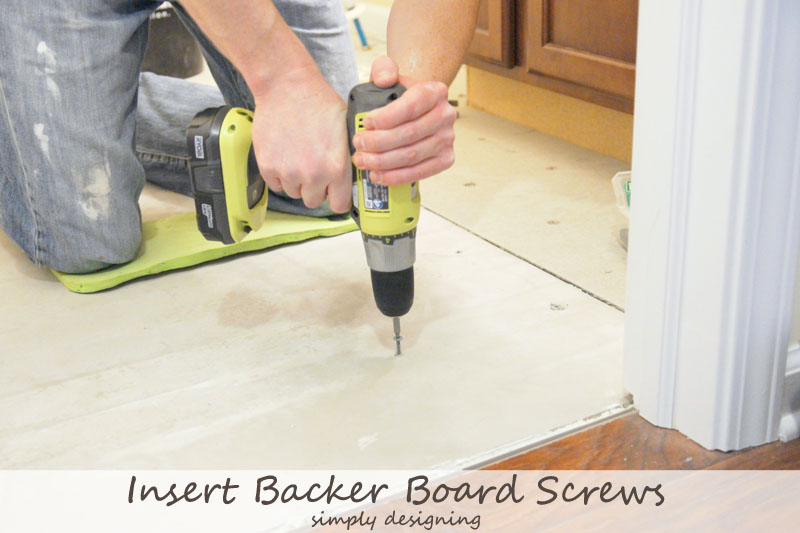
Immediately after laying the concrete backer board down with thinset, you will want to go back and secure the backer board to the wood sub-floor using your backer board screws and your drill.
Our concrete backer board had little "x"'s on it to show us where to screw the board into the sub-floor. It was about every 6"-8" though so be sure to purchase enough screws! Be sure that the screw heads go completely into the backer board. You don't want any heads sticking up or else you won't have a level surface to apply your tile too.
After all of the screws are in place, walk on your concrete backer board to be sure that there are no areas that give or buckle when you walk on them. If so, add another screw or two to prevent that from happening.





Our Pinteresting Family
Great tutorial! Thanks for sharing this. 🙂
Ashley Phipps
Thank you so much!! And thanks for stopping by 🙂