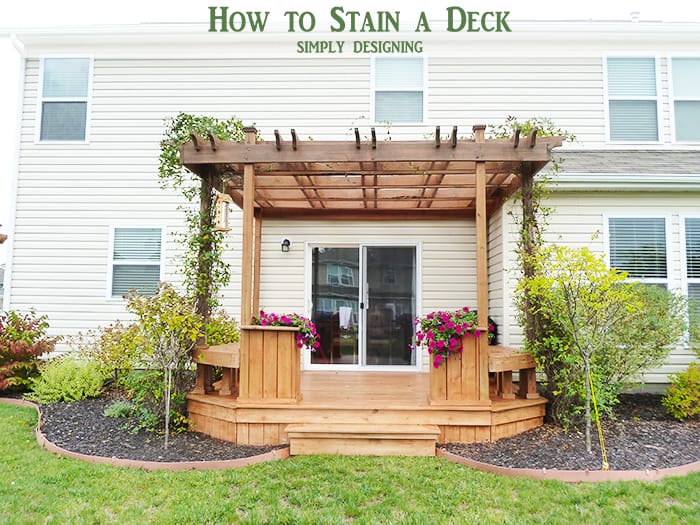
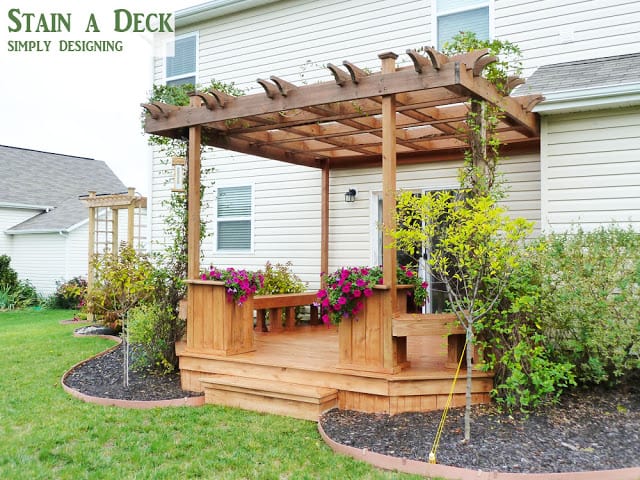
Once upon a time, we built a deck and a pergola (you can read all about it HERE) and so today I wanted to share with you some tips and tricks for How to Stain a Deck. Staining a deck doesn't have to be hard to take too long, but it is important to do it right. So be sure to read through my whole post before tackling your own staining project!
Updated: 7/31/2019 - Originally Published 11/14/2013
How to Stain a Deck
Several years ago we built our deck with pre-treated wood which meant that it was great, for a year or two.
And then, about the time we hit two years you could tell the wood was taking a beating from the harsh mid-west weather. We knew we needed to stain and seal the deck and pergola or in a few years, we would have a rotting, rough and ugly grey deck (yuck!).
So we finally decided that it was time to tackle spray staining a deck!
(Big thanks to HomeRight and Thompson's WaterSeal for the supplies!! All opinions are mine. Affiliate links included for your convenience. Thank you for supporting my blog.)
While staining our deck did take some time, it wasn't actually too hard! The trickiest part is trying to plan around the weather. And be sure to schedule out several days to do a project like this. Also, be sure to read all the directions and follow the weather guidelines while doing a project like this! (Please note, as I have said often, I am not a professional! But I am sharing with you what we did that worked for us.)
It is important to note that I both spray stain on the deck and I also painted it on with a staining tool. Some places were easier to spray, and some were better to paint on. You can spray stain an entire deck, or paint an entire deck with a staining tool, or do both like I did. This is your choice.
I created a short video so you can watch us spraying stain on the deck and painting it on too! Check it out!
Spraying Stain on Deck Video
Here is how to Spray Stain a Deck
Check Your Wood
First, you will need to check to see if your deck is ready to be sealed. Pre-treated wood will naturally repel water for a year or two. After that, water will start to soak in. If your wood will soak up water, it will soak up the stain and your pre-treated wood is ready to go!
If however, you are impatient, I was told by the Thompson's WaterSeal rep that their cleaner will actually take the pre-treated film off of your wood so you can stain immediately after you build if you prefer!
Prep Your Wood
Second, you will need to prep your wood. Our wood was not rough or splintered yet, so we did not need to sand our wood first. However, you may need to sand first if your wood is in rough shape. Be sure your deck is still in good condition and fix any nails or screws that may be loose as well and replace any boards that are in really bad shape.
Supplies Needed for Cleaning A Deck
- Broom
- Deck Cleaner
- HomeRight Deck Pro Tank Sprayer
- HomeRightDeck Washer Flow-Through Broom
- Water Hose
Sweep
Third, sweep off your deck to get all of the dirt and leaves off etc

Clean
Then you will follow the directions to clean your deck!
We used a HomeRight Deck Pro Tank Sprayer to spray on our deck cleaner. Let the cleaner sit as long as directed.
Scrub and Rinse
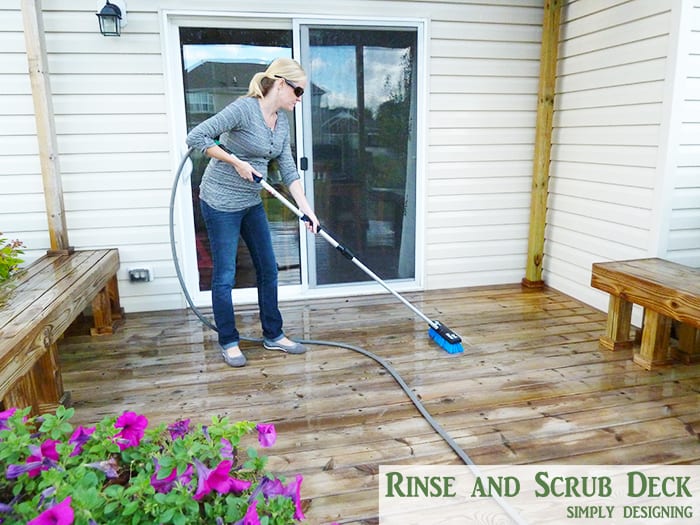
Then we used the HomeRight Deck Washer Flow-Through Broom to rinse and scrub our deck clean.
I was super impressed with how simple the flow-through broom was to use and it got the job done quickly and effectively without breaking our backs! I did this pregnant without a problem! I highly recommend snagging one of these if you plan to stain your deck, or if you just need to clean it!
Dry
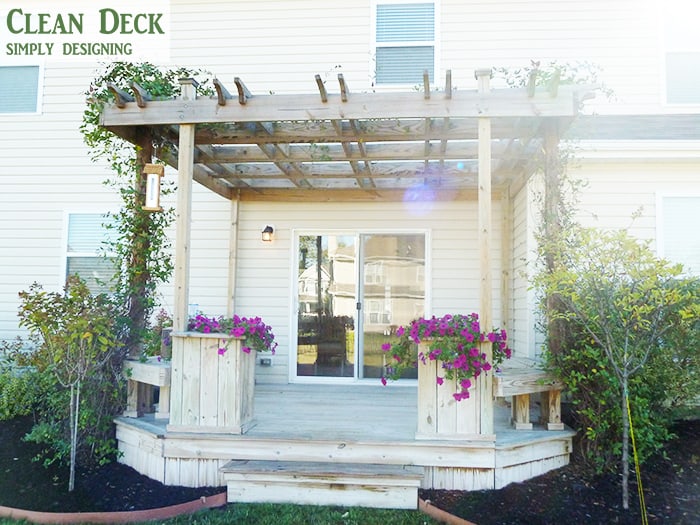
After your deck is cleaned you will need to let it dry thoroughly. The directions on our cleaner and stain recommended letting the deck dry for 3 days. Luckily we had beautiful weather so three days later we were ready to go!
Our deck already looks so much better just being cleaned!
Supplies for Staining a Deck
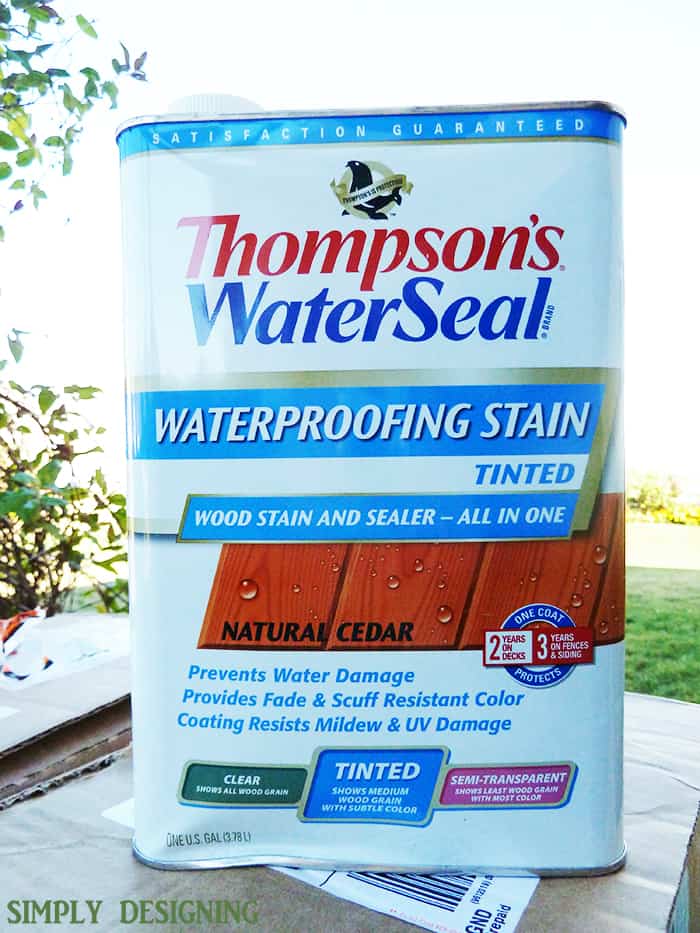
- Thompson's WaterSeal Waterproofing Stain and Sealer in One
- HomeRight Deck Pro Tank Sprayer
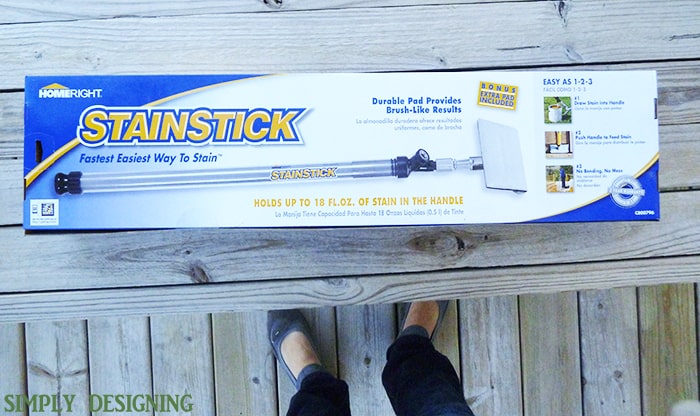
- HomeRight StainStick, with extra pads
- Small Foam Brush
- Plastic sheeting and tape to protect surrounding areas
After our deck had three good days to dry, we were ready to stain! We used Thompson's WaterSeal Tinted Stain and Sealer in One in Natural Cedar! This ended up being a great option for us. The Tint allows you to still see wood grain while giving your deck a pretty color and a protective finish in one step!
We also used our HomeRight Deck Pro Tank Sprayer and a HomeRight StainStick to complete the job.
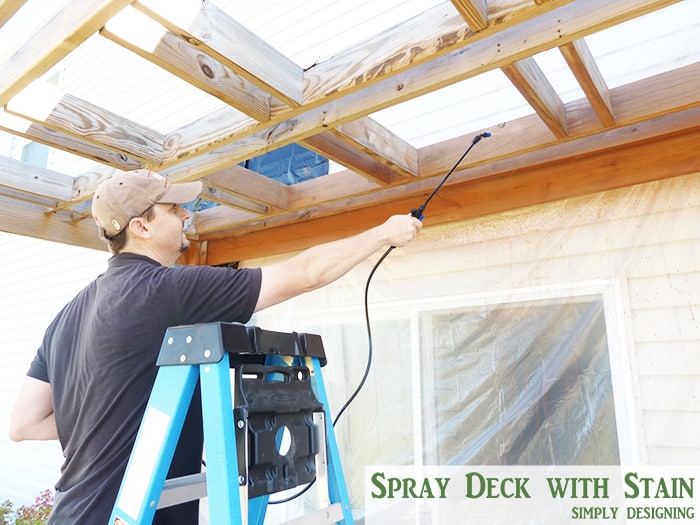
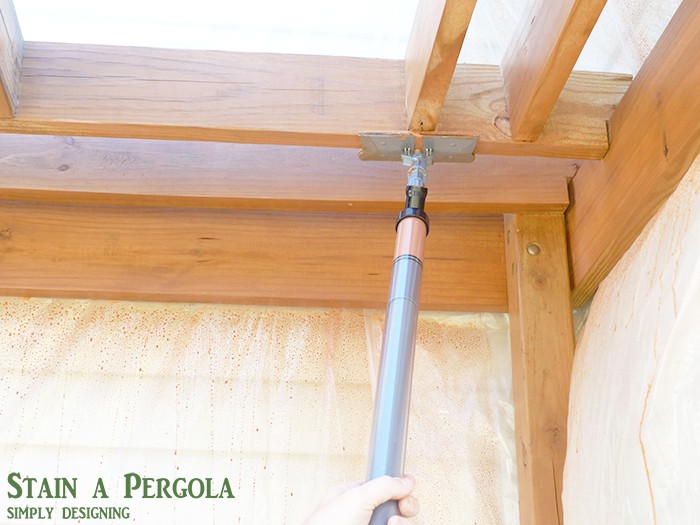
The Deck Pro Tank Sprayer allowed us to easily spray stain in some of the more hard to reach areas like the pergola and the sides of the deck.
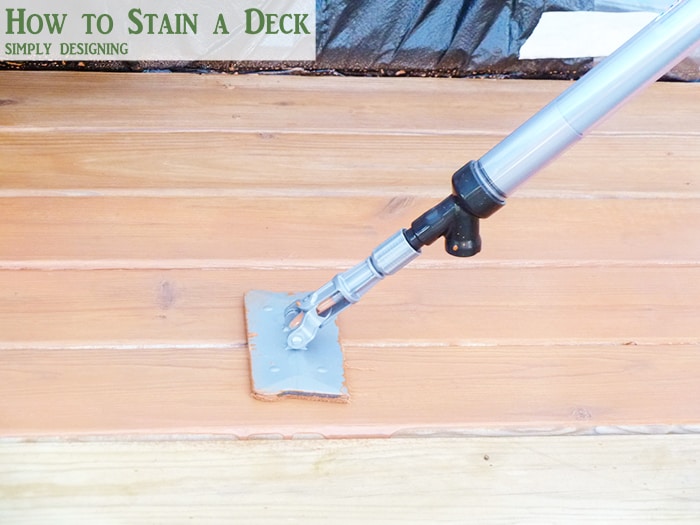
The StainStick was perfect for working in the stain and for doing the bottom of the deck. We also ended up using this on the pergola as well to work the stain in.
Cover-Up
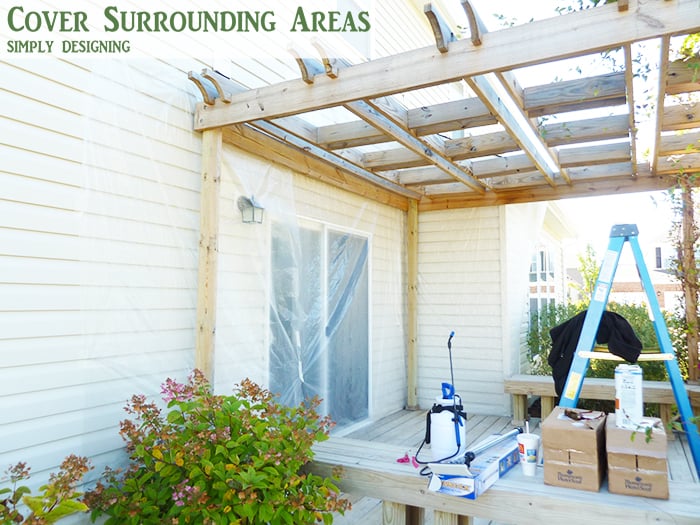
Be sure to use plenty of plastic sheeting and tape to block off your house, plants and all other surrounding areas. Stain will overspray and drip so be sure to protect your home and surrounding areas.
Also, be sure to wear work clothes and shoes. You will get stain on your clothes and shoes so don't wear anything you love!
Stain
We started and the top and worked our way down. We started by spraying our pergola with stain. This is where you will be really happy that you put plastic down as you will have over-spray! The spraying was quick, but you need to spray a small area and then work the stain in, so have your StainStick, a rag or a foam brush handy to work the stain in as you go.
Even after adjusting the spray nozzle, in some areas, the over-spray was too much and we opted to use the StainStick.
The HomeRight StainStick is AWESOME!
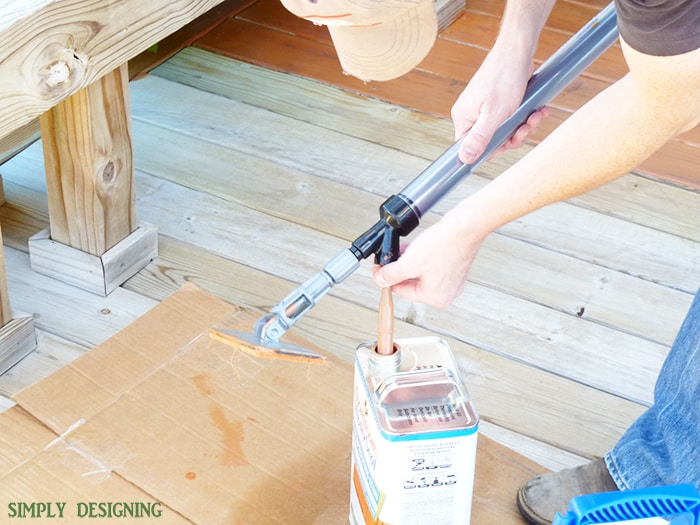
You will need to attach a take-up tube to it, but once it is securely in place, you will just put the tube into your stain container and suck the stain into the StainStick!
So there is no dipping your StainStick into the stain, it actually comes out of the pad as you rub the StainStick on the wood surface so you get nice even coverage! This means a lot less mess and it makes the process so simple!
The StainStick was perfect to use on the bottom portion of the deck as well! You will want to be sure that you use light even coats when staining. One coat is all that is needed (according to Thompson's WaterSeal). But the application instructions on the stain container say that, if you prefer, a second coat can be applied for a darker finish. Just be sure the first coat has dried completely. And again, be sure to use light coats and always follow manufacturer instructions.
Use a foam brush to get in any cracks and crevices or hard to reach spots.
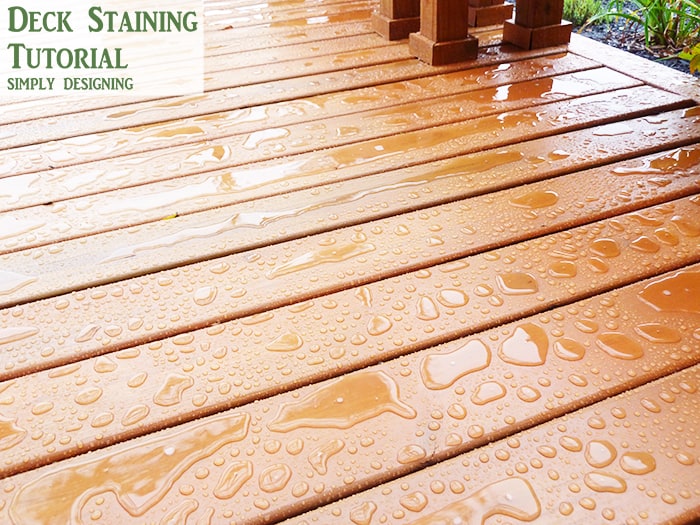
Thankfully our deck had time to completely dry before any rain came.
But when the rain came...
The rain stayed on top of the deck instead of seeping in! Wahoo!!!
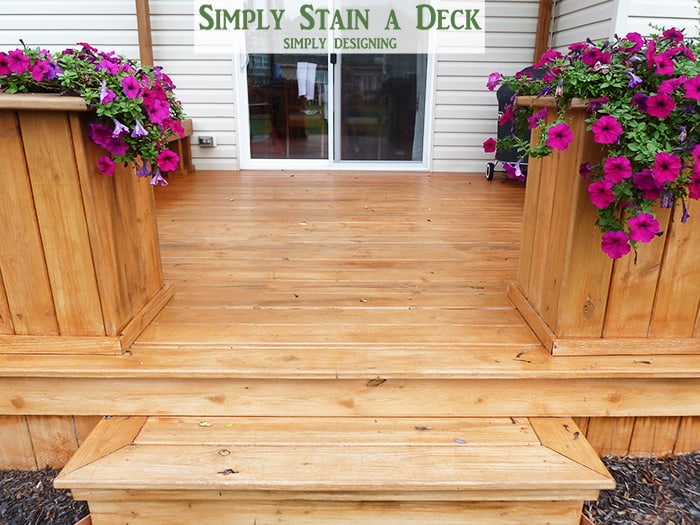
We are so thrilled that our wood is being protected and that it also looks so beautiful too!
Overall we loved how the Thompson's WaterSeal Stain went on and looks. You do need to be careful that you use light coats of stain and only one coat is recommended. If you do too much stain it won't seep into the wood well and it will look painted on instead of stained.
My husband tells me almost weekly how much he loves Thompson's WaterSeal! The deck looks amazing and we loved the product!
We can't wait to stain and seal our arbor and planter boxes on our side yard next spring. (check out our arbor and planter boxes HERE). Thanks, Thompson's WaterSeal for providing us with the stain for this project!
We also loved the HomeRight tools! The Tank Sprayer worked really well. It has an adjustable nozzle so you can control the size of the spray. This worked well for applying both the cleaner and the stain.
I loved the Flow-Through Broom too! This was a simple way to scrub and rinse the deck at the same time ensuring that we had a clean deck to stain! It worked really well and didn't take too much muscle to scrub and clean our deck effectively!
The StainStick was definite a back-saver! It helped us reach high and low and was great for working in the stain all over our deck. But you will go through several pads, so be sure to buy extra pads because you'll need them!
We love our newly stained deck! It looks so pretty and we get compliments on it all the time! And we are so happy to know that our deck is now protected against the harsh Indiana weather that is about to hit us!
You might also enjoy:








Kelley Howell
This turned out beautiful!
Ashley Phipps
Thank you so much Kelley! And thanks for stopping by!
Melanie @ bear rabbit bear
Turned out great! We have pressured washed our deck but never got around to staining.
Ashley Phipps
I know it can be a bit of a daunting process but it is totally worth it! Our deck looks 100x better then it did before! Keeping it clean is a really good thing though 🙂 I totally need a pressure washer!! Thanks so much for stopping by!
Laura Tusken
Your deck looks great and you made it look so simple to do! 🙂
Ashley Phipps
Thanks so much!
rebecca
Looks amazing!!
Ashley Phipps
Thank you Rebecca!
Tauni
What a pretty deck! It really looks amazing. I tackled the front deck earlier this year, but the back deck still needs a lot of work!
Ashley Phipps
Thanks so much Tauni! And thanks for stopping by!
Heidi @ Happiness is Homemade
This turned out gorgeous, Ash! It makes me miss the wood deck and patio cover we had at our old house!
Ashley Phipps
Thanks Heidi!! Oh I bet! Decks are the best...I will definitely miss mine if I ever move!
Kim -today's creative blog
Love the stuff. We use it every spring!
Ashley Phipps
That's great to know! Thanks for stopping by Kim!
Kim Wilson
It is simply gorgeous! What an inviting space. I sooooooo need to clean and restain our deck. It is screaming to me, save me from this mildew Kim!. Great job Ashley!
Ashley Phipps
hahaha! Yes Kim! Save your deck!! hahaha! 🙂 Thanks so much and thanks for stopping by!
Robin
My goodness Ashley, it's beautiful! I wondered about the Thompson's...thanks so much for showing us how the water beads up! Wonderful project xo
Ashley Phipps
Thanks so much Robin! 🙂 Isn't it the best picture! I love how the water beads up on it...it makes me smile every time it rains now! haha
Bonnie and Trish @ Uncommon Designs
This turned out amazing Ashley! What a great product and you have and amazing deck!
Ashley Phipps
Oh thank you so much ladies!! And thanks for stopping by!
Sara @ Mom Endeavors
This is gorgeous!!! Great job & great products! Amazing how the water beads up on it!
Ashley Phipps
Thank you!!