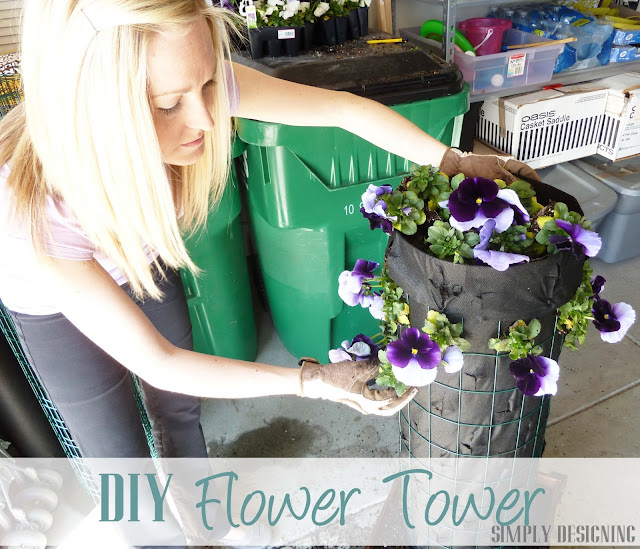
+The Home Depot's Flower Tower project is simply one of my favorite projects this year! And based on the number of visitors this project has received and pins this project has gotten in a matter of days, I can tell it is one of your favorites too!!
I think what makes this project so spectacular is that it is incredible to look at! It is huge and makes a fabulous statement piece for my front porch! I get compliments on it daily! But it is also really easy (and fun!) to make too! All of those elements combine to make this project one of the best Spring projects ever in my opinion. So thank you for loving it so much! And thank you to The Home Depot for helping me create this amazing project!
If you have been following along, you have watched as I went shopping for the supplies for this project and I even gave you a few shopping tips and tricks in Part 2 of my series. In Part 1 of this series I went in depth with a complete How-To Video Tutorial to show you how to create a Flower Tower on your own! (Did you like the bloopers? My husband thought I was pretty silly for including those haha!)
During this installment of my Flower Tower Series {Part 3} I want to discuss a few more elements about what makes this Flower Tower uniquely mine! We are talking about customization!
The Home Depot's Garden Club Flower Tower project is an amazing project to begin with! And I followed most of their original instructions closely, but as with all projects, what makes it fabulous is the details! And the customization of the Flower Tower is what can make this project uniquely and truly yours!
One of the biggest changes I made was to splurge on my flower pot! There were so many options of flower pots at The Home Depot and it was really hard to choose. They have a wide variety of styles and colors and they also range in price quite a bit. However, they have an amazing selection of 12"-16" pots that only cost about $10-$15!! I was very impressed with how many nice looking affordable flower pots there were!
But I absolutely fell head-over-heels in love with a cute, square wooden pot. It was a bit more expensive then some of the other options, but I new that it was the pot for this project! Even though it was a little bit more expensive then some of the other options, I feel that it was still very reasonably priced for the size and quality.
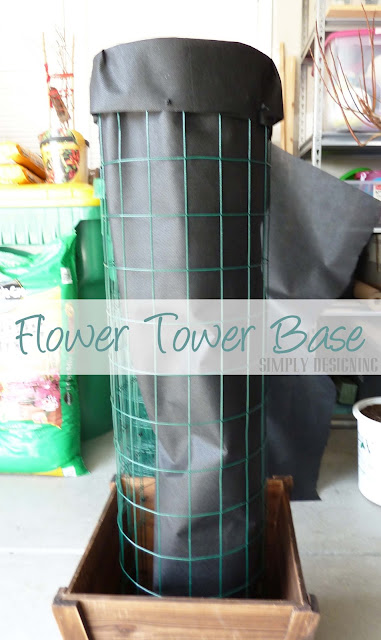
This pot varied a bit from what the "original" Flower Tower instructions suggested using. In their project, they used about a 13" round pot and this was a 16" square pot. But this is one way to make this project completely yours. Your flower pot can vary in size, shape and color and you can still end up with an amazing project!
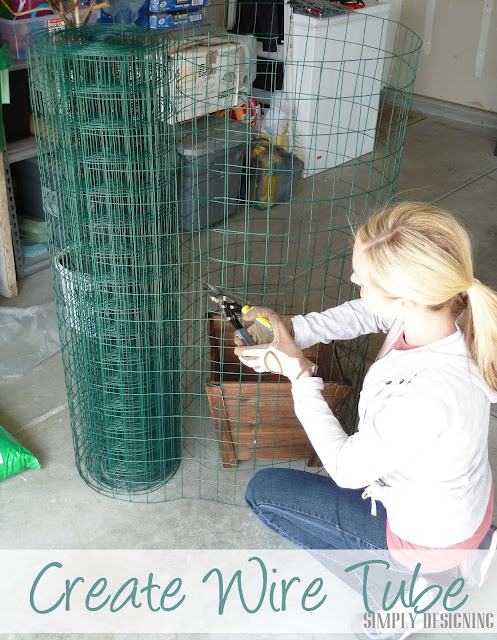
Another thing I did to customize my Flower Tower was to trim my welded wire fencing a bit. When I created my wire tube and put it in the pot, it felt just a little bit too tall. So, using my wire snips I took two rows off of the bottom of my tube. My Flower Tower still stands at about 4' tall though because the pot adds a few inches in height! But this helped create a better proportioned project in my opinion. You can make your Flower Tower as short or as tall as you like!
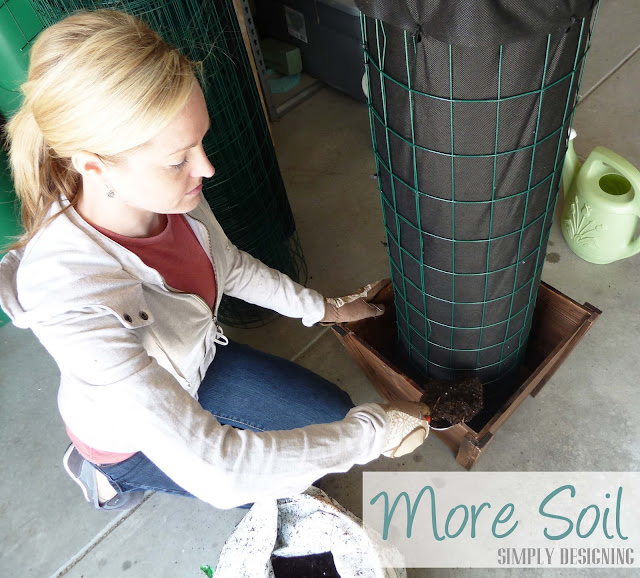
Because I used a square flower pot instead of a round one, I was a little worried that the flowers wouldn't drape quite as nicely around the bottom corners of the pot. So I planted a few extra flowers in my flower pot, at the base of my flower tower just to be sure that I ended up with a really full Flower Tower. Again, just another small way I modified this project to be my own!
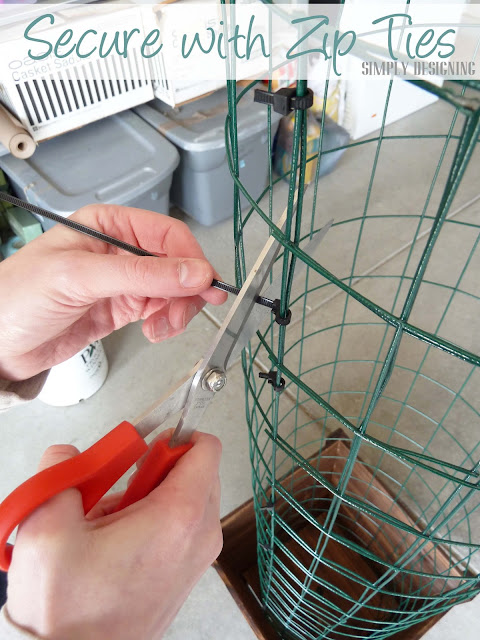
Creating this project was truly easy to do! It took just a couple of hours and I had some pretty amazing results. I encountered very few problems along the way. A few zip ties broke on me (as you saw in my blooper reel) but most things went just as planned! Probably the only challenge was transporting it!
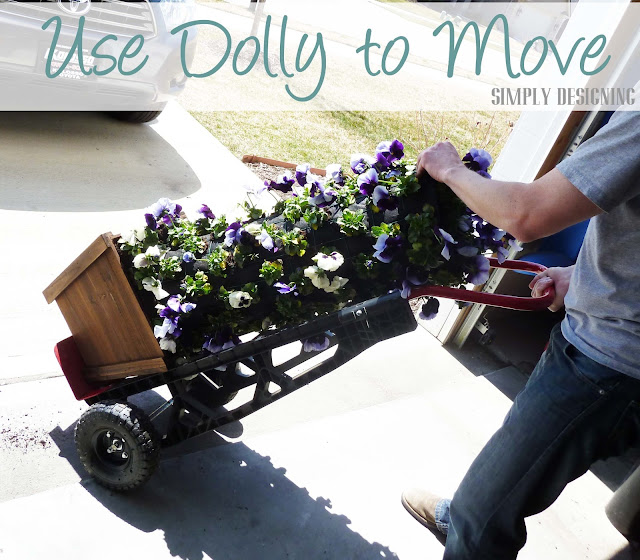
Once I had the Flower Tower all put together, I had to transport it from my garage to my front porch. And boy...I thought the bag of potting soil was heavy...the Flower Tower, with all the soil, pot, plants and oh yes, having received a good watering, was HEAVY! Back-breaking heavy.
So my husband helped me moved my Flower Tower from the garage to the front porch using a moving dolly! Genius!
Yup. That is how you move a 4' tall Flower Tower!
If you decide to create a Flower Tower I would love to help you along the way! My biggest tips are just to read through the instructions carefully before beginning. You can also reference The Home Depot's video or my video to get step by step detailed instructions as well! And honestly, just go for it! I was a little nervous to start planting all the flowers in it, but once I got going on this project the whole thing came together very simply and quickly!
I would love to know if you plan to make a Flower Tower! And please let me know if you have any questions along the way, I would love to help!
See Part 1 of my Flower Tower HERE (tutorial and video)
See Part 2 of my Flower Tower HERE (supply list and shopping tips)
See Part 4 of my Flower Tower HERE (update and other outdoor plans)
You can also find more information and join The Home Depot's Garden Club here! The Garden Club also has a fabulous Pinterest board here (I follow it!). And in case you get stuck, you can always ask an expert at the Garden Club Community Forum here.







Melissa Whitcher
Such a great idea!! I love it.
Hetty
Thanks for the tutorial! I am going to do this, it looks so nice.
MomHomeGuide.com
Love this! What kind of flowers did you use? Also, where can one buy wire snips -- I don't have those. Plus, I might try making my project right on my front porch -- I am such a weakling! (I will just sweep up afterwards, as I am sure I'll make a mess!) I hope to try and post this project this week! Thanks for posting!
Ashley Phipps
Thank you so much Melissa!<br /><br />And thanks for stopping by!<br /><br />Ashley
Ashley Phipps
Hetty,<br /><br />You are so welcome! I can't wait to see how yours turns out!<br /><br />Thanks for stopping by!<br /><br />Ashley
Ashley Phipps
MomHomGuide,<br /><br />Thank you so much!<br /><br />I used Pansies. And I got the wire snips from The Home Depot. <br /><br />Yes...putting the project together in the location where it will be is really a good idea 🙂 It was really heavy :)<br /><br />Good luck! I can't wait to see how it turns out!<br /><br />Ashley
Maureen
Ashley,<br /><br />Just found you through "Tatertots and Jello". I love this idea and am so glad you posted it. Did you think about planting a tower with strawberries and putting it in the back yard? I may have to do this.<br /><br />Maureen
Ashley Phipps
Maureen!<br /><br />Thanks so much for stopping by! I am so glad you found me!<br /><br />What a FUN idea!!! I do love strawberries :)<br /><br />Have a wonderful day!<br />Ashley