Part 1 also tells the story of how I acquired one of my absolute favorite tools! My +Kreg Jig!
So in Part 1 I talked about purchasing our supplies and using the Kreg Jig to put the basic mirror frame together. So be sure to check it out!
Having built the basic mirror frame we were ready to do a few tweaks to the frame to make it ready to install.
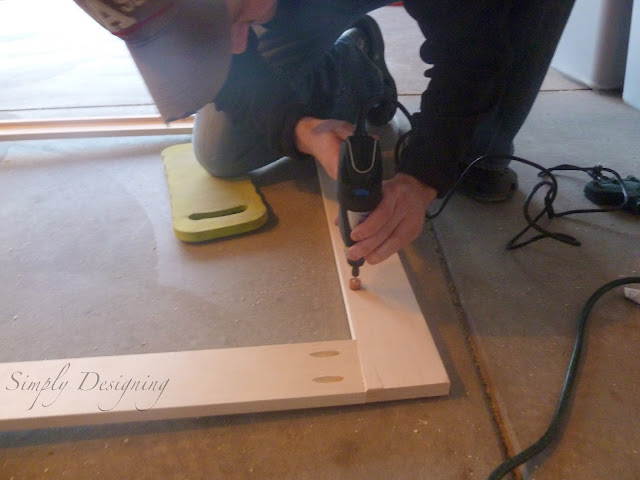
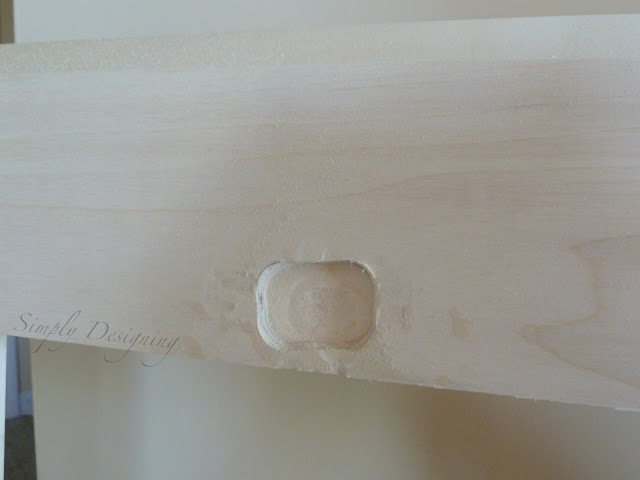
Because we chose to leave the existing mirrors in place, and we wanted the mirrors to sit flush against the mirror we needed to carve out a space for the mirror-holders (technical term I'm sure 🙂 So we marked our frame where the mirror hangers would be and started carving them out with our Dremel.
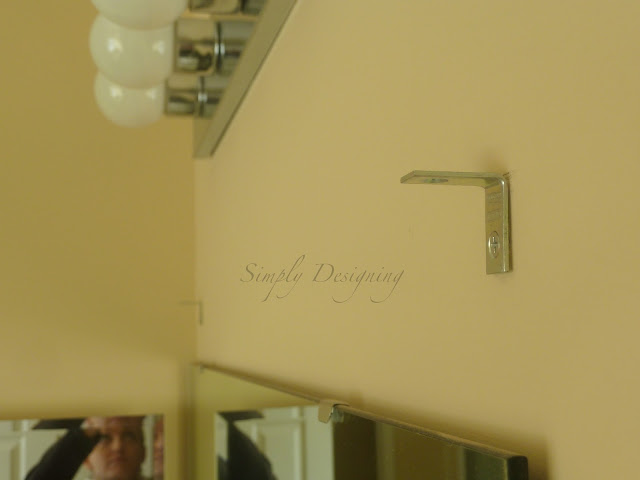
We also knew we needed to hang our mirror somehow and wanted to hide the hardware while allowing the mirror to sit flush against the wall. So we installed a couple of L-brackets on our wall. The bottom portion will be behind the frame and the top portion of the L-bracket will be screwed into the top of the frame we built.
A few more details on building the frame.
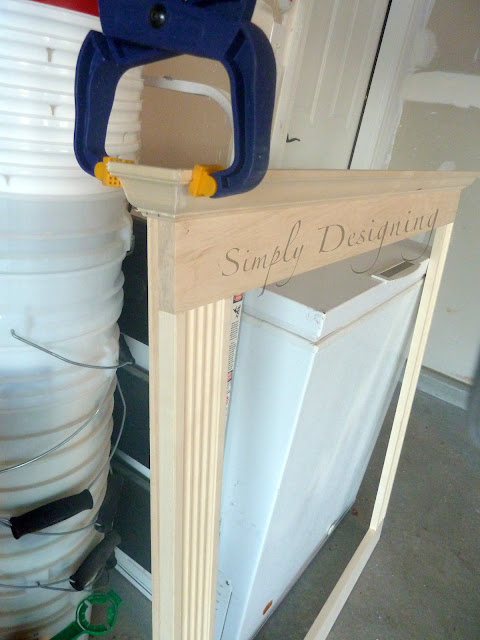
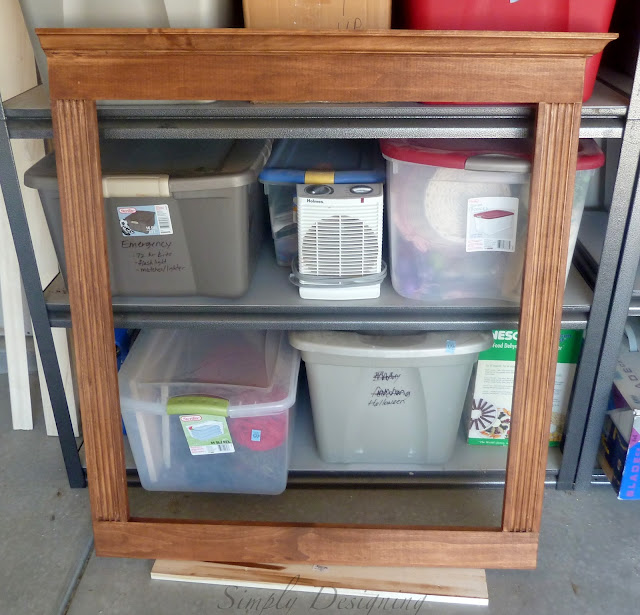
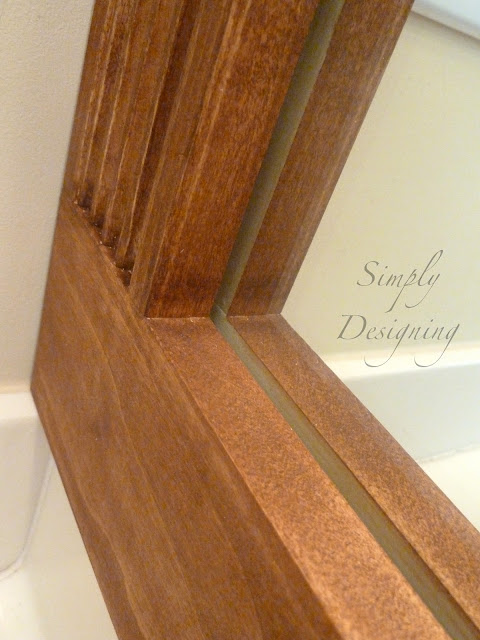
We added a trim around all edges to build out our frame so that it would sit flush against the wall without a gap. We used the nail gun to get the trim to stay in place.
We also added a bit of skinny crown molding around the top of the frame as well. We used the nail gun and a little bit of wood glue to hold this in place.
Hint: See the photo below, but as soon as we put the mirror in place we realized that you needed to stain both the front and the back of the mirror because the back reflected in the mirror reflection. Oops. So off the wall and back to staining 🙂
After your mirror is totally built, stained and sealed, it was time to install the frame.
You will simply place the frame in place screw the top of the L-brackets into the top of the frame.
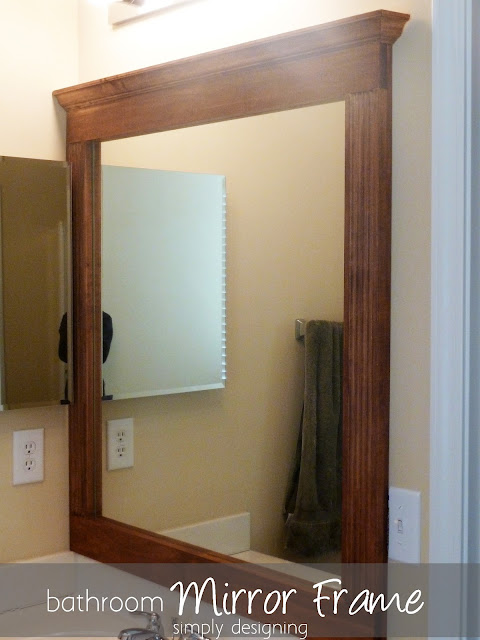
Our frame stayed almost perfectly in place. Except for a bottom corner that wanted to lift up a bit.
So we bought exterior-grade double sided tape from the hardware store and inserted the tape in between the mirror frame and the wall. And it worked perfectly. The frame is perfectly flush to the wall and totally upgrades our bathroom!
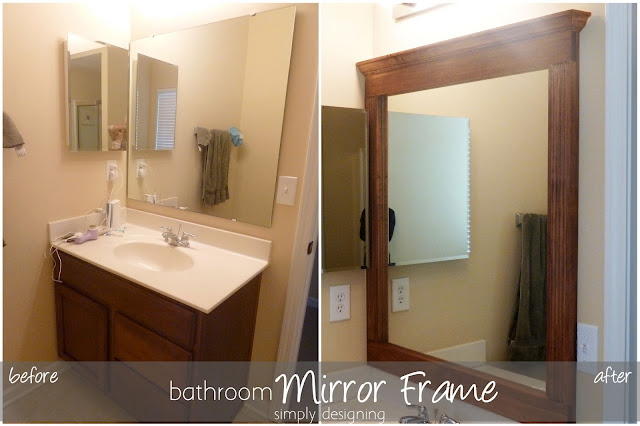
So here is the Before and After:
It makes SUCH a difference, huh!? We absolutely love our upgraded look!
And it was so simple! And really inexpensive! We spent about $20 per frame! You can't beat that price for such a fabulous upgrade to my master bathroom.
Have you done any upgrades to your home recently?




Mandy A
wow. i love it! i have a big mirror from an old dresser and it's just sitting there, i think this would be so lovely in a room (our bathrooms are way to small for a huge mirror).
Jill @ Create.Craft.Love.
That is amazing! I can't believe the difference it makes! Great job, Ashley!
Beth Procopio
Did you have trouble with clearance for the medicine cabinet?
Ashley Phipps
Beth, we had enough space in between the medicine cabinet and the mirror. Our wood was only 1" thick so it didn't take up a ton of room.