I love sharing about all things DIY and so today I am excited to share my tips and tricks for How to Paint a Room with you. I have previously shared about painting baseboards too which you might want to check out after you are done reading this post. So I have to confess, I have a secret. One you will never know if you don't know me really really well. The secret is this: people think that I recently repainted my whole house, but the truth is, I still have a room, a bathroom and several closets that are not painted. *gasp* I know. It's horrible! Painting was put on the back burner once our baby became mobile but I am really excited to be back on the painting bandwagon and hopefully, we will finish all the remaining spaces soon! In an effort to make a little progress, we decided to repaint our guest bedroom this past weekend. And I couldn't be more in love with how it turned out.
Thank you to HomeRight for sponsoring this post. All opinions are mine. Affiliate links are included for your convenience.
Our guest bedroom is one of those rooms we don't go in a lot. We have guests frequently, so I am really glad we have it. But updating the room has not been a top priority for me. However, we have guests coming to town soon and I decided to do a few small things to help update this space before they arrive. And painting was the #1 priority!
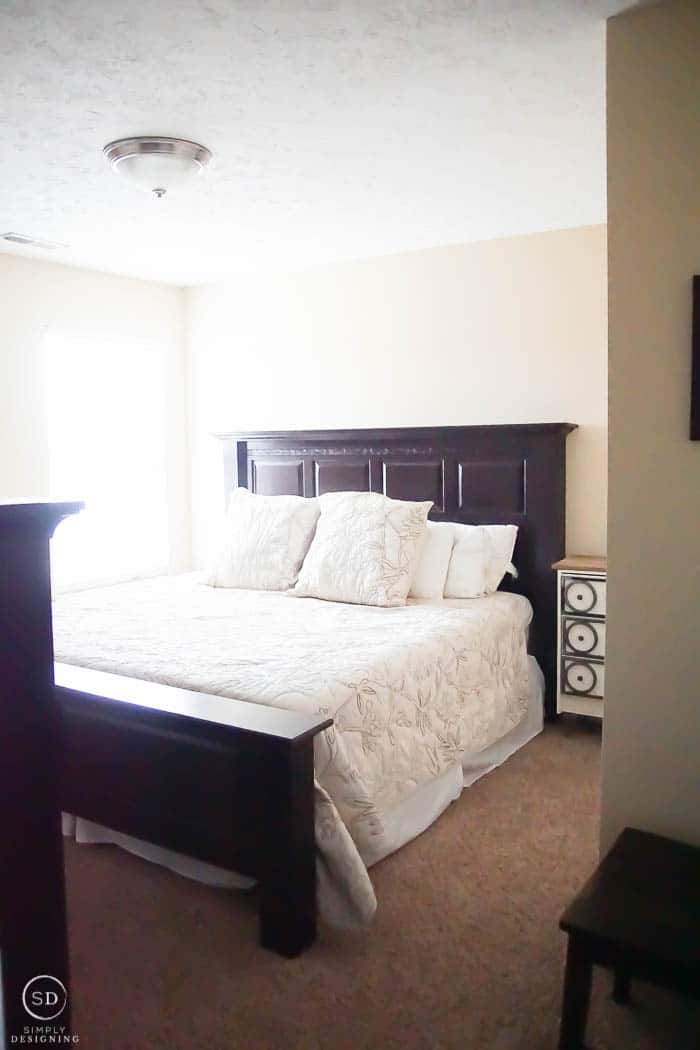
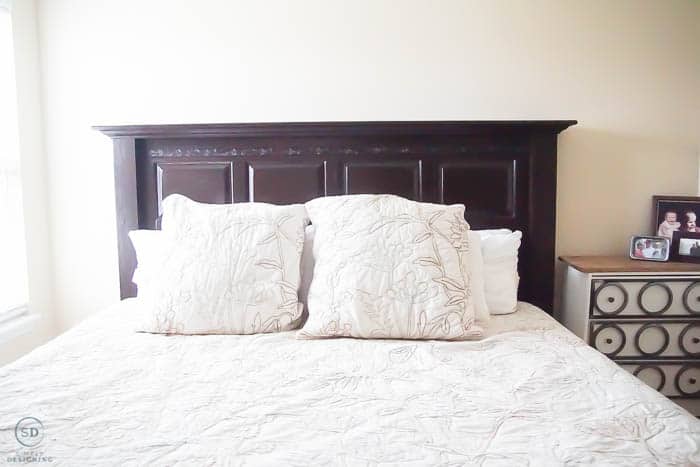
Here are a couple of BEFORE photos:
I always am amazed at what a difference a fresh coat of paint can make. I am in awe that it can instantly update a room and make it feel lighter and brighter and just nicer!
For our guest bedroom, we decided to keep our walls neutral and we selected Sherwin Williams Repose Gray for this space. I always buy the Emerald base in a matte finish. It is amazing paint and is wipeable even though it is a matte finish! As we have been repainting our house, this is the base of paint we always use because it is just holding up so well. But...I digress...back to painting...
How to Paint a Room
To paint a room, there are really only 3 steps!!
- Preparation
- Painting
- Edging
That's it. Sounds simple right!? Well, for some, painting can be really stressful, but with the right tools and a little practice, you can get the hang of it in no time.
Preparation
You will want to begin by preparing your room. Remove furniture, or move it all to the middle of the room. Use drop cloths where you will be painting and consider covering any furniture left in the room with drop cloths too.
Wipe down any walls and baseboards that need to be wiped down and allow them to dry.
Patch and sand any holes in the walls that need to be patched.
Remove wall plates from your outlets and light switches. (I like to put them all in a Ziploc bag so that I don't accidentally lose any screws.)
Painting
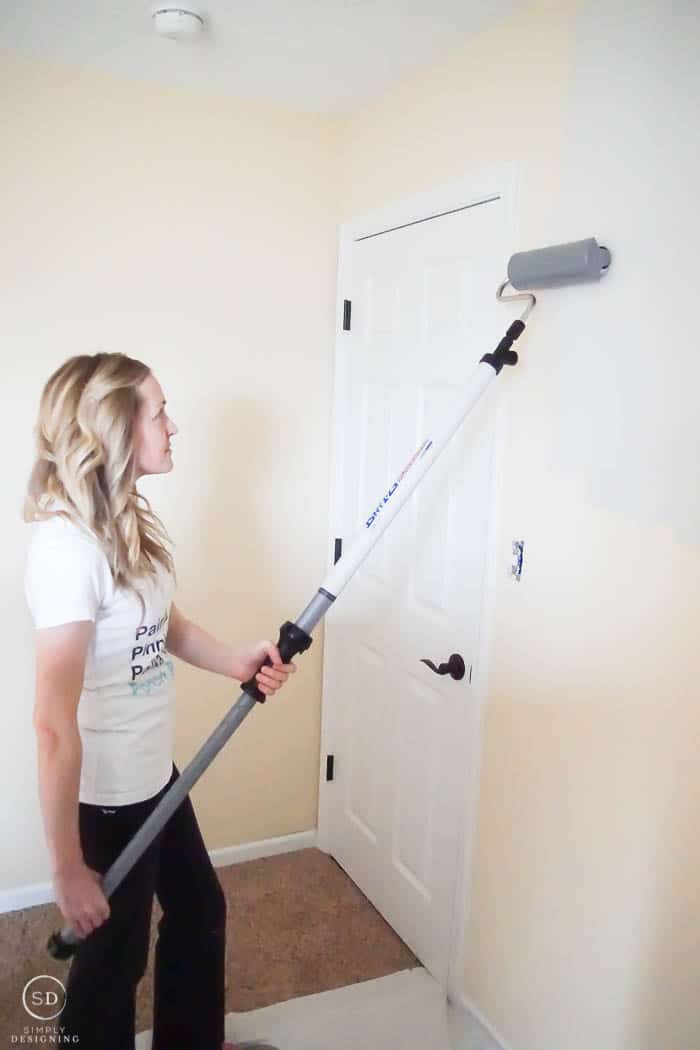
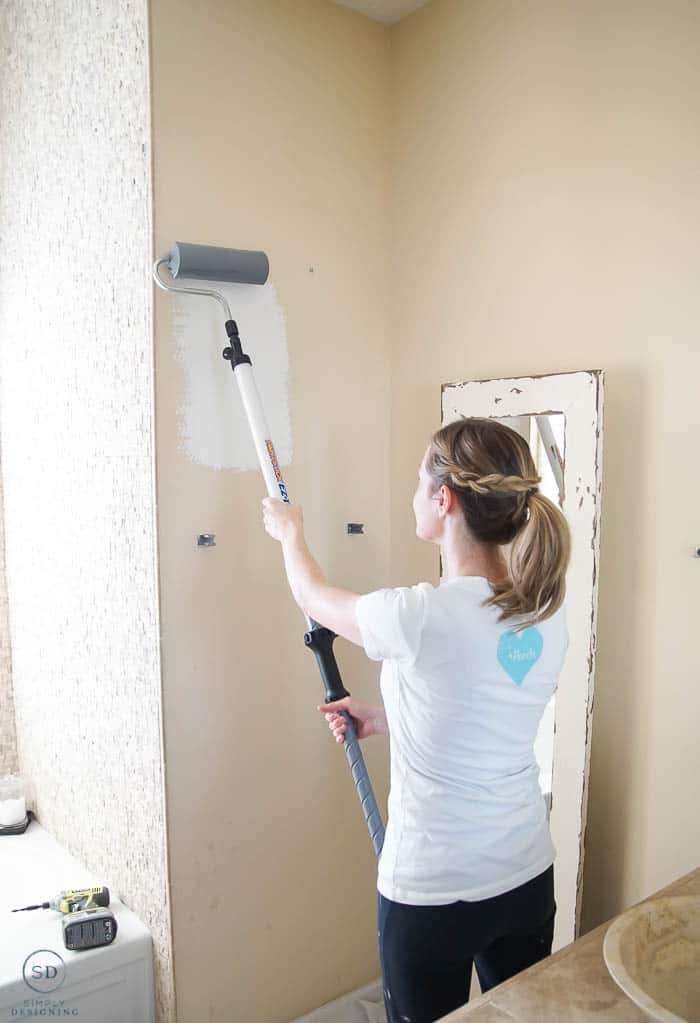
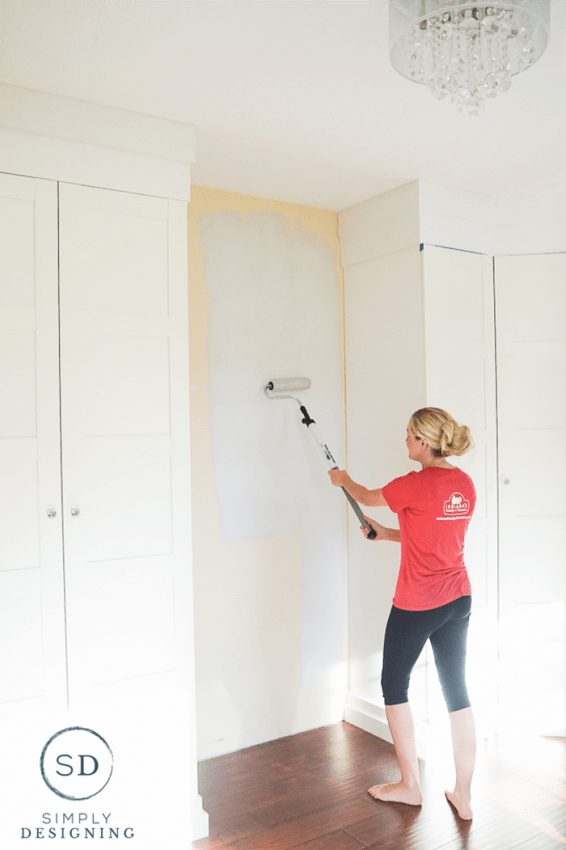
I prefer to roll my paint on the large sections of walls. This allows me to paint a room fast and efficiently.
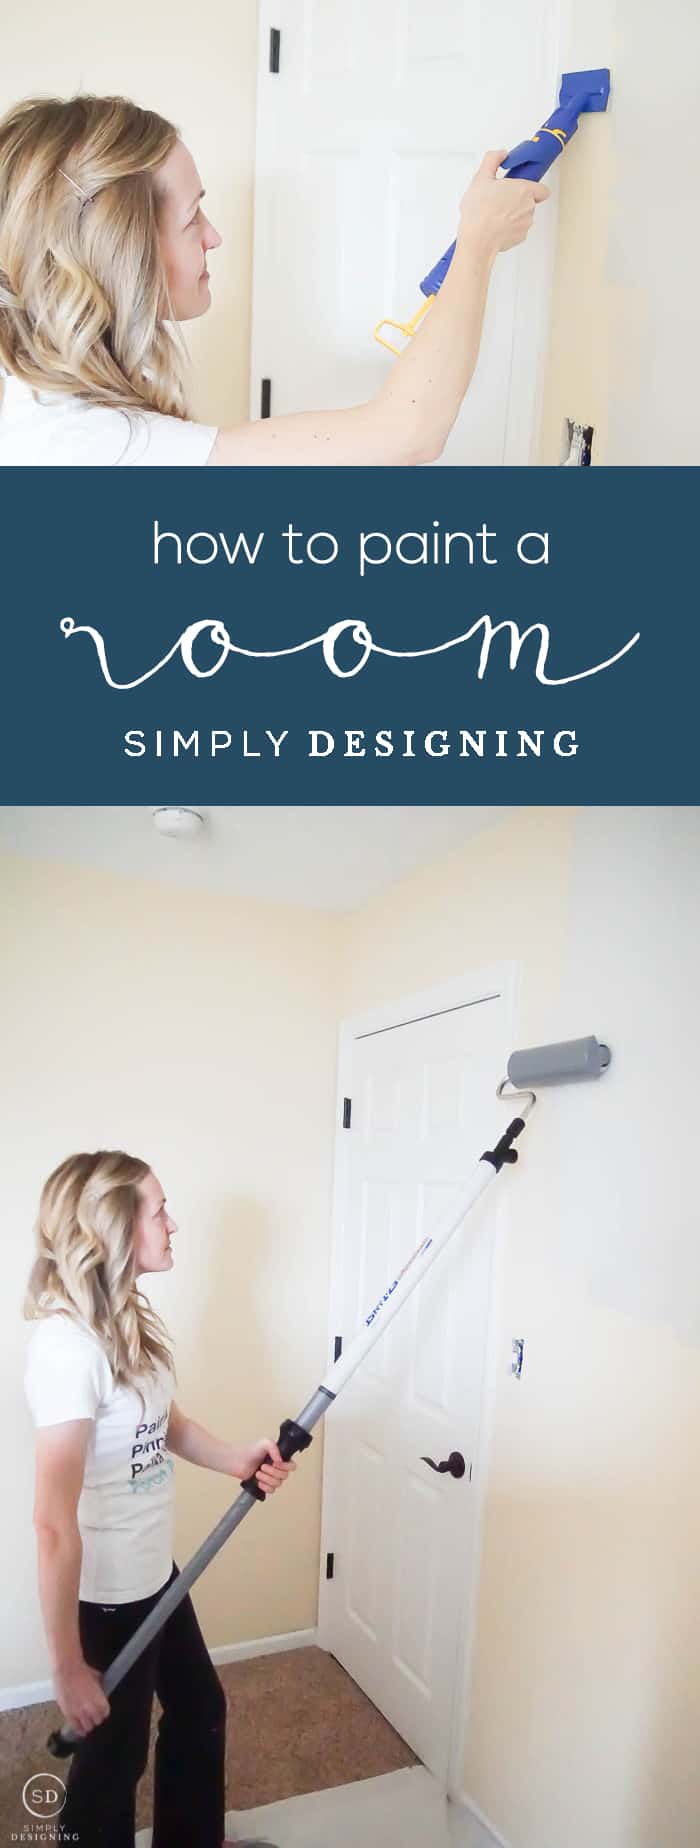
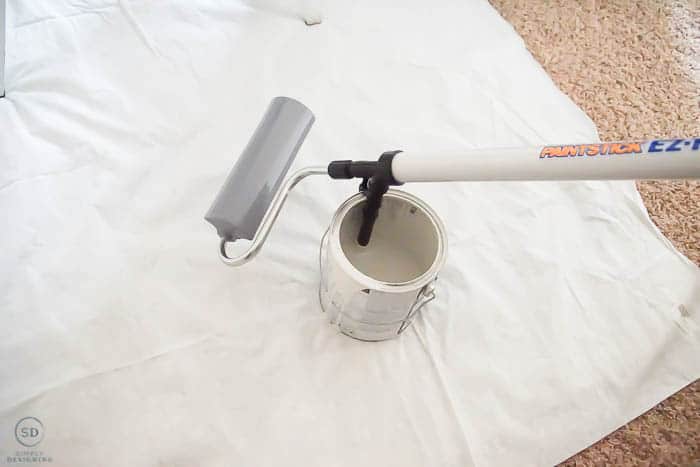
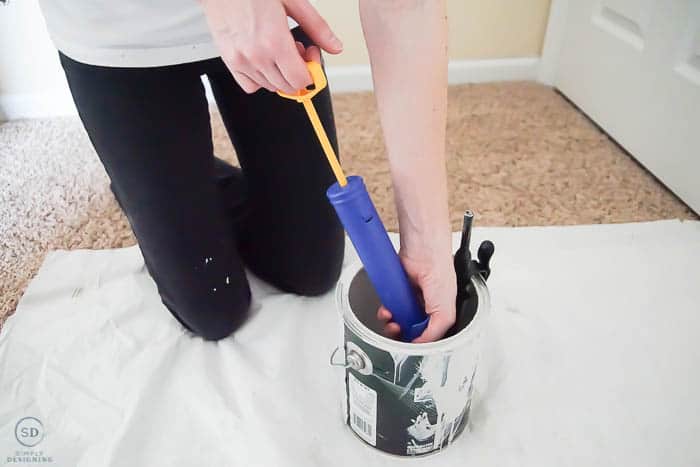
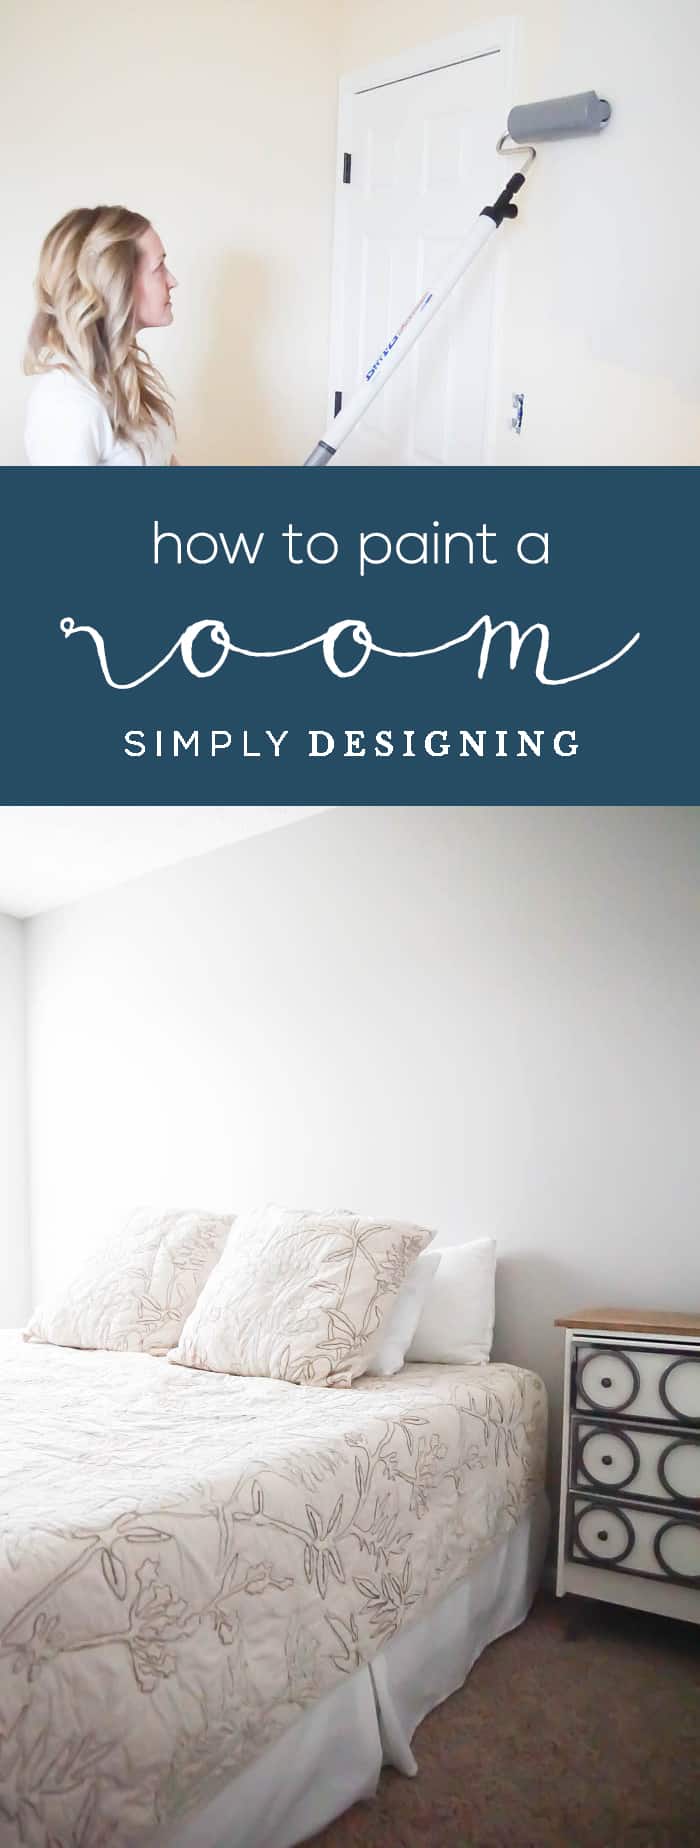
When painting a space like this, I can save a lot of time by using the HomeRight PaintStick EZ-Twist. It allows you to suck paint right up into the paint stick handle and while you paint, you twist the handle and the paint comes out of the roller brush and onto the wall.
Just for fun, my husband and I did a little test. He had the EZ-Twist and I grabbed a traditional roller and it truly shocked me how much faster he could get paint on the walls then I could! Just the time it took to reapply paint to the traditional roller was shocking. So I laid down my traditional roller brush and got back to work with the EZ-Twist because it really is a huge time saver and it also makes painting a room easy! (It was a really fun test though!)
Plus there is no dripping, no roller tray needed and the only mess to clean up is the PaintStick itself.
You can read more about using the PaintStick EZ-Twist HERE.
Edging
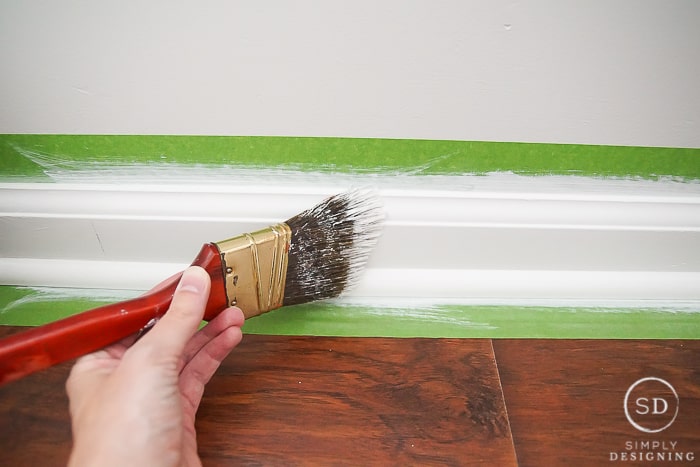
Now I will admit that you can paint or edge first. It really doesn't matter. I typically prefer to edge first, but most of my friends prefer to paint first. My favorite way to paint though is to grab my husband or a friend and one of us paints while the other edges! It goes so much faster that way and it is much more fun to paint with company. But really, you can do it in either order you prefer.
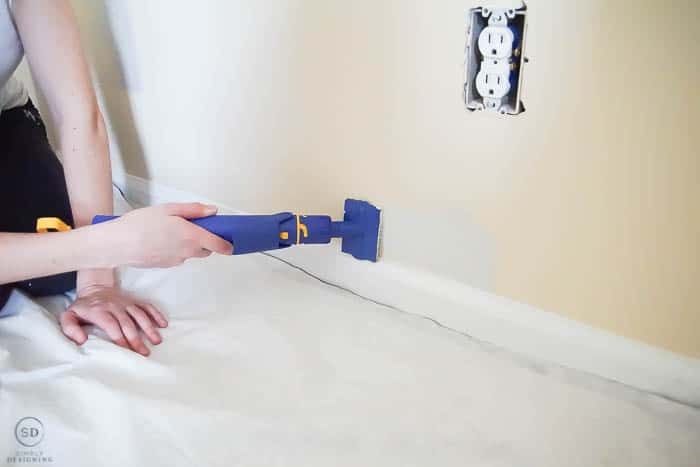
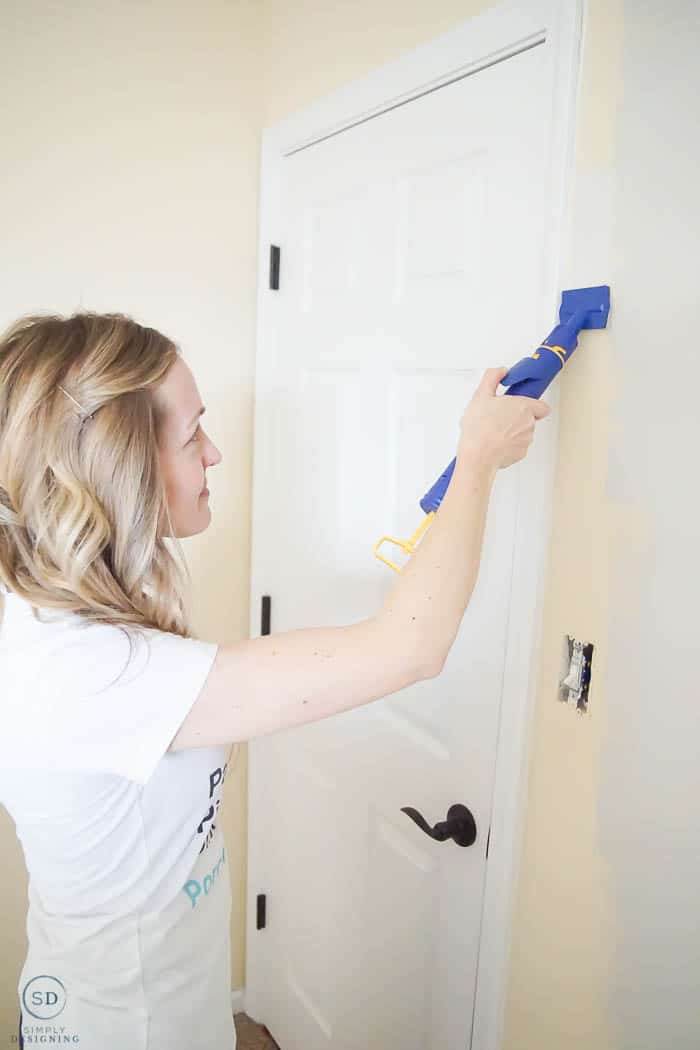
I have always use a traditional brush to edge while painting, but no more! I actually find HomeRight's QuickPainter Pad Edge Painter a real time saver too. Plus this helps me control exactly where the paint is going, helps me avoid "wavy" ceiling edges and also helps me avoid drips! With the QuickPainter Pad Edge Painter, you simply suck paint up into the handle and then press a lever to release paint into the pad. Run the pad edge along your baseboards, door or window moulding and ceiling for a nice, clean and consistent edge job! Thie makes it easy enough for anyone to edge a room well!
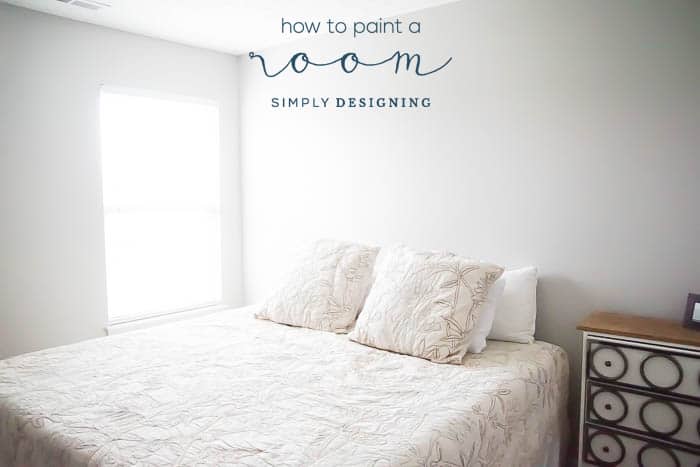
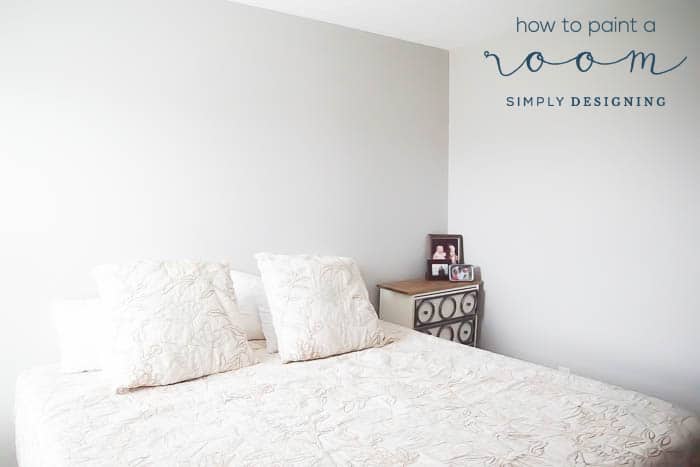
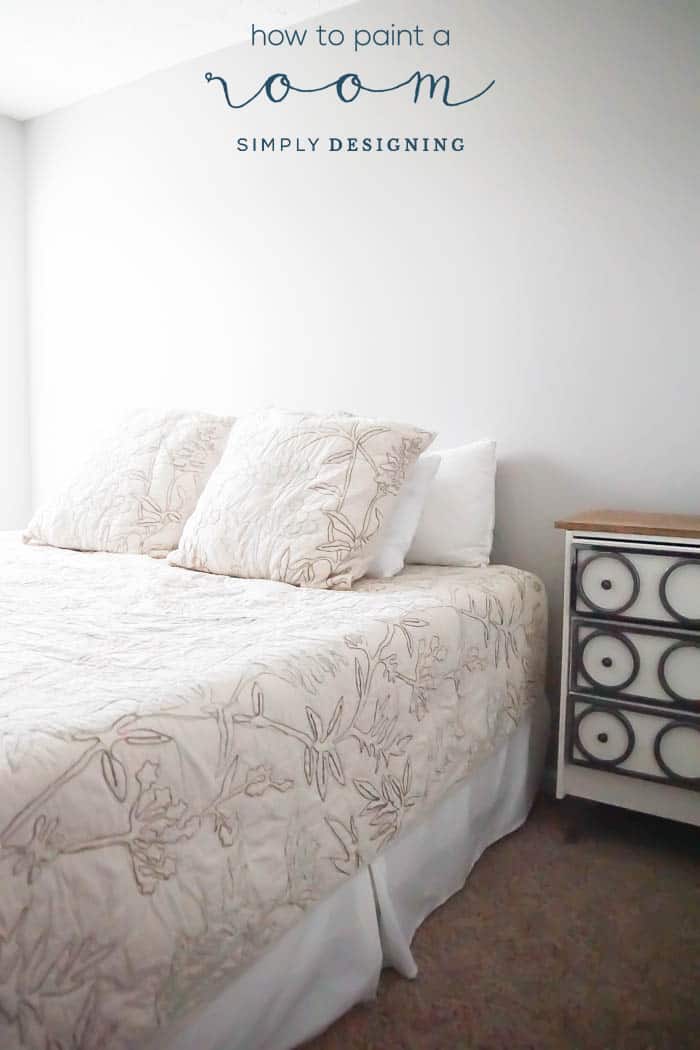
Hurray! One more room is painted! Only one room and a few closets left to go!! Woot woot! One day I will finish painting my whole house! But for now, I will just take it one room at a time.
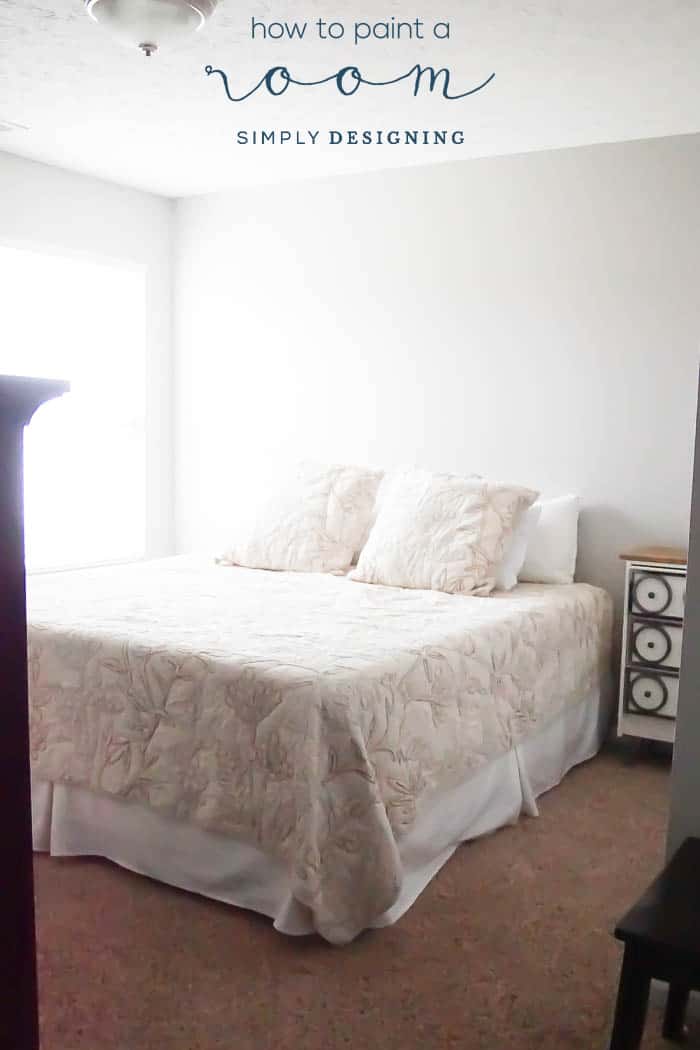
And you may have noticed that in my before photos, I had a headboard in the room and art on the walls. Well...the headboard and footboard we had in the room were really too large and so we are going to be putting a new headboard in the room and rethinking the art. So for now, the room is a freshly painted, blank canvas and I can't wait to get to work making this room look amazing!
THINGS YOU MAY WANT TO HELP YOU PAINT A ROOM:
YOU CAN GO HERE TO LEARN MORE ABOUT HOW TO PAINT A ROOM.
You might also enjoy:
How to fix a broken iPhone charger
How to Repaint Furniture Without Sanding
How to Paint Furniture Flawlessly
How to Paint Your Room Like a Pro







Leave a Reply