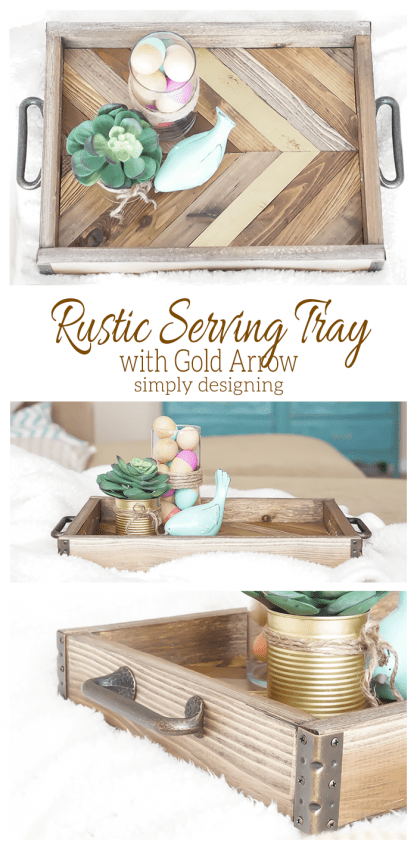
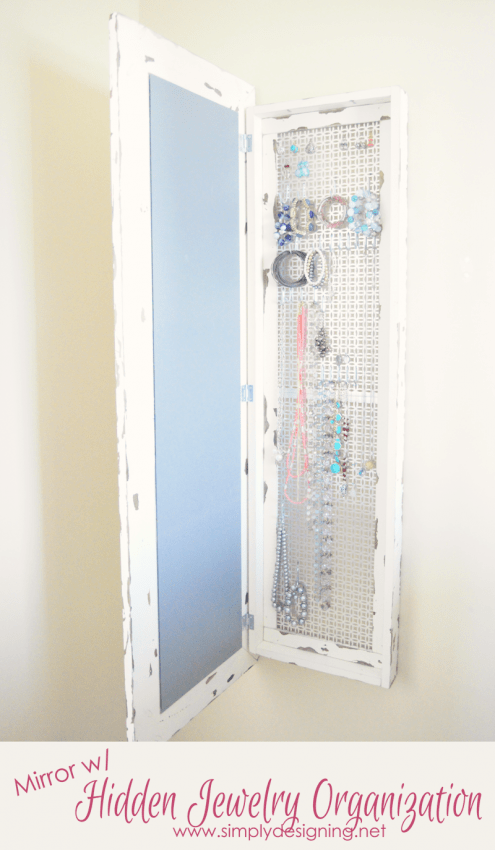
I am really excited to announce that I am part of Elmer's Creative team this year! Wahoo! As part of that team, I get to share my love of creating, DIYing and crafting with glue with you! And we all know how much I love glue! In fact one of my most popular projects from last year was created using Elmer's ProBond Advanced Glue, my Framed Mirror with Hidden Jewelry Organization that you can see HERE. But today, I was challenged to create something using Elmer's Wood Glue (which I also happen to love and use on a near-weekly basis). A project that is perfect for spring. And so today I am thrilled to show you my Rustic Serving Tray with Gold Arrow Accent!
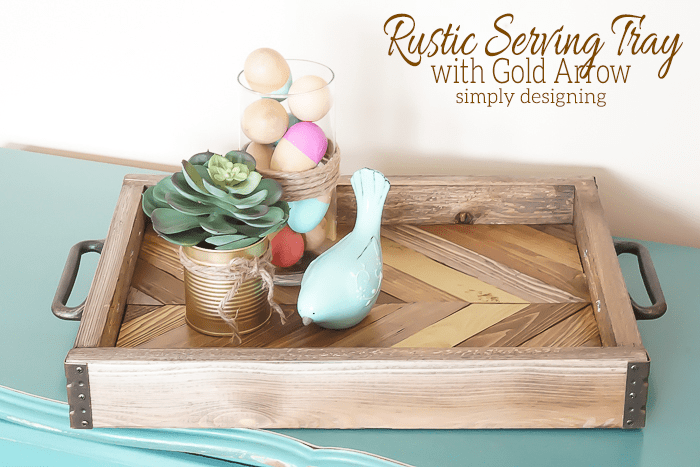
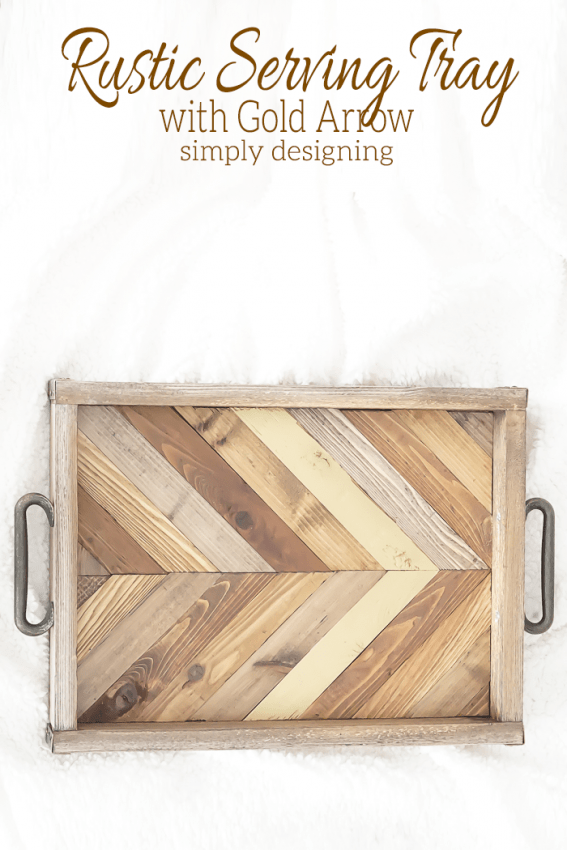
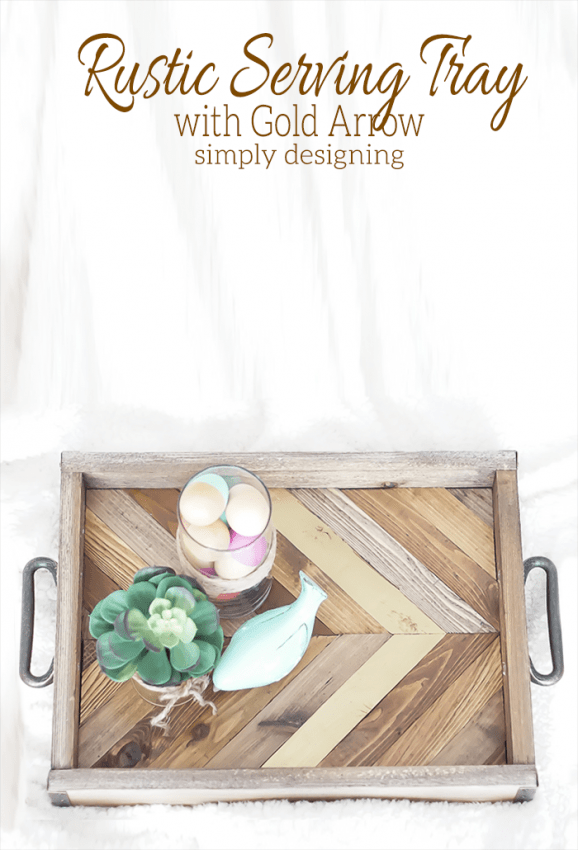
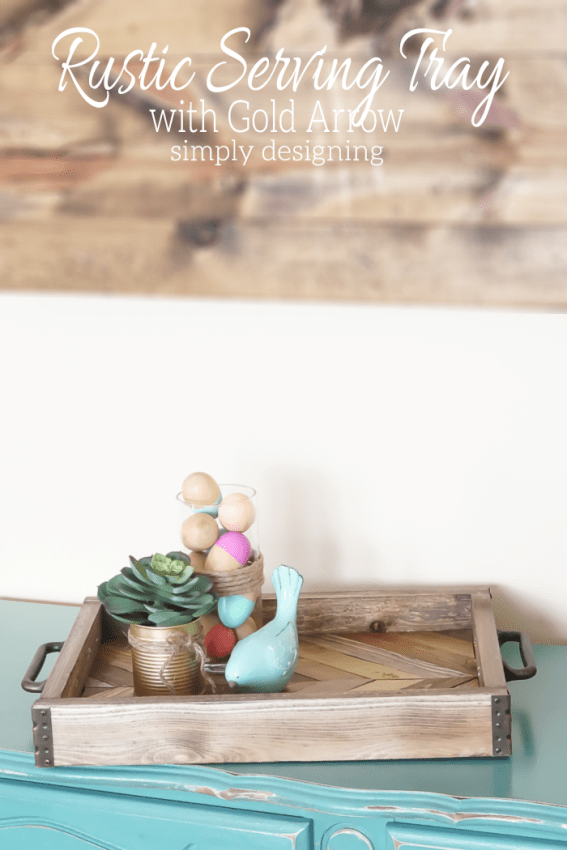
Isn't this simply divine!? I love how this rustic serving tray turned out! It is not a herringbone or chevron pattern, but an inlaid arrow pattern, and the gold accent arrow...makes my heart swoon! The rustic hardware is such a fun look with the weathered looking wood I used. I truly love how this turned out!
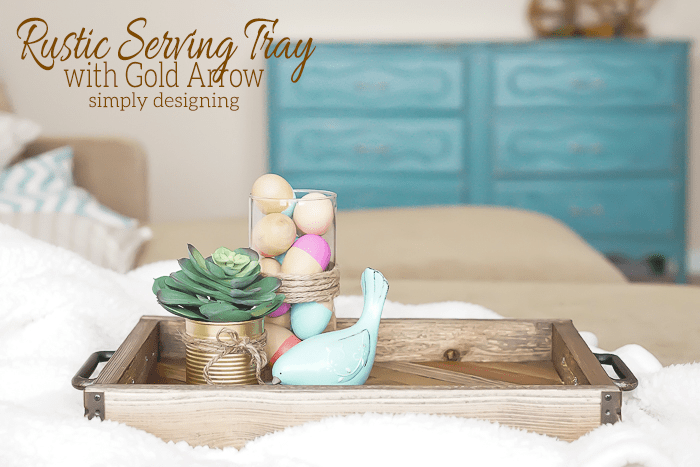
And doesn't this make the perfect container for holding a few spring decorations!? It would also be the perfect tray to serve spring drinks (like this one) or a delicious smoothie (like this one). This would also be perfect to bring breakfast to mom in bed on Mother's day...just casually throwing that out there...
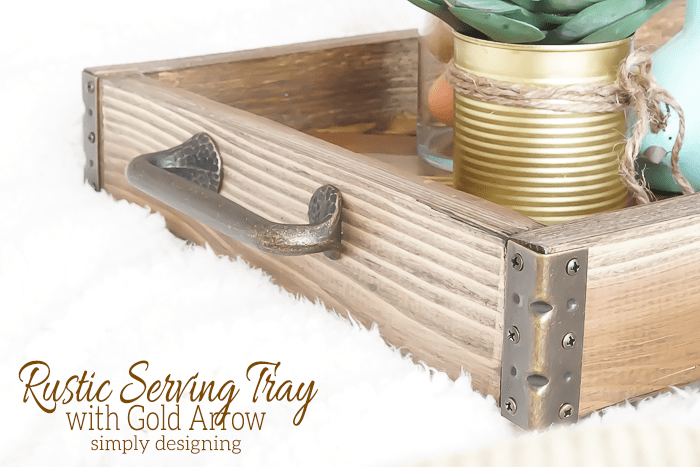
And this hardware...oh man am I in love with it! So before I start to drool on my keyboard, let me tell you how I created this Rustic Serving Tray with Gold Arrow Accent so that you can be inspired to your own!
Rustic Serving Tray with Gold Arrow Accent
Supplies:
- Elmer's Wood Glue
- Elmer's Stainable Wood Filler (optional)
- (3) 3' x 3" x 1" cedar wood boards
- (4) 3' x 2" x 1" cedar wood boards
- (2) rustic handles
- (4) 2.5" tall corner brackets
- Gold Spray Paint
- Stain (I used three different shades that I already had on hand)
- Polyacrylic sealer
- Paint brush
- Gloves (to protect hands while staining)
- Rags to stain with
- Compound Miter Saw
- Nail Gun (or right angle clamps, but a nail gun is easier and faster in my opinion)
- Electric Sander and fine grit sand paper
- Eye and Ear protection
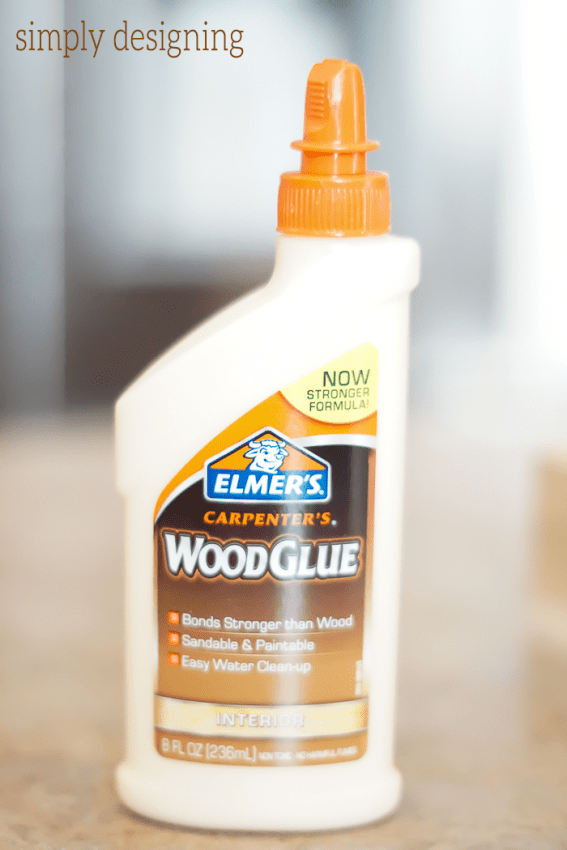
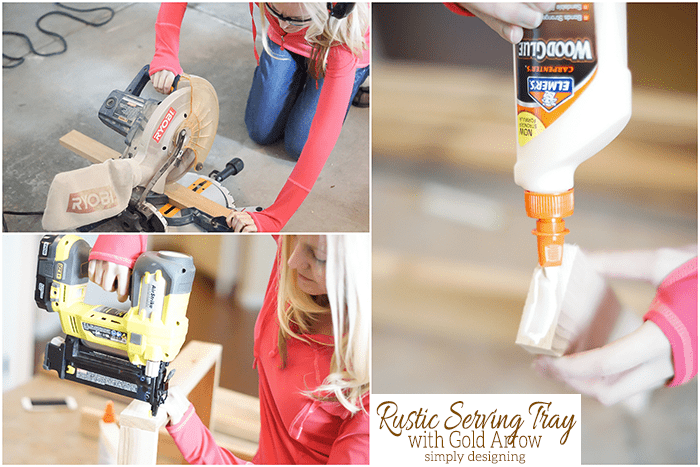
This wood glue is the secret that holds this serving tray together without needing too many nail or screw holes. It is amazing.
First I began by cutting one of my 3' x 3" x 1" long boards in half. These became my two long sides of my serving tray; about 18" long each.
Then I measured and cut my other 3' x 3" x 1" board into (2) 12" pieces. These became my end pieces.
I put wood glue on both ends of the 12" long boards and placed them in between the long 18" pieces to create my outer rim of my serving tray. I secured the 12" and 18" boards together to make my outer rim using a nail gun.
If you don't have a nail gun, you can simply clamp these corners together until the wood glue completely dries. But I personally think a nail gun is easier and quicker.
If you like, you can use wood filler to fill in any nail holes, but I prefer a rustic look, plus I ended up covering mine with the brackets in the end so you don't even see them! But this is an optional step if you prefer. Just be sure to let the filler dry and then sand it prior to staining it.
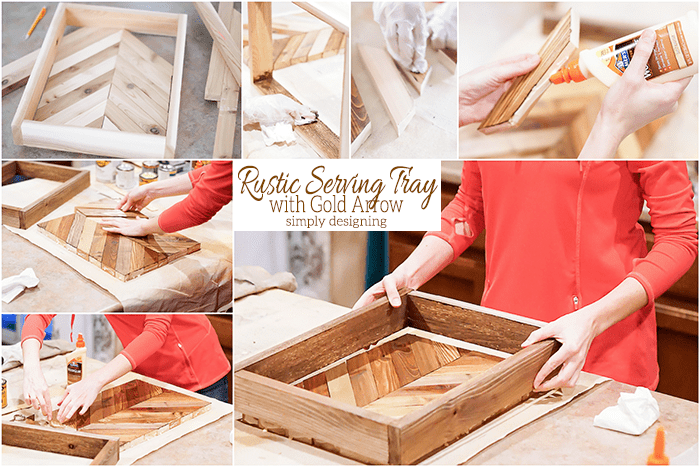
After my outer rim was created, I began measuring and cutting my inside pieces. I used the 3' x 2" x 1" boards and cut both ends at 45 degree angles so that they would fit into the box properly. This is one of those projects where it is honestly easiest to line the boards up, mark and then trim them because it is nearly impossible to give exact dimensions of every board and you want this to be a really tight fit without any gaps.
Cedar wood is a lot more rustic then some of the other boards available at my local lumber store. I choose to use cedar because I wanted my serving tray to look rustic and weathered. If you prefer a smoother look, choose a smoother board and sand them well! But even if you want a rustic look, it is still a good idea to take a few minutes here to sand any rough edges before moving on.
Once the inside diagonal pieces were cut, I stained all of my wood pieces except the two pieces that I painted gold to be my accent arrow.
After my boards were stained and painted and dry, I used the wood glue to glue my inside pieces together. After the inside pieces were glued together, I set my outer rim around my inside pieces and glued the outer rim to my inner pieces.
Now is the perfect time to seal the serving tray with a coat of Polyacrylic sealer.
After my tray was dry, I added my handles and corner brackets as finishing touches on the beautiful rustic serving tray!
I love how the gold arrow gives the rustic serving tray a modern pop of gold to it! Its just a subtle touch that makes me love this even more!
I added a beautiful Succulent in a Gold Tin, a cute ceramic turquoise bird and a glass jar full of Color Blocked Easter Eggs to the tray and I love how it brightens up and adds a touch of spring to my room!
This is perfect on an ottoman or on a dresser! But it would also look absolutely stunning on a table as part of a beautiful spring tablescape! The options are endless!
If you love this Rustic Serving Tray, you might also enjoy these too:




Melinda @Home.Made.Interest
You make it look so easy! I love anything rustic. Pinning 🙂
LMM
LOVE, LOVE, LOVE it!
Debbie
Love it!
ColleenB.
OMG; I Absolutely Love that serving tray and what a great gift this would make as well.
As usual, Thank You for the great tutorial.
amy @ one artsy mama
This is SO gorgeous, Ashley! I love it! What a great grown-up use for Elmer's glue! I totally want a tray like this for my new house.
Melanie
This is lovely! I would love to have this for my entry way table.
Heather
Love it! Elmers glue just plain works!!
DUcks n a Row
I just used Elmer's glue tonight!
Mindi
Wow! I love this Ashley it is so beautiful!!
Amanda @ Dwelling in Happiness
This is amazing!! I looove the pattern, the gold, and the rustic look to it! Pinned! 🙂
Ashley Phipps
Thanks so much!
Amy Anderson
Your tray is GORGEOUS! I love it.
Ashley Phipps
Thank you!
Gilly @ Colour Saturated. Life
Love this tray, I will need to make one for myself, I am forever looking for pretty trays and can never find anything I like....and I love this!
Ashley Phipps
Thank you!
Emily
I love this tray so much! The hardware you used is perfect and the gold is amazing. I need to make one. I've included your post in my Five on Friday roundup today. Have a great weekend! 🙂
Ashley Phipps
Thank you so much!
The Happy Creations
I love this DIY project,this tray is perfect and unique.
I love handmade things and this is amazing,
I'm going to try to make one!!This is going to be my favorite for next week's Turn It Up Tuesday.
Thanks:)
April G
Such a great design. I didn't know you could so much with Elmer's. Thanks for linking up with Turn it Up Tuesday.
Krysta @ KrystaSteen.com
Thanks for sharing on Tips & Tricks- love this! Hope you come back again this week! 🙂
Samantha
Wow! Love love love this so much!
Mary
My brother wants to know what keeps the tray from collapsing outward from the middle, from the place the boards join, if there is something heavy on the tray. is the glue enough to keep this from occuring?
Ashley Phipps
The middle slats are so snug in there that they are very secure. It is a very tight fit. I haven't put anything really heavy on it yet though, I mainly use it for decoration. If you want to use it for holding heavy items, you could add a piece of plywood to the bottom and glue and nail it into the sides of the serving tray.
gigi
Woah! That is so awesome! I don't work with wood, but my husband does, so I just emailed this post to him! We would saw by hand. I love stained wood projects and my husband loves making things out of wood he has from our old sauna he took apart when we moved into our house. He has made so many things out of the recycled wood. Thank you for an awesome idea. Also, I love your floating shelves!
Whitney Shortt
Love this! Thanks for sharing!!
Jennifer Dawn
Oh my! This is gorgeous! I love the arrow design of the bottom! We'd love to have you share this at our weekly link party! Hope to see you there! http://www.thelifeofjenniferdawn.com/2015/12/8-things-to-make-this-winter-and-little.html
Ducks n a Row
I love this tray, Ashley! Thanks so much for sharing it at my party. I've selected your post as my Editor's Pick and it will be featured on the party this week -- Wonderful Wednesday Blog Hop { which debuts Tues eve at pm ET) Congrats!
Sinea ♥
(New follower here)
Jessica
This is beautiful! Well done. You might have convinced me to give this whole woodworking thing a try 🙂
Shayla Martin
Love this tray, thanks for the inspiration! Can't wait to make it:)
Heather
Wonderful! Can you tell me please where you found your handles for this tray . I am in the process of making a tray but having no luck finding handles. Thanks so much for any help you can offer .
Ashley Phipps
I think we found them at Menards, but it was at a home improvement store for sure. Best of luck!
Kristen
What are the names of the stains you used?
Ashley Phipps
I wish I knew honestly. I just pulled out a variety of stains I had on hand and used them. I didn't stop to look at what colors they were. SO sorry!
Pat
Love this - can you tell me where you got your hardware - handles and corners. I've already searched the internet.
Lindsay H
They have the exact hardware at Menards. Also when purchasing the corner brackets don't buy them at home Depot, although they say they are 2 1/2 inches they are actually a tad bit taller and too tall for the tray. The ones from Menards are a perfect fit. I don't understand why they are a different size, it's so strange. But trust me home Depots are too big. It makes zero sense how two things that are supposed to be the exact same size, are actually pretty different in size.
Katelynn
Stunning. I'm linking here on my upcoming blog post, DIY Christmas Gifts, over at hampersandhiccups.com
Thanks for the great tutorial
Katelynn, hampersandhiccups.com
EC
We draw names in our family for Christmas gifts and they have to be handmade. I’m starting on this one for my sis’ in law. Love it! Thanks for the idea.
Nicole B
Love this idea! Can you share the measurements and methods you used to cut the inside pieces? It doesn’t really elaborate here and I’m a very visual person ☺️