A big huge thanks to Moen for sending us product to help make this post possible.
Yesterday I shared our Master Bathroom Tile Accent Wall with you. After that was done we were able to finish off the tub surround area by installing a new bathtub faucet. New fixtures can upgrade and update a space without a lot of work! And while I already showed you our new Shower Fixtures HERE, thanks to Moen we were able to update our entire master bathroom in their gorgeous 90 degree line! It is really so beautiful! So today I am going to show you How to Install a Bathtub Faucet!
How to Install a Bathtub Faucet
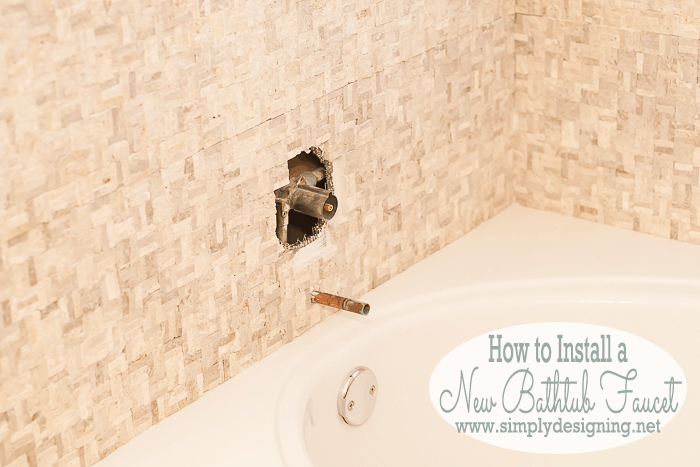
Because we previously had Moen fixtures installed in our home, and our existing mixer valve was the same type of valve in our new 90 Degree fixtures, we did not need to convert any plumbing within our wall which saved us a lot of time and work. If your existing fixtures are a different brand then the new fixtures you wish to install, you may need to install a new mixer prior to installing new fixtures.
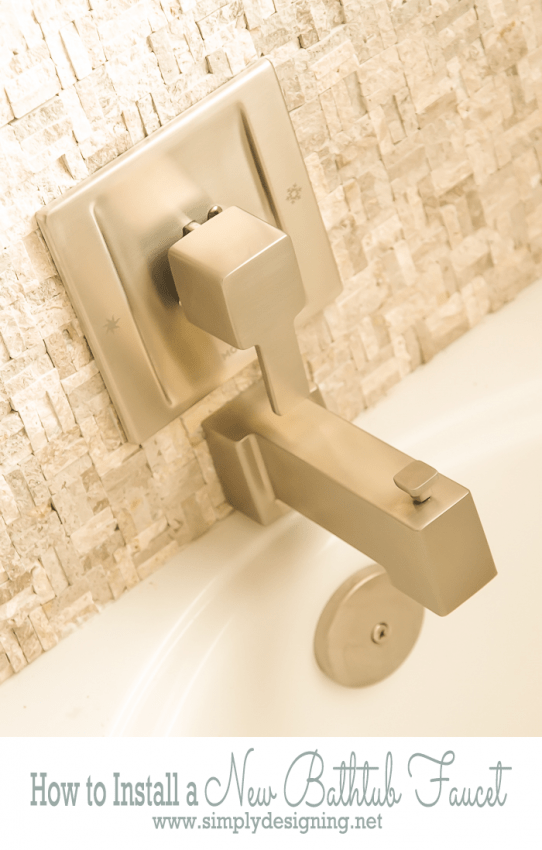
For this project we selected the Moen 90 Degree Posi-Temp line in Brushed Nickel.
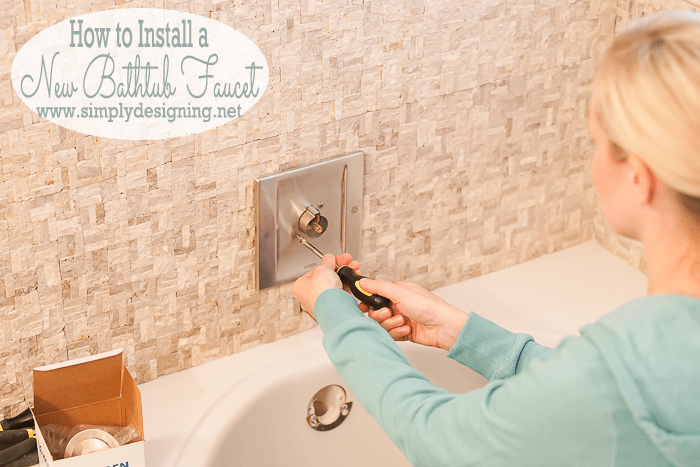
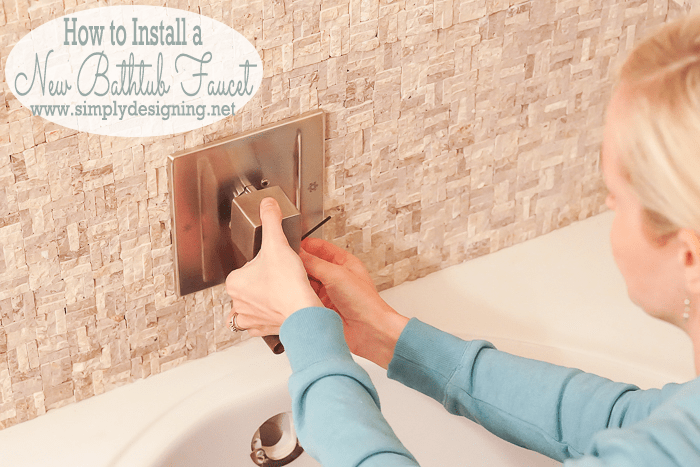
First we installed the new stop tube and the new faucet face plate by gently hand-screwing it into place.
Then we inserted the white key stop and the white temperature limit stop by sliding them into the silver stop tube. Then we placed the black handle adapter into the temperature limit stop and screwed it all into place with the included screw.
Then we slid the handle lever over the black handle adapter and used an Allen wrench to secure this in place.
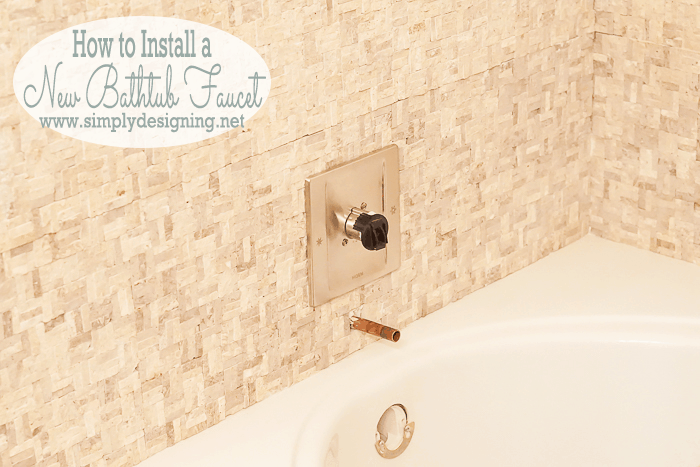
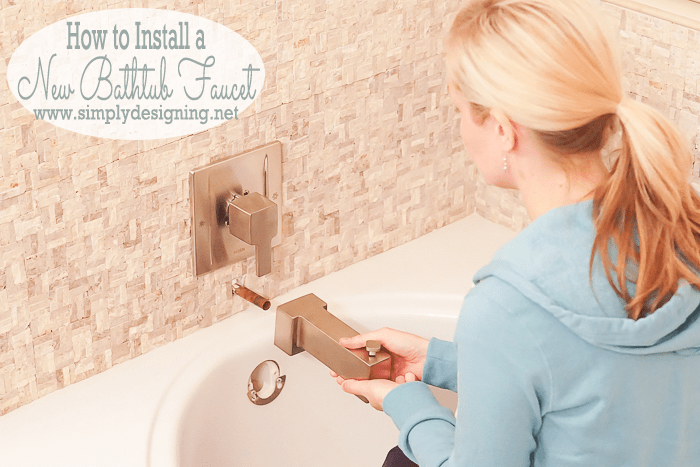
Then we slipped the facet over our copper pipe and tightened the clamp screw with an Allen wrench.
Please note that there are two different types of bathtub faucets; one is threaded and twists into place and the other is called a C.C. or Slip Fit Spout and it slides into place and secures with a clamp screw and Allen wrench. It is important to know what type of faucet connection you currently have and what type you are getting. It is easiest if they are the same type, otherwise you may have to modify your connection like we did HERE in a previous project. Thankfully for this installation, our existing connection was a Slip Fit Spout which matched our new 90 Degree Faucet, so no modification was necessary.
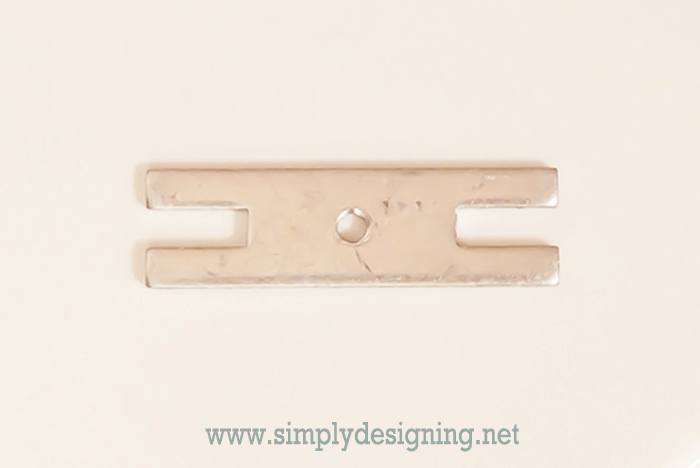
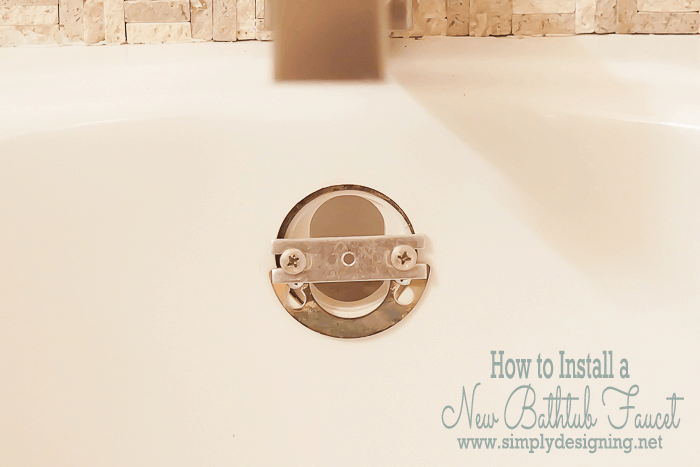
Then we replaced our overflow valve cover with a new matching Moen one. We ran into an unexpected snafu with this. Our old cover installed with two screws on either side of the cover. But the new cover installed using one screw in the middle. So after a bit of research, we ordered the below part off of eBay and it enabled us to install our new cover.
This part essentially adapted the valve to accept one screw in the center instead of needing two.
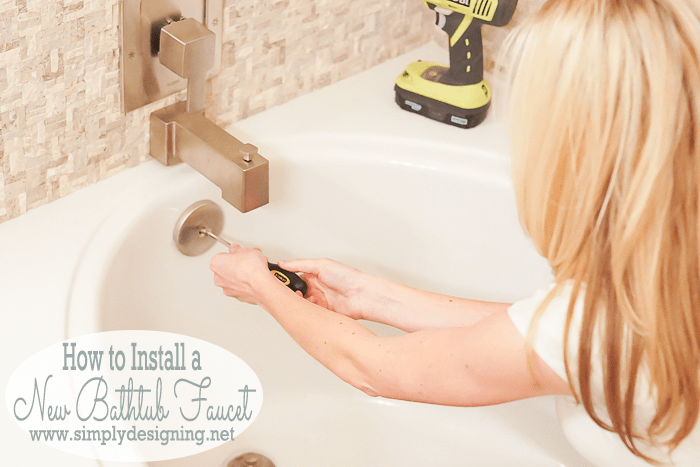
After our adapter was in place, we simply screwed the new overflow valve cover in place.
We also replaced the drain stop. To do this, there is a tool with a socket wrench connection that makes removing your existing drain and tightening your new drain stop in easily. Someone in your local hardware store plumbing department can help you find this.
Be sure to follow all manufacture instructions when completing a project like this.
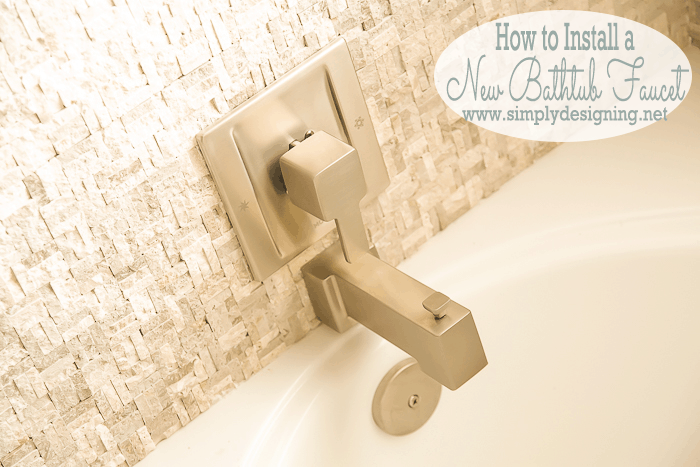
And that's all there is to it! And the results are simply beautiful!
It really is fairly easy (with the right tools) to install a bathtub facet in your bathroom!
Be sure to check out our previous posts about our bathroom remodel to see the latest details!
Check Out Our Master Bathroom Remodel Series:
Part 1: Master Bathroom Inspiration
Part 6: Installing Moen Posi-Temp® Shower Fixtures
Part 7: How to Install Radiant Heated Tile Floors
Part 8: Install New Tile Counter Tops
Part 9: Install a Tile Accent Wall
Part 10: Install a Bathtub Faucet
How to Install a new Shower Door
How to Install new Bathroom Mirror Frames (in about 10 minutes!)
DIY Framed Mirror with Hidden Jewelry Organization
Please note that I am not a professional. I am just sharing what worked for us. As always please use all proper safety precautions and read and follow all manufacturer instructions. Please note that I am not responsible in any way for any outcome if you try this yourself. I am not liable for any injury or additional cost or expense incurred. I always recommend consulting and hiring a professional if needed. And always be sure to check with local building codes to obtain all permits needed for any DIY project.




Amy Anderson
I want to re-do my bathroom - new caulk, new fixtures in the tub. Thanks for this!
Ashley Phipps
Oh that would be so fun!! I hope you get to work on it soon!
Deanna R. Jones
Thanks for the tips! I would like to have a new faucet installed in my sink because the old one doesn't match with the design of my new bathroom. Remodeling my bathroom is going to take a lot of work and money, so I need to know how to install the bathroom fixtures myself. These instructions make installing a faucet look so easy. I didn't know that all it took to install it was to screw on a valve adapter and connect the faucet to the existing drain. It seems like I should be able to easily follow these instructions on my own.