A big thanks to DecoArt for making this post possible today! All opinions are mine.
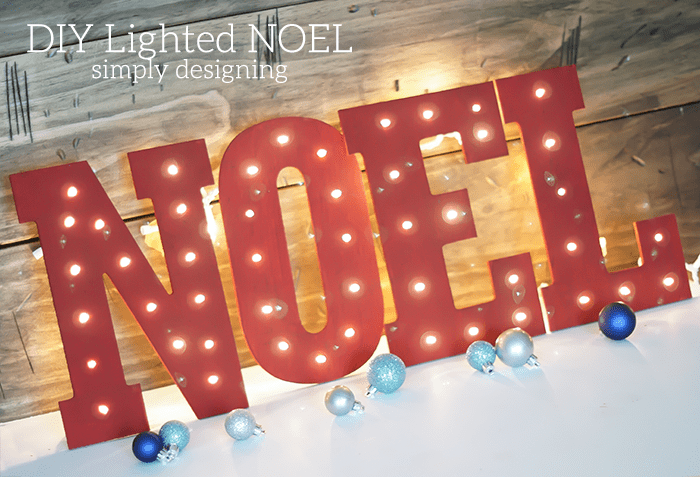
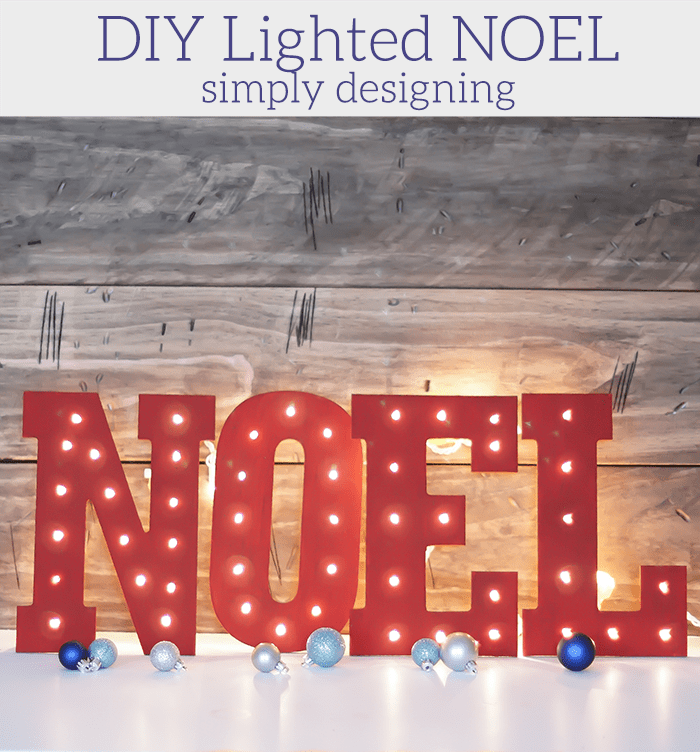
It is no secret that I love DecoArt and Americana paints. I also love their Chalky Finish paint! It is one of my favorite paints to use for crafting, DIY-ing and also furniture painting! So today I decided to whip up a little Christmas project using some cute wooden letters I found at Michaels, a set of Christmas lights and Americana's Chalky Paint in Rouge. (And a few other tools too!) Here is my really fun DIY Lighted NOEL.
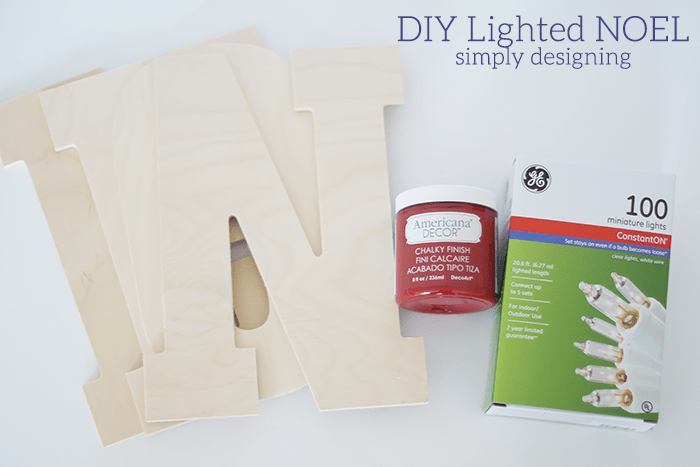
To create this DIY Lighted NOEL, you will need:
- Americana Decor Chalky Finish Paint, in Rouge or Romance
- N,O,E,L Wooden Letters
- Christmas Light Set
- Drill (with appropriate sized drill bit)
- Electric Sander (or sand paper)
- Foam Brush
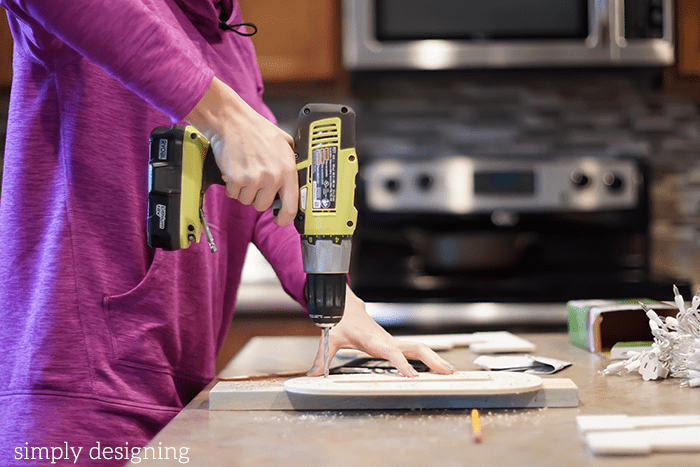
First I used my drill to drill holes into my wooden letters. I used a drill bit that was just slightly larger then my light bulbs. I wanted the lights to fit into the holes snugly. Also I drilled into the front of the letters towards the back. This kept the front of the letters as smooth as possible.
After all of the holes were drilled, I used my electric sander to sand the boards down just a little bit and to take off any rough edges or splinters that occurred from drilling the holes.
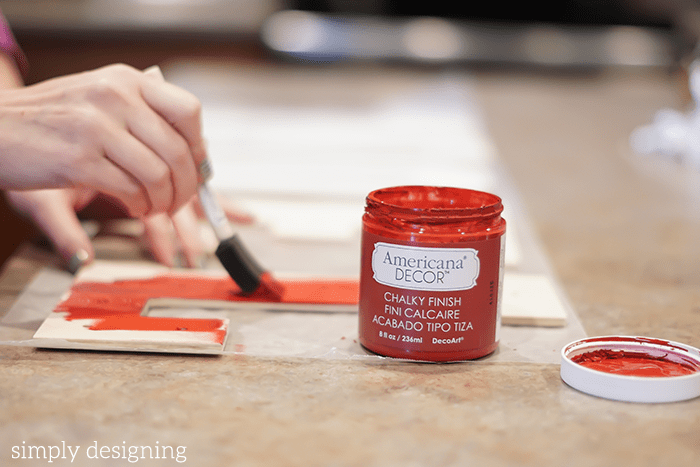
Then I used my foam brush and my rouge chalky finish paint to paint the letters. I decided to use two coats of paint on these letters.
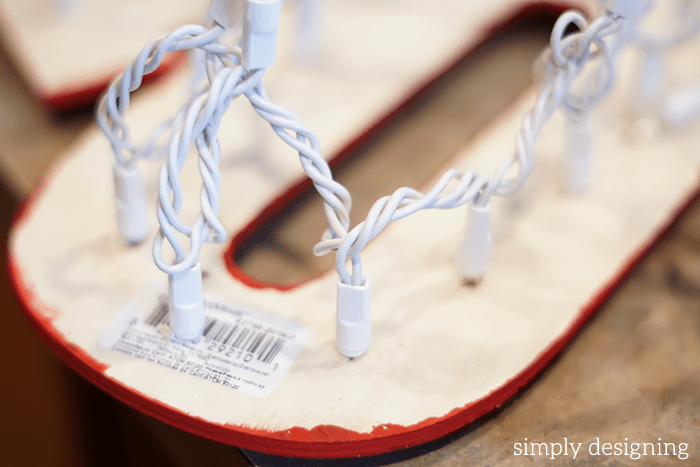
After the letters were completely dry, I inserted the Christmas lights into the letters from the back. As a note, be careful not to force lights into any holes. I know from experience that is not a good idea. So on the holes that were too tight, I simply used my drill to make the hole a little bit bigger and the lights went right in without a problem.
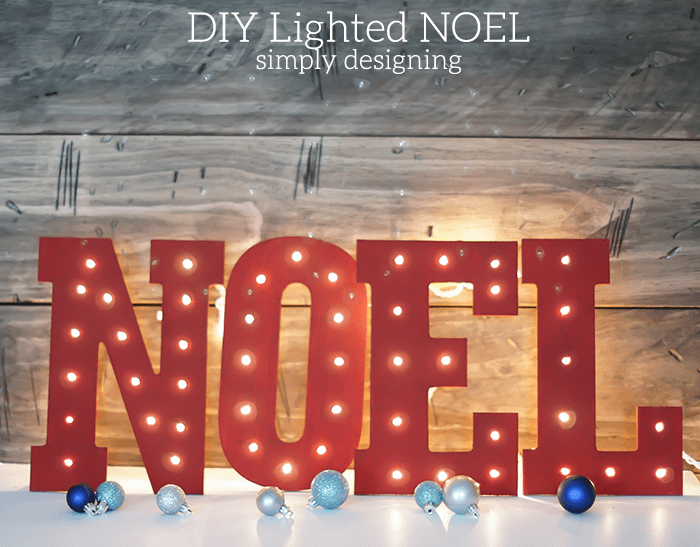
This DIY Lighted NOEL looks great anywhere in your home! Just be sure you have an extension cord handy or are near an outlet so that you can enjoy this all season long!
If there are any extra lights or loose cords, you can simple tape them to the back of your wooden DIY Lighted NOEL letters with a bit of masking or painters tape.
I think this might have a home on my mantel, but I can't quite decide yet.
Where do you think I should put this?






ColleenB.
Love this and I think maybe you should put it at my house :} Seriously tho ; I think it would look wonderful up on a mantel.
I need to make me some of these using different letters, like, J O Y, P E A C E, etc. but for me here the battery operated lights will work best, picture hook on the back and hang on the wall.
Thank you for the wonderful tutorial and such great inspiration you have been giving us.
Krista @ the happy housie
This is amazing, Ashley!! I love it- featuring you this week at WIW. Thanks for sharing it!!
Aimee - ItsOverflowing.com
Your NOEL sign turned out PERFECT! Featuring you tomorrow. XO, Aimee - ItsOverflowing.com
Jenny
Thanks for linking up with the Be.You.tiful link party and sharing your fun crafts! You were featured this week here http://www.thehappygal.com/tiful-link-party-51/. Grab a button and brag a little 🙂