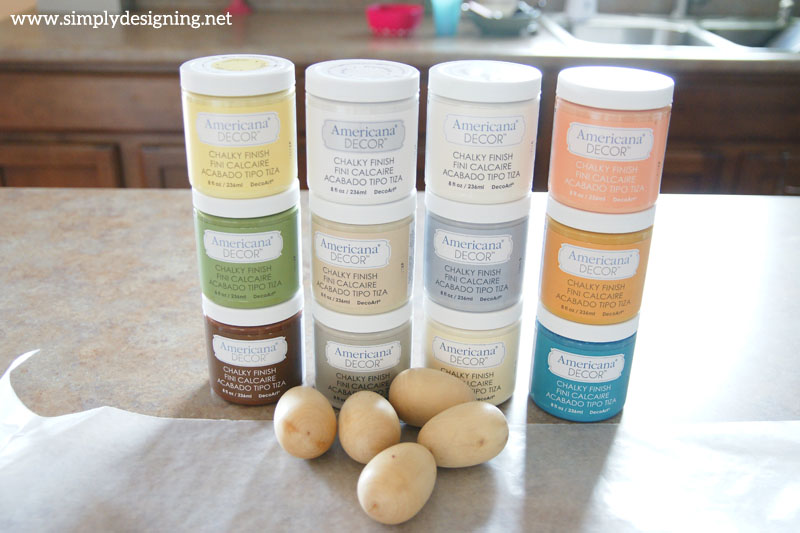
This chalk paint comes in some of the prettiest colors ever! So to re-create this project you will need a variety of DecorArt's Americana Decor Chalky Finish paint, wooden eggs, a foam brush, their cream wax (optional), and a cloth (optional).
One of the things I loved about this paint was that there was no prep needed. My wooden eggs had a bit of a finish on them. Normally I would need to spend quite a bit of time sanding all of these down, but I didn't need to! With just my foam brush and the paint, I was able to paint these eggs up in no time!
No prep needed!
I ended up doing two coats of paint on each egg for a perfectly imperfect finish!
At this point you have a lot of ways you can customize these. You can paint the bottom layer one color, paint a different color top layer and then sand the top layer lightly in spots to let the bottom layer show through. Or you can simply paint it one color and distress if desired. You can also just leave them painted as is. There are so many options!
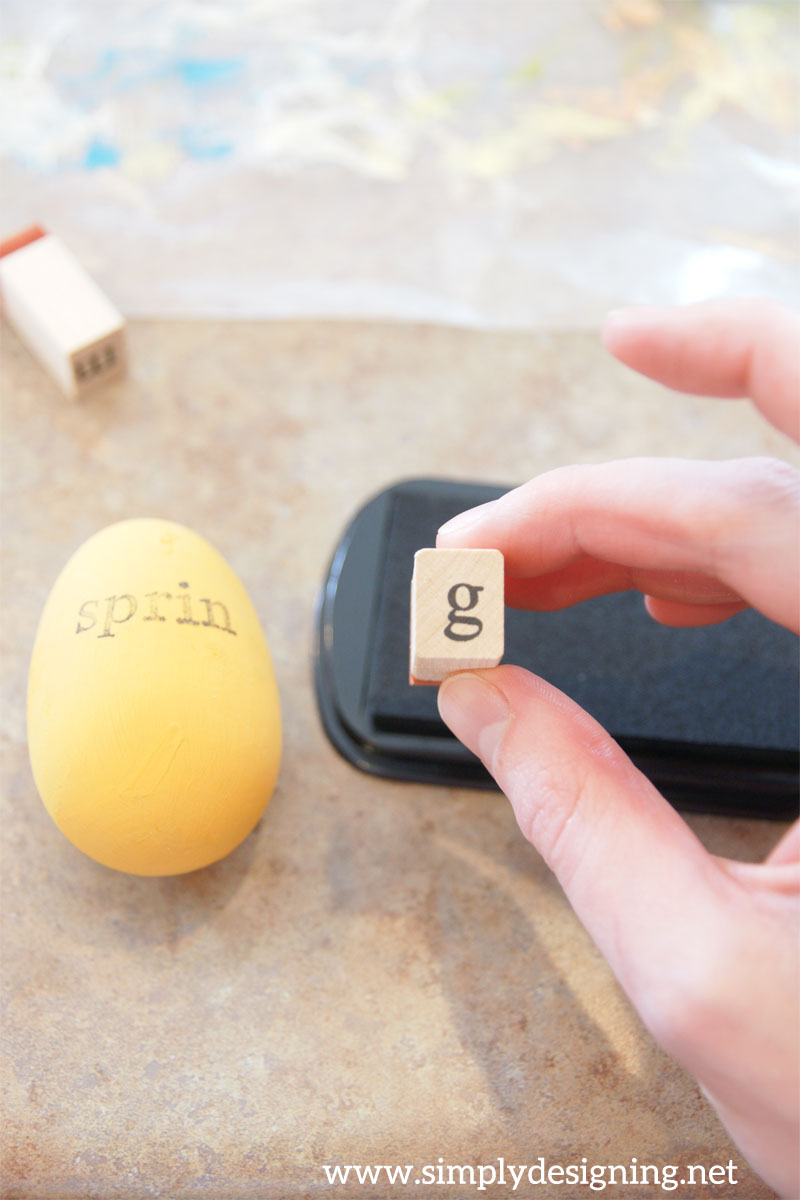
One of the things I love about the chalk paint is the extraordinarily matte finish. This creates the perfect surface for stamping!
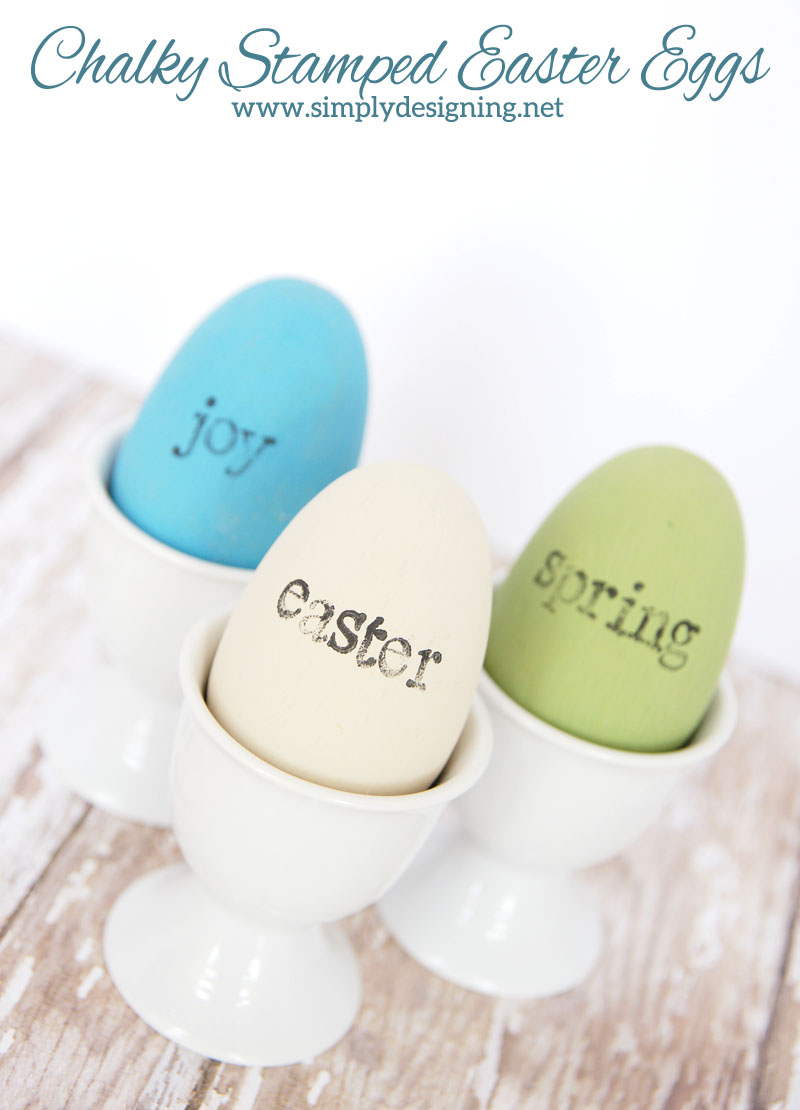
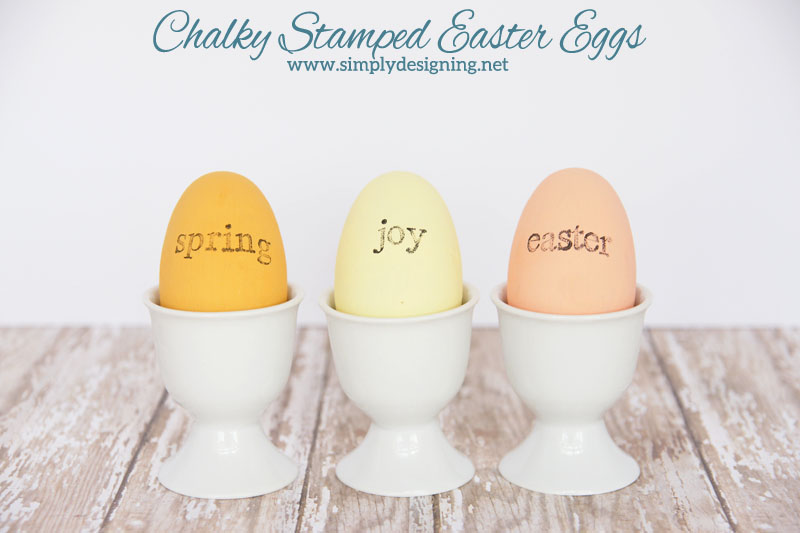
And with just a few simple steps, I ended up with some really fun and beautiful, rustic and chic Easter and Spring Eggs that are perfect for the season!
And I just LOVE all the colors!! So pretty!
You Might Also Enjoy:
Gold Dipped Easter Eggs
Polka Dot Easter Eggs
Easter Egg Burlap Flag





Ashley
Hi! I'm stopping by from Ginger Snap's Wow Me Wednesday. My name is Ashley too and I am also making a post about chalkboard-painted eggs! I didn't stamp mine though, but I should try that because it looks so cute! Thanks for sharing!
Gilly @ Colour Saturated. Life
I just love these! The colours you chose are just gorgeous and the hand stamping looks so pretty! I am pinning this!
Krysta @ KrystaSteen.com
So pretty! Thanks for sharing this at Tips & Tricks! Hope to see you again this week! 🙂